Here is a bit more detail concerning the girths mentioned in Full Length Battens:-1.
As noted in Full Battens:-1, the Girth is the distance across a sail from the “same” points the luff and leech.
A quick glossary:
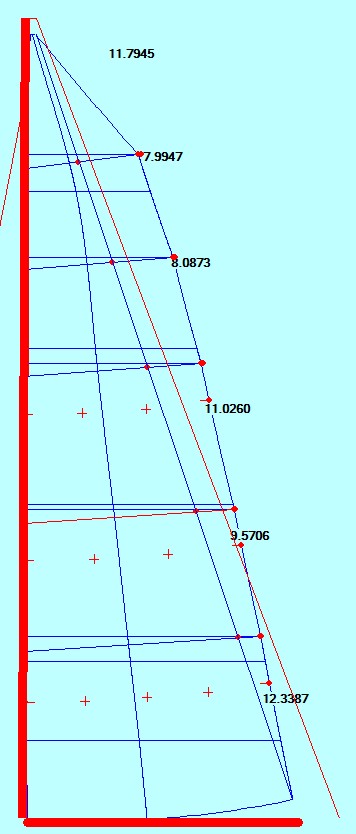
Girths: the distance across a sail from a POINT on the luff to the corresponding POINT the leech.
Point: the spot on the luff and leech of a sail corresponding to one of the following: 25, 50, 75 or 875. percent up from the foot. You need two points to get a girth
Girths are universally described as: (Reading up from the foot of the sail)
MGL–Mainsail Girth Lower: The girth at the bottom 25% POINTS
MGM–Mainsail Girth Middle–the width at the 50% POINTS
MGU–Mid Girth Upper–the girth at the 75% POINTS
MGT–Mainsail Girth Top–the girth at 87.5% POINTS
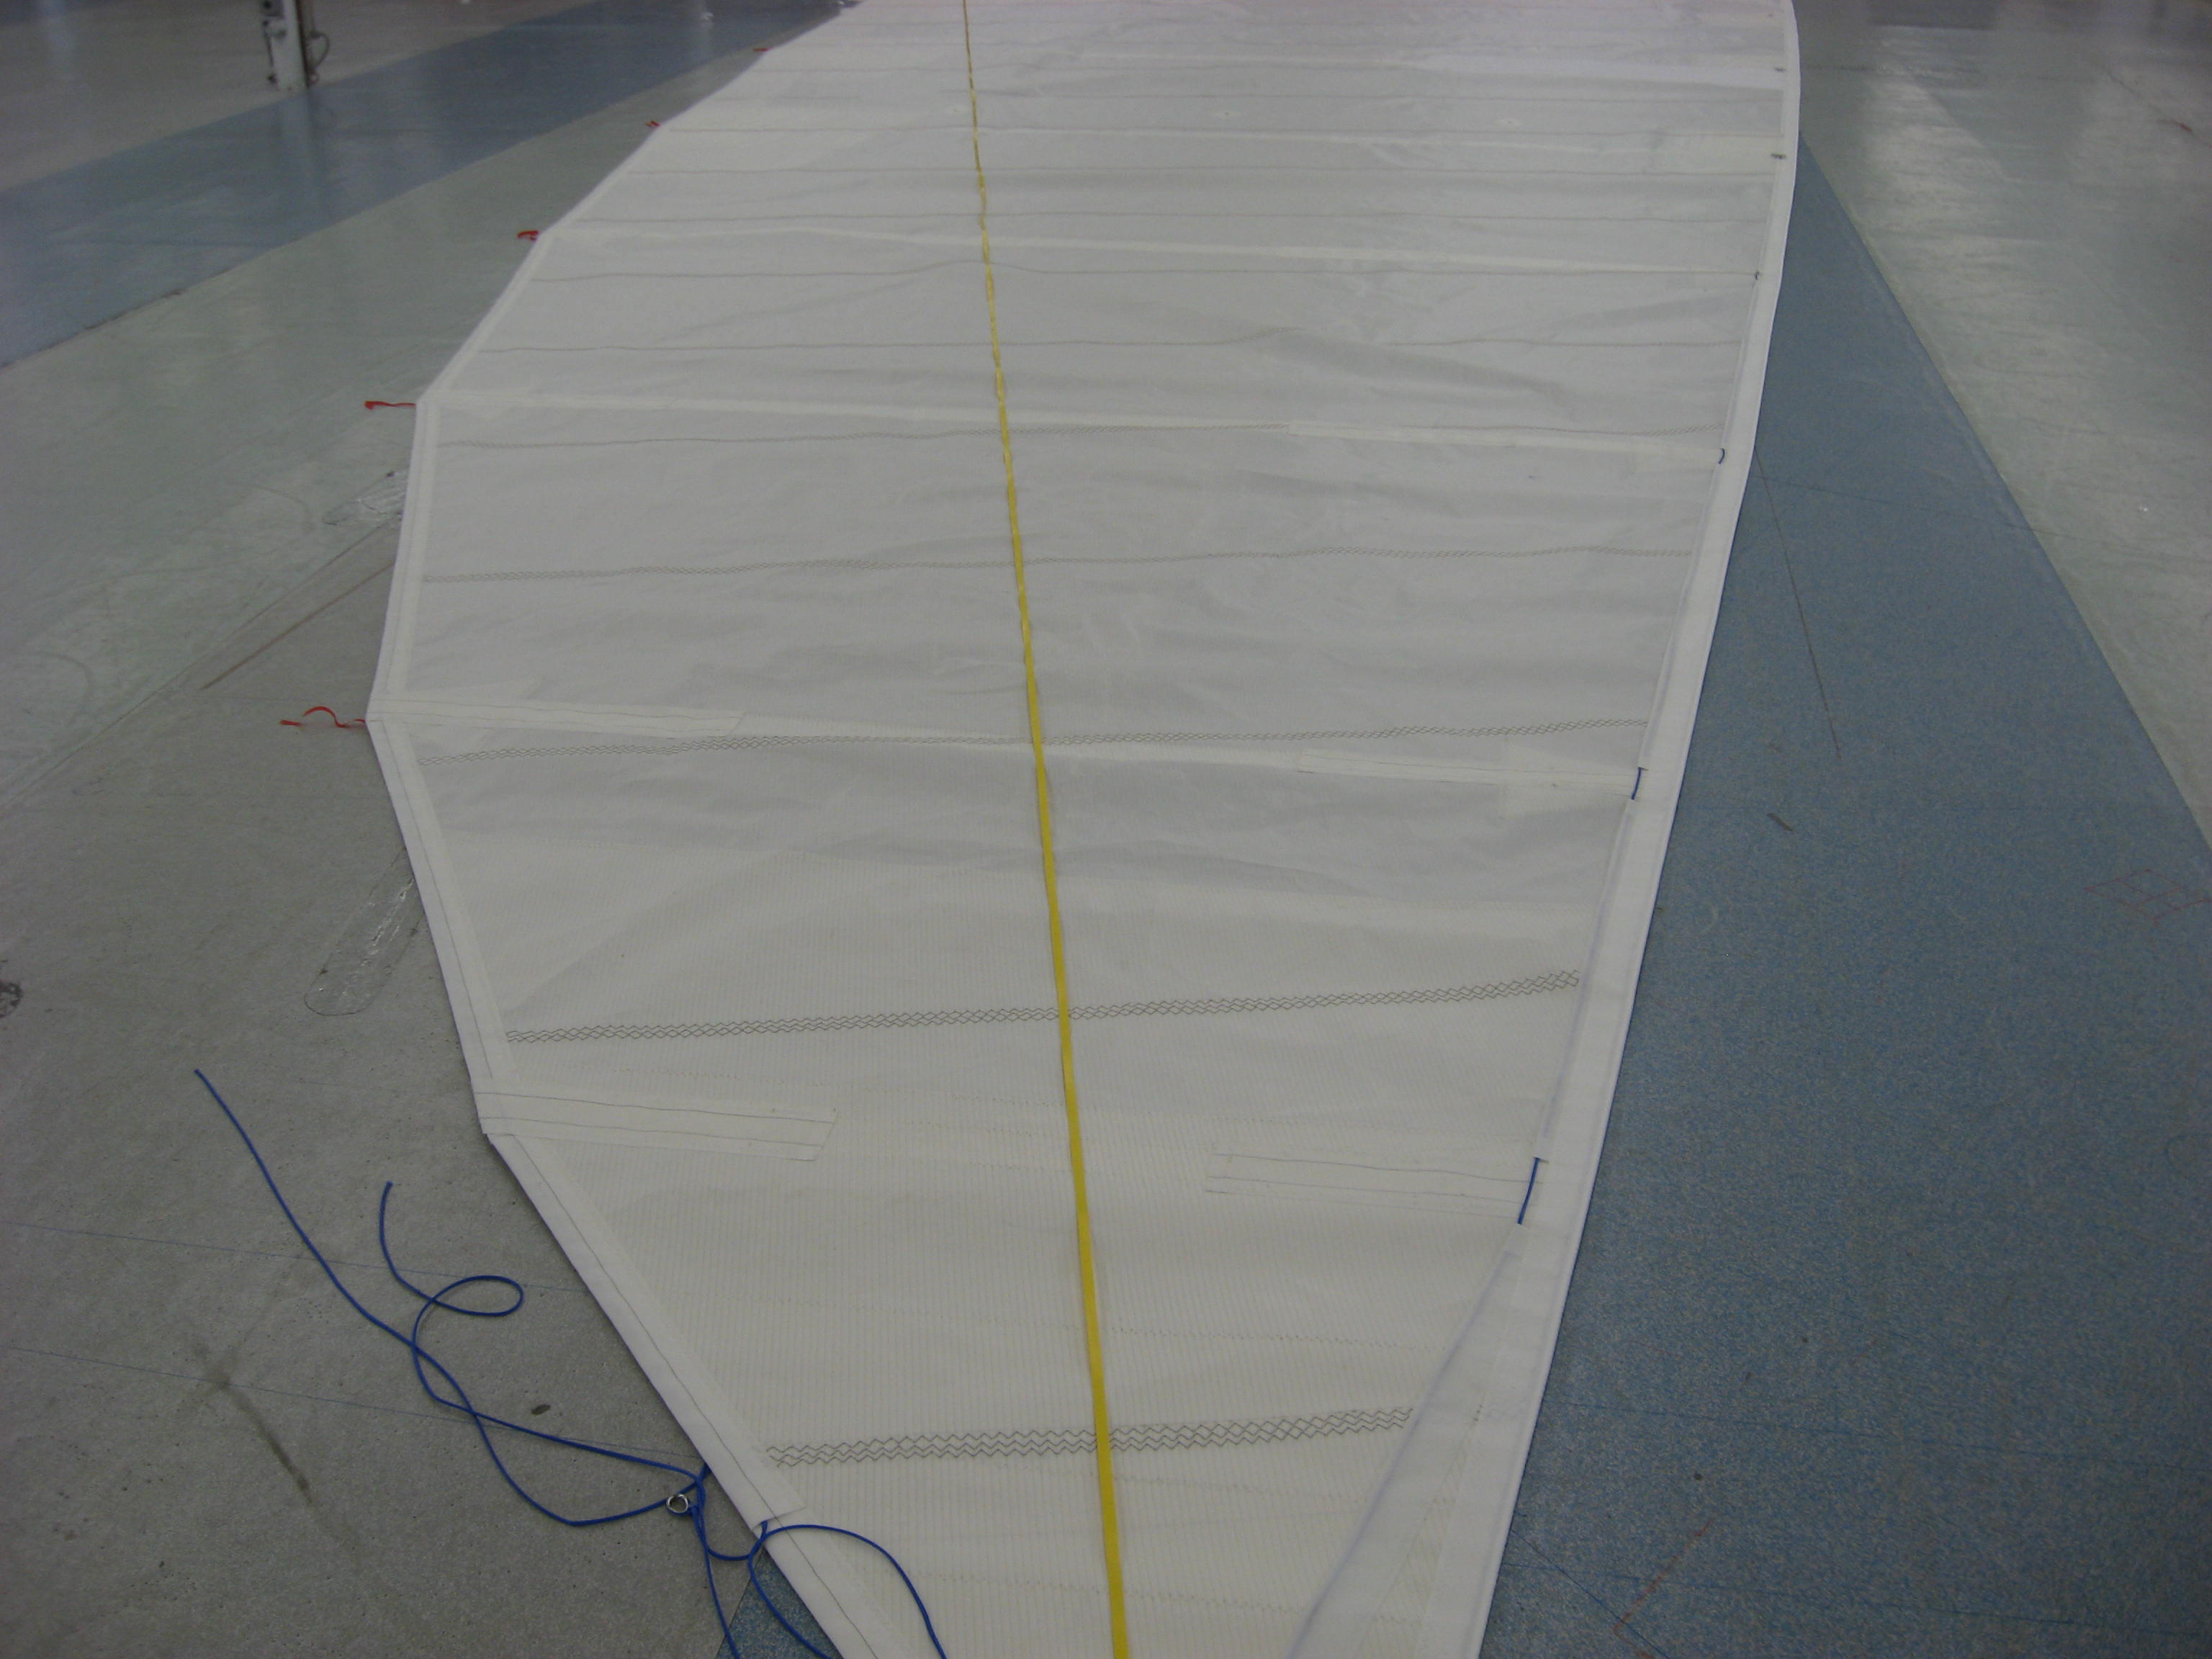
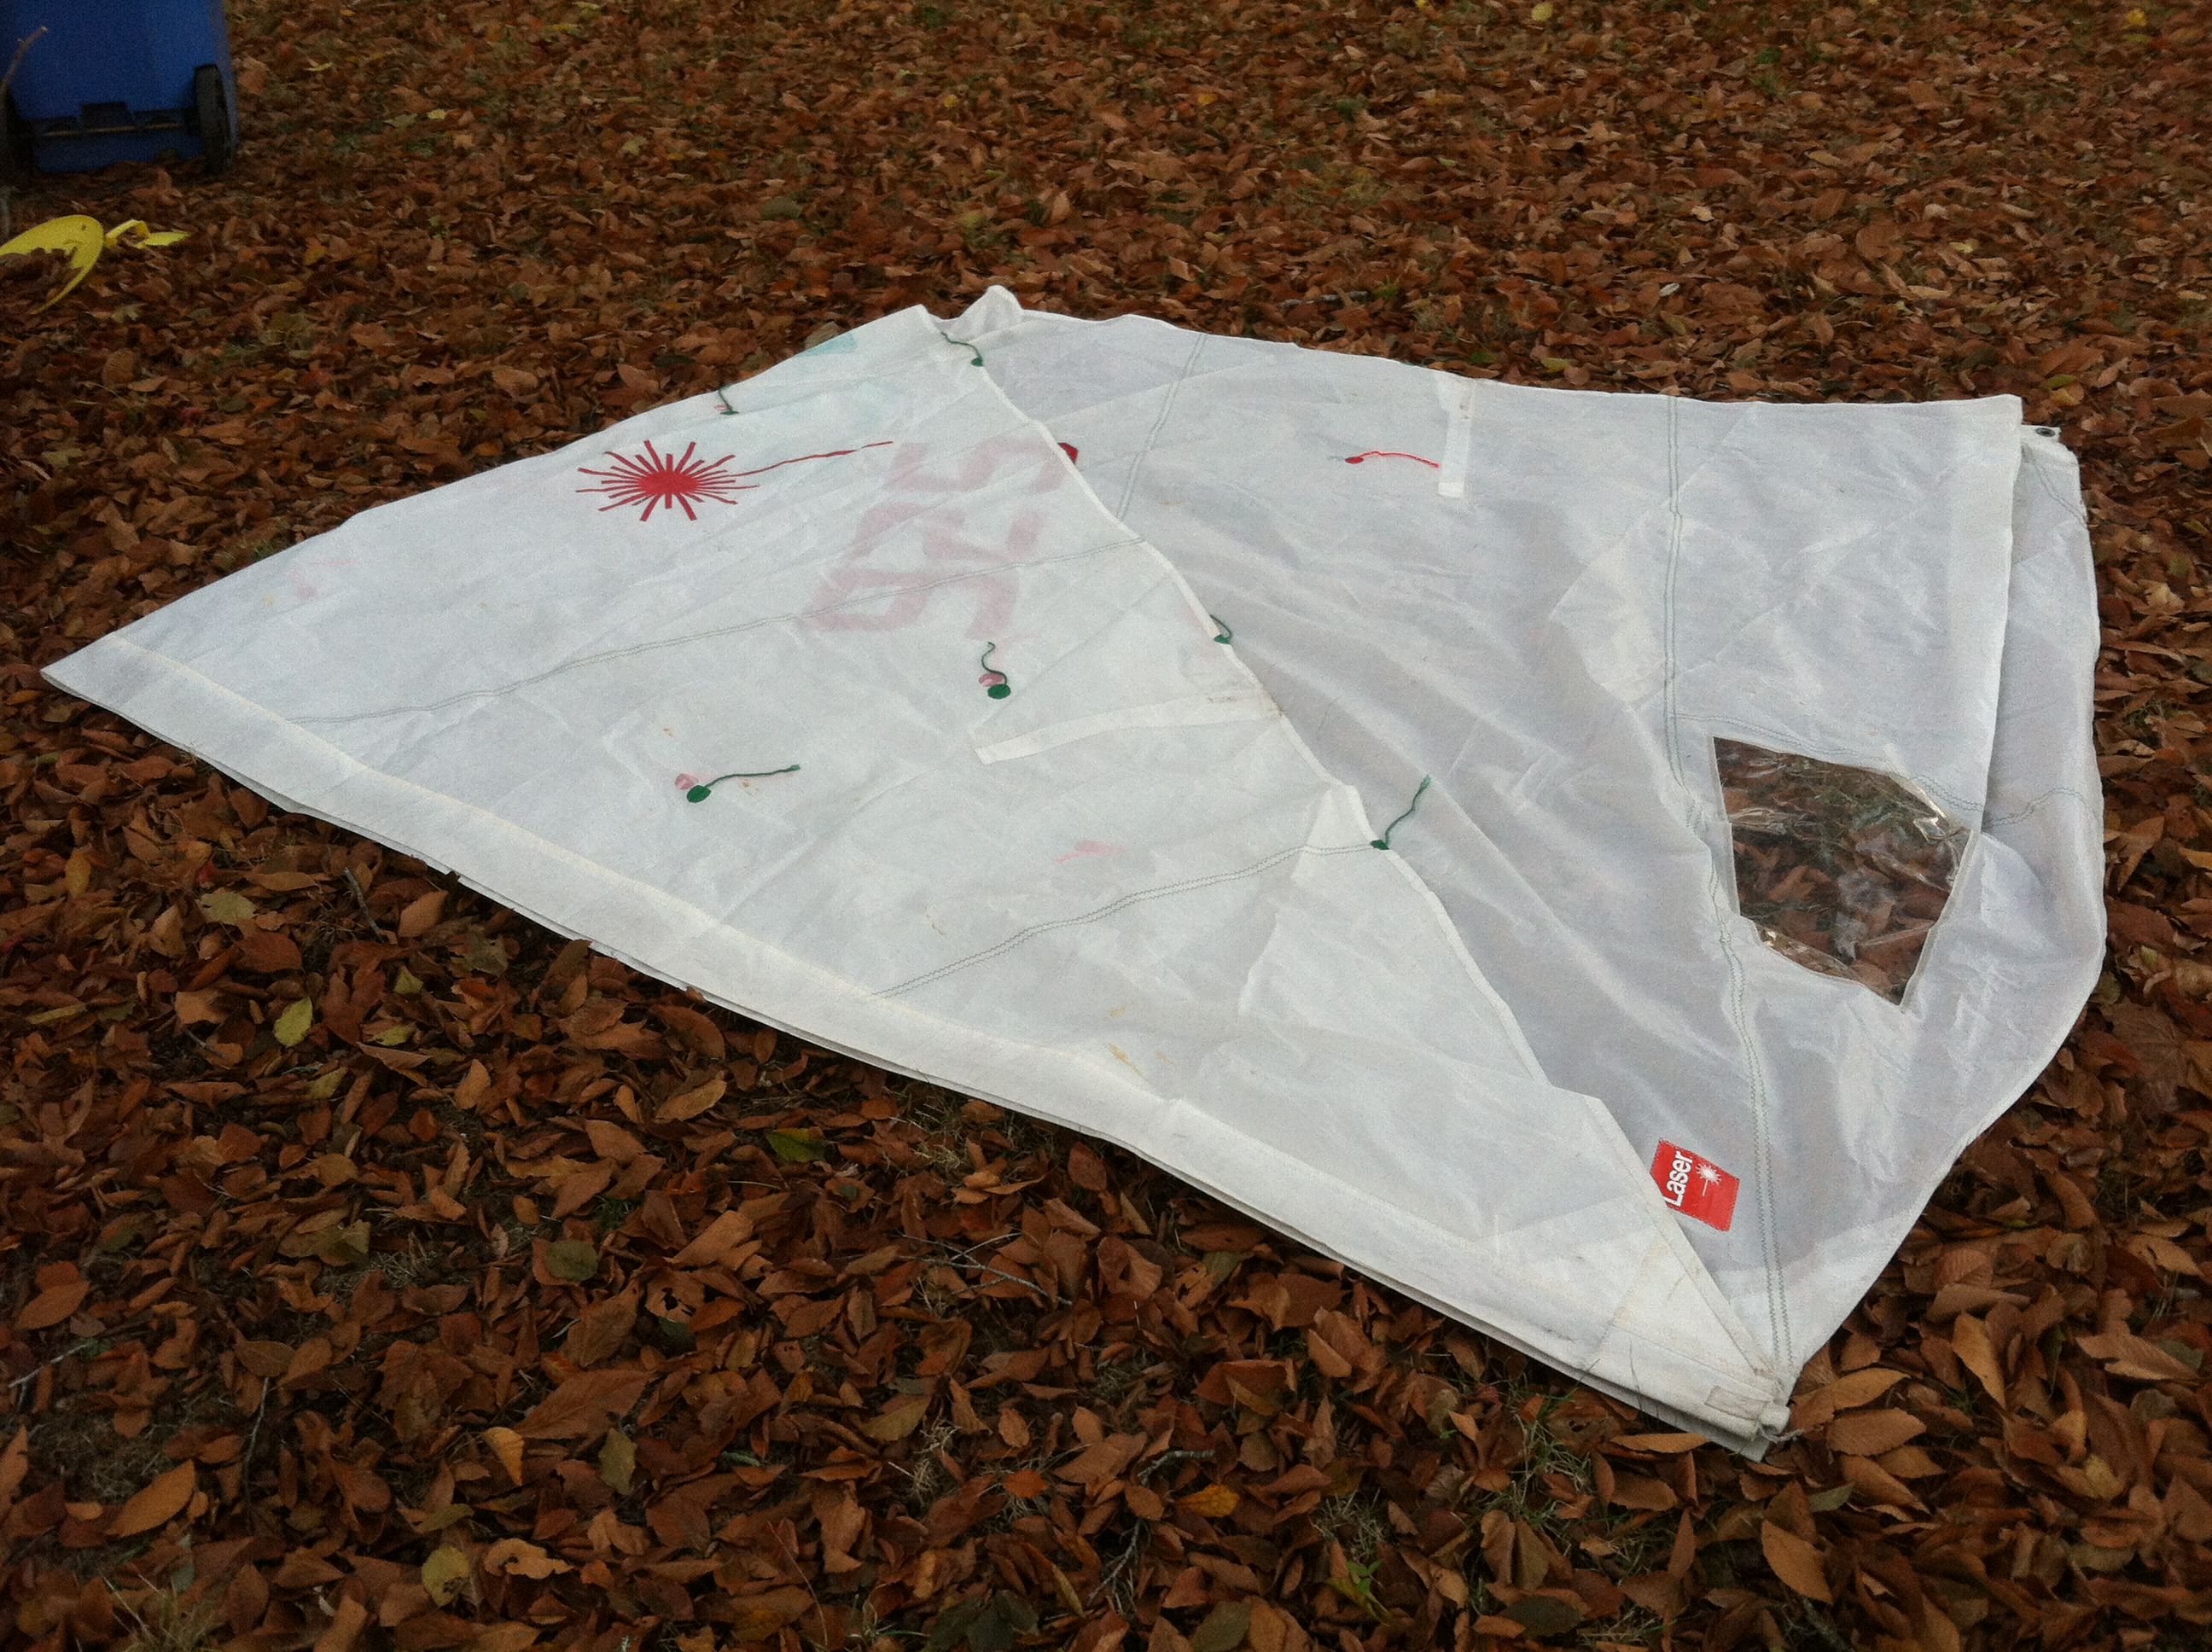
The most common way to start measuring the girths on your mainsail is to lay it out flat on the ground.

Lay the sail out flat on the ground.
This exercise works better with two or three people, in fact for race boat programs, modest ones where not every one knows everything….. it is a nice little team building exercise for the winter. You can measure all of the sails so every one on board has an idea of what sizes the sails are. In this case though I used a screw driver pushed through the cunningham eye into the grass.

Secure the tack with, in this case, a screwdriver pressed into the soil.
Take the head of the sail and fold it down to the tack. Jiggle the luff so that the top and bottom of the sail are straight like folding a sheet or towel and make a mark where the fold is. This is the MGM luff POINT
Fold the sail so the head comes down to where the tack is.
Make sure the two corners, the head and tack and then the head and clew are even.

The corners of the head and the tack need to be overlapped on top of each other.
Mark the fold in the sail with a pencil, a regular #2 is fine.
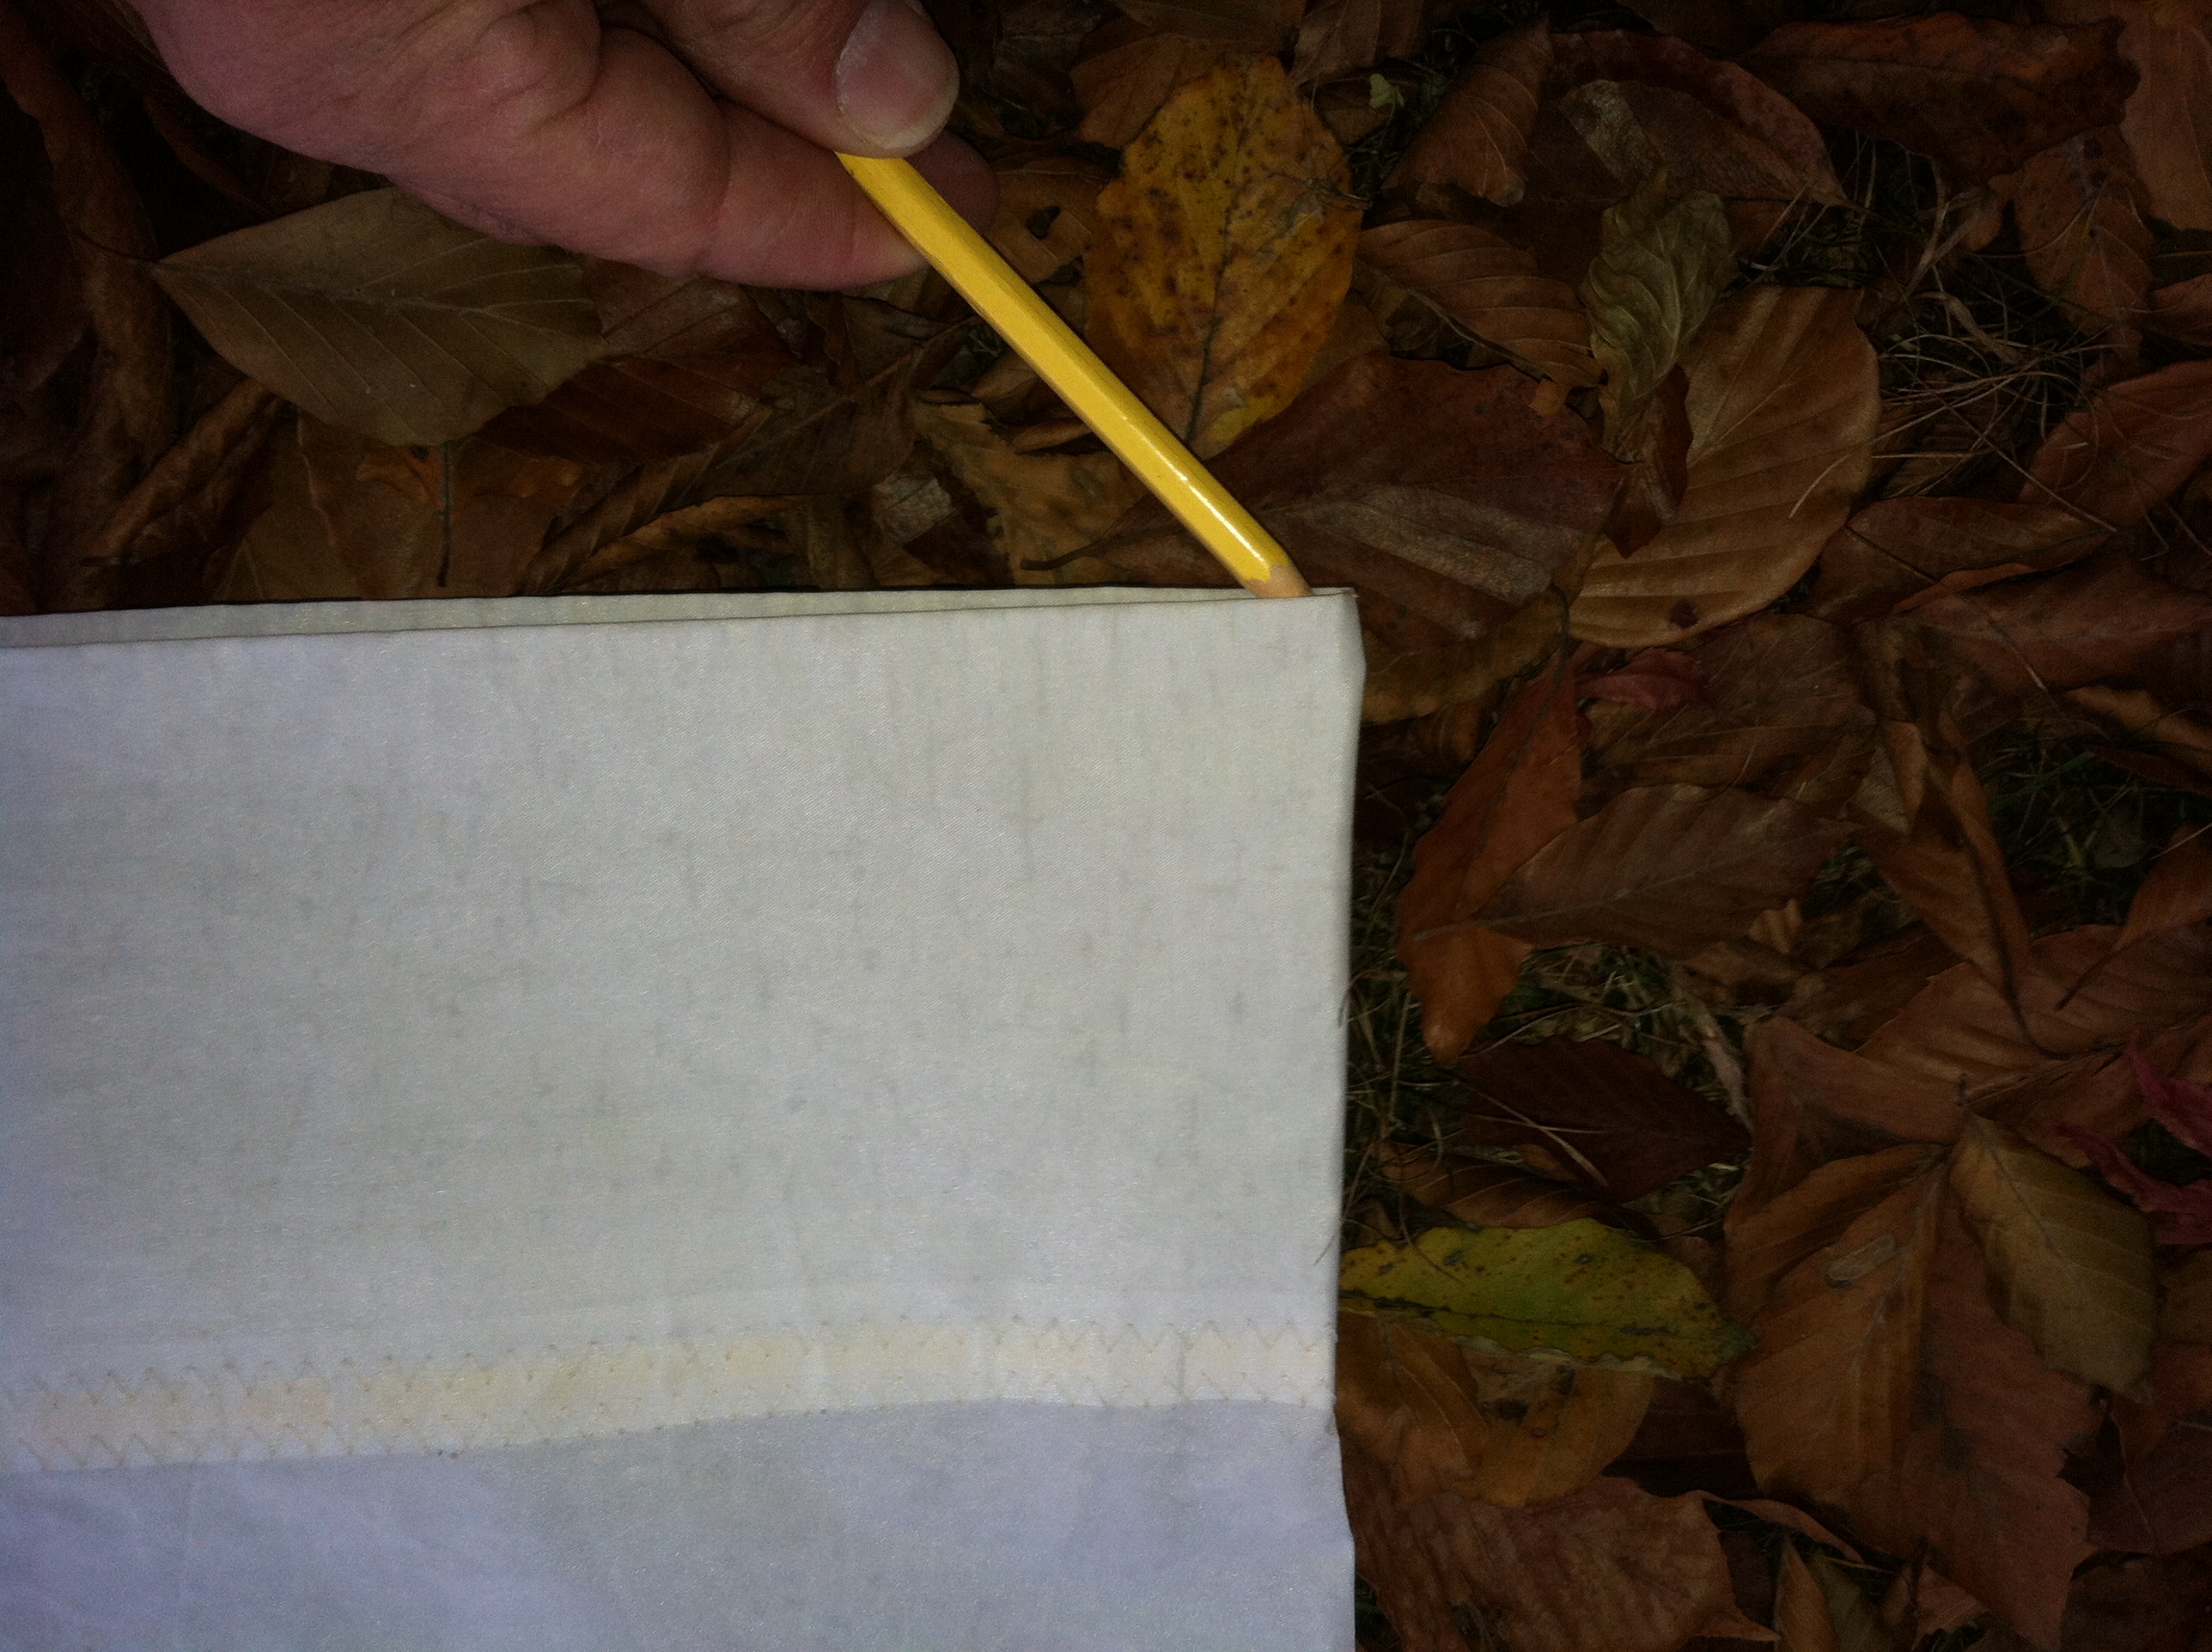
Make a pencil mark on the sail under the fold.
If you merely want the MGM, fold the head over to the clew, straighten out the leech and mark where the fold is on the leech.

Next take the head over to the clew and line up the corners as for the tack.
At this point, you can if you wish unfold the sail and lay a tape across the sail between the luff point and the leech point. You now have the Mainsail Mid Girth, MGM or 50% girth usually spoken as “the mid girth.” As a practical matter when measuring sails it is better to mark all the points along one edge first then do all the corresponding points on the other edge.

The MGM is measured from the mid point luff to mid point leech.
To get the 3/4 and .875 girths, fold the head back to the MGM point as shown below.The picture below shows the 75% girth position on the leech. When you measure the 75% girth point(s) on the luff and leech you can measure across the sail and you now have your 75% girth or MGU, Mainsail Upper Girth.
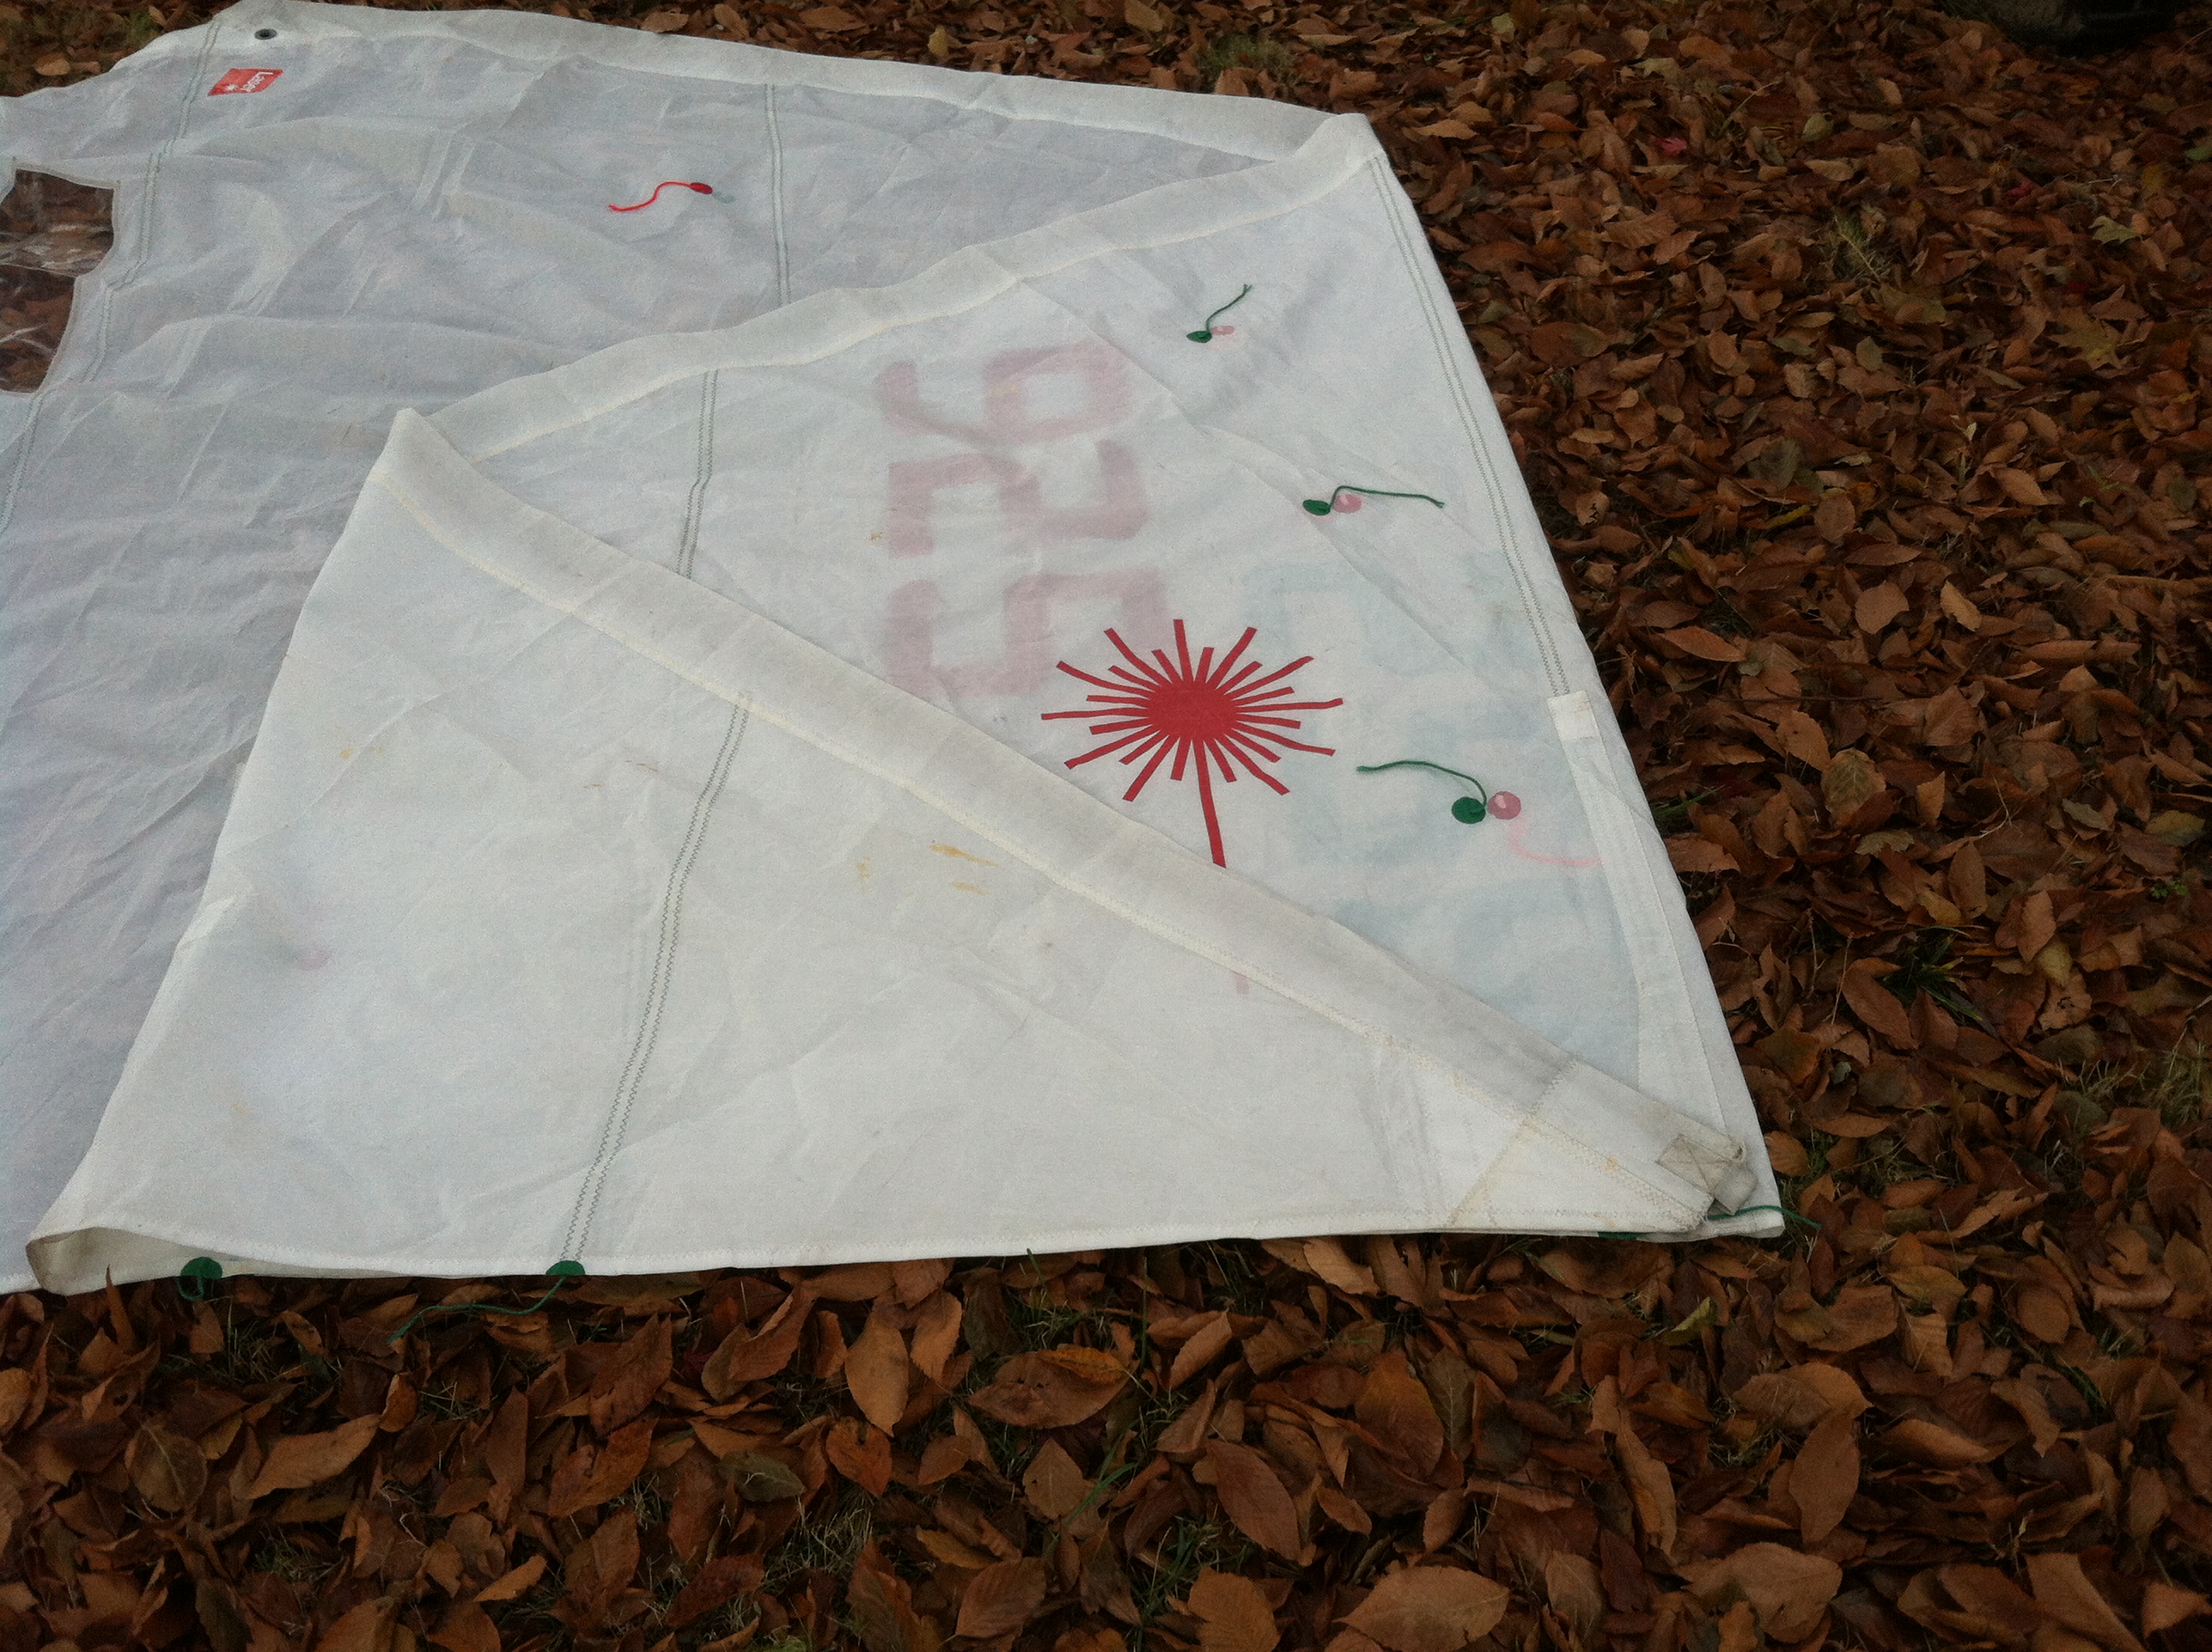
With the sail folded in its original half, fold the head back so that the head meets the MGM fold. This determines the 3/4 girth, MGU
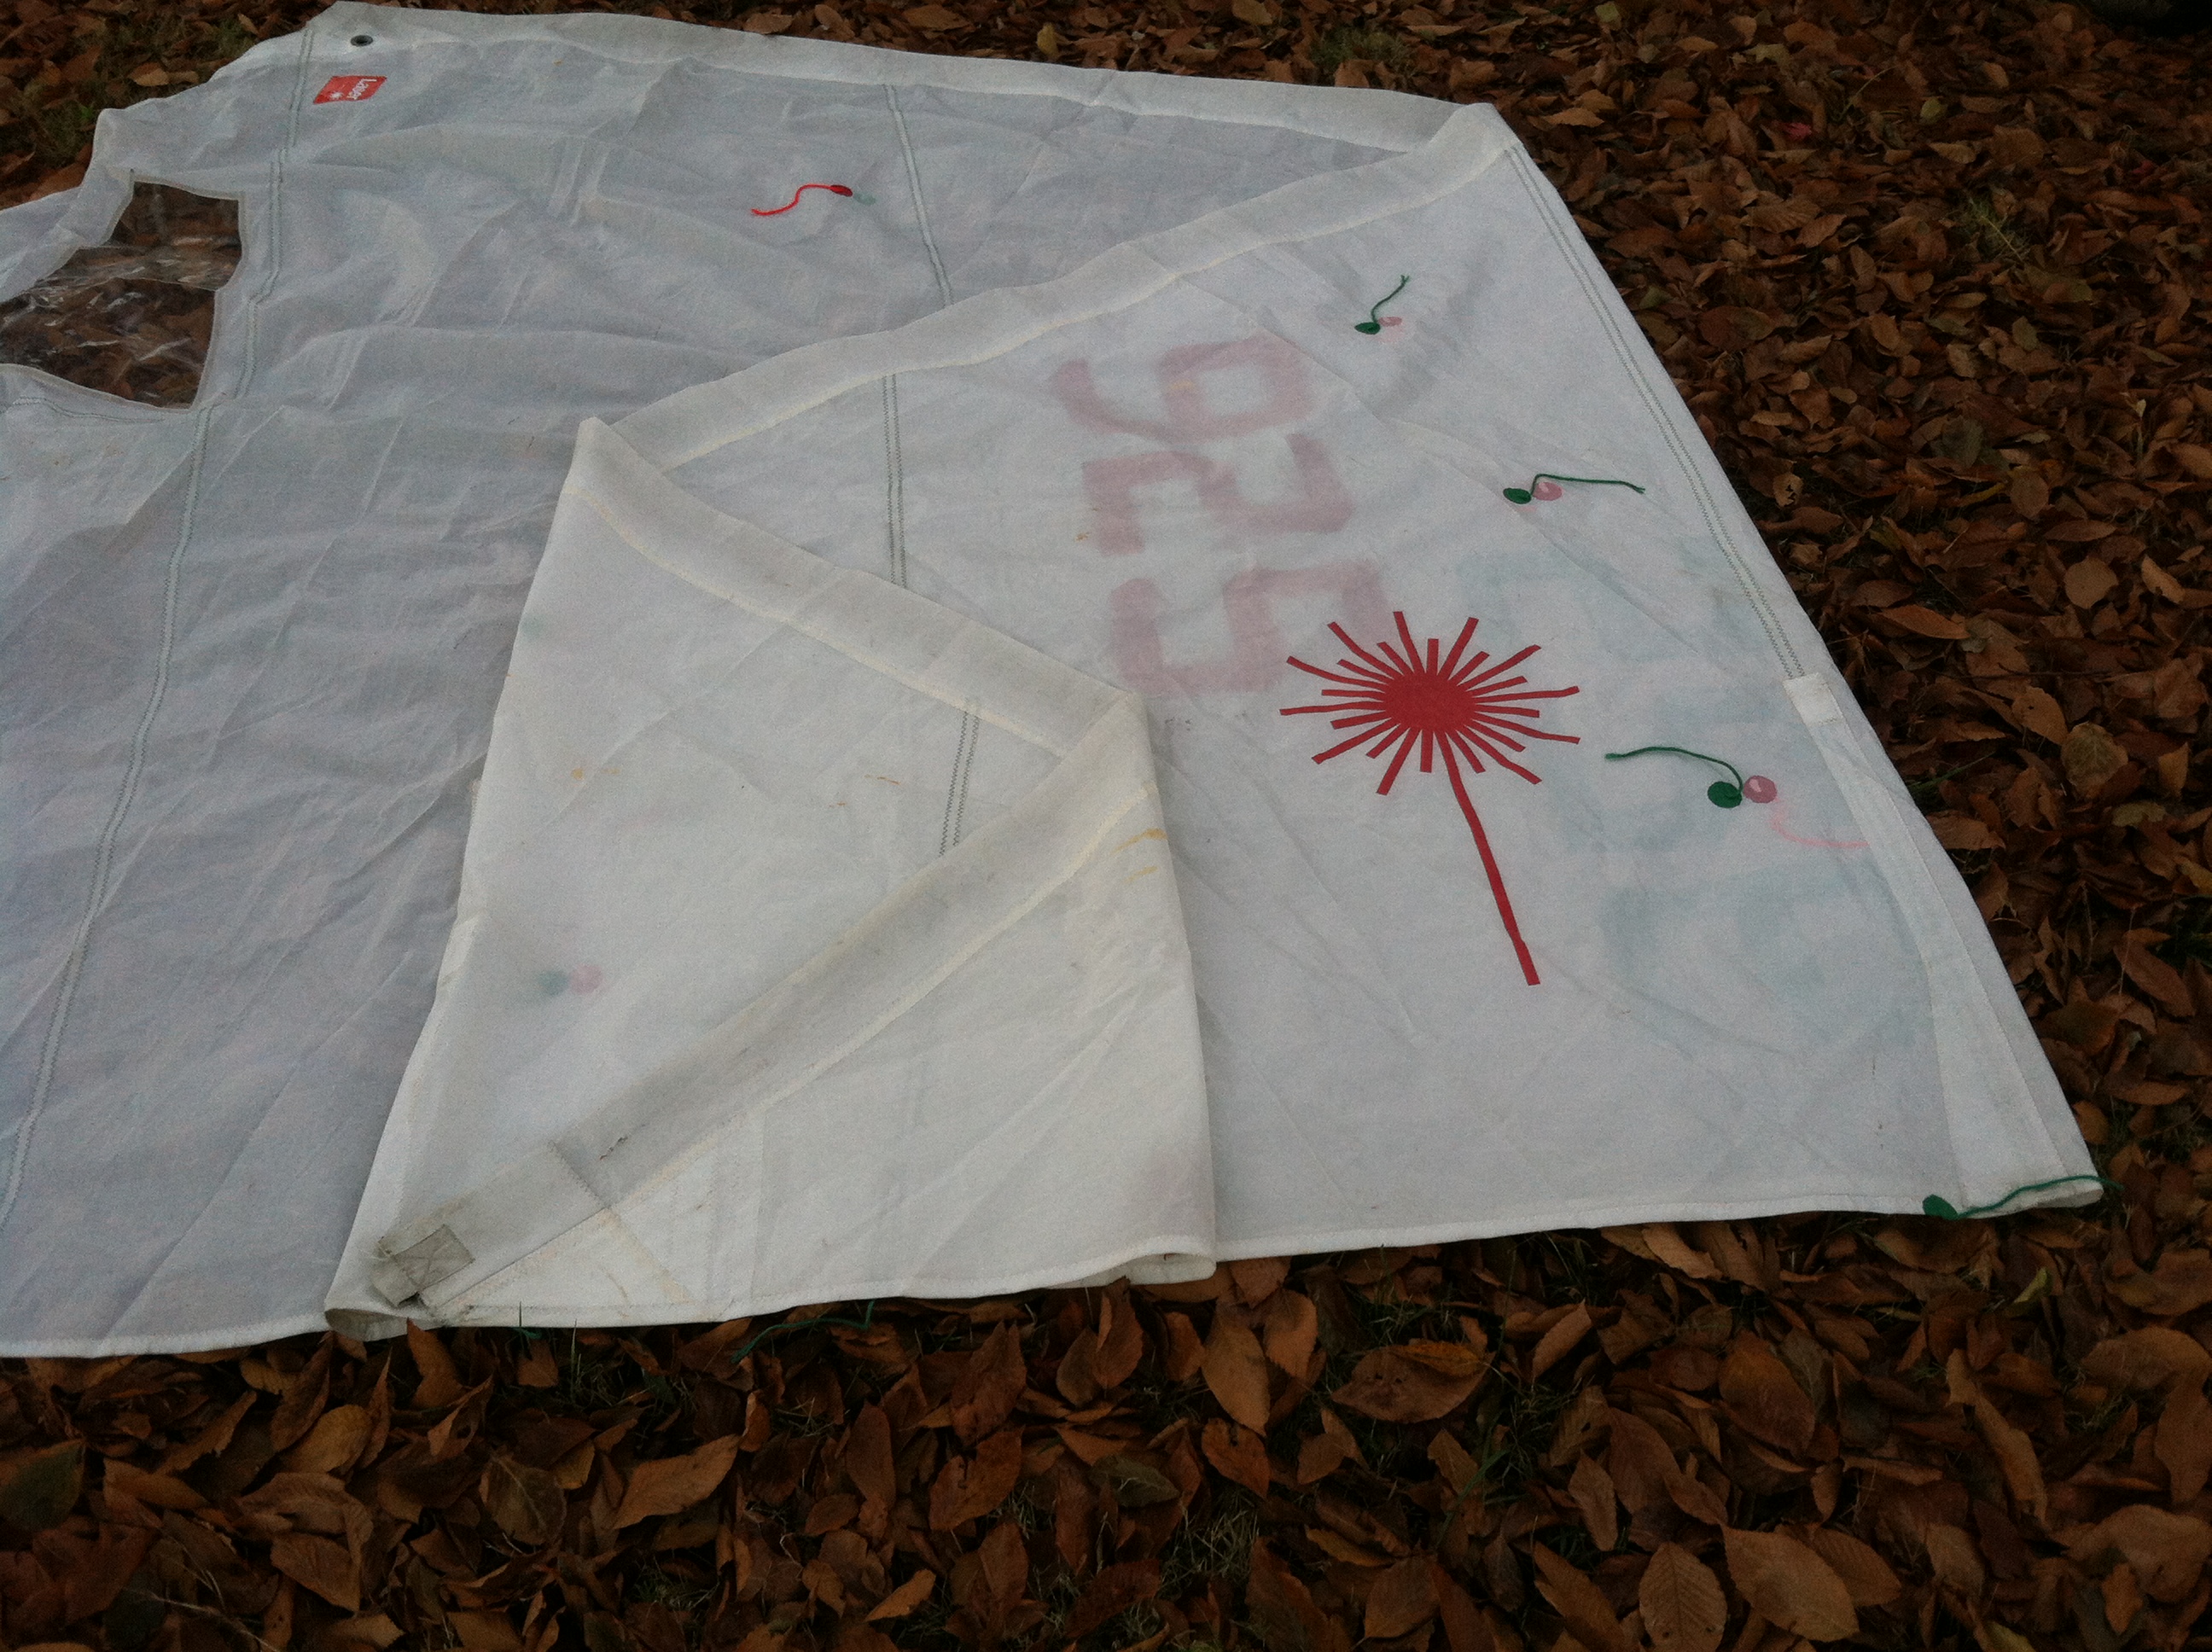
Fold the sail back one more time to get the .875% girth too, as necessary
From the 75% fold, fold the head back one more time to get the .875% point, as necessary. If you do the same drill with first the tack and then the clew folded to the half way fold you will get the dimension for the MGL, Mainsail Girth Lower.
It takes all of 15-20 minutes, to do this from pulling the sail out of the bag to getting it back into the bag and recording the dimensions but this does depend on the size of the sail, where you are doing it and how many people are involved.
Remember that to meet MOST racing rating rules the girths must meet the lengths equal to the percentage of the foot as outlined in Full Battens-2 Scroll down about half way.
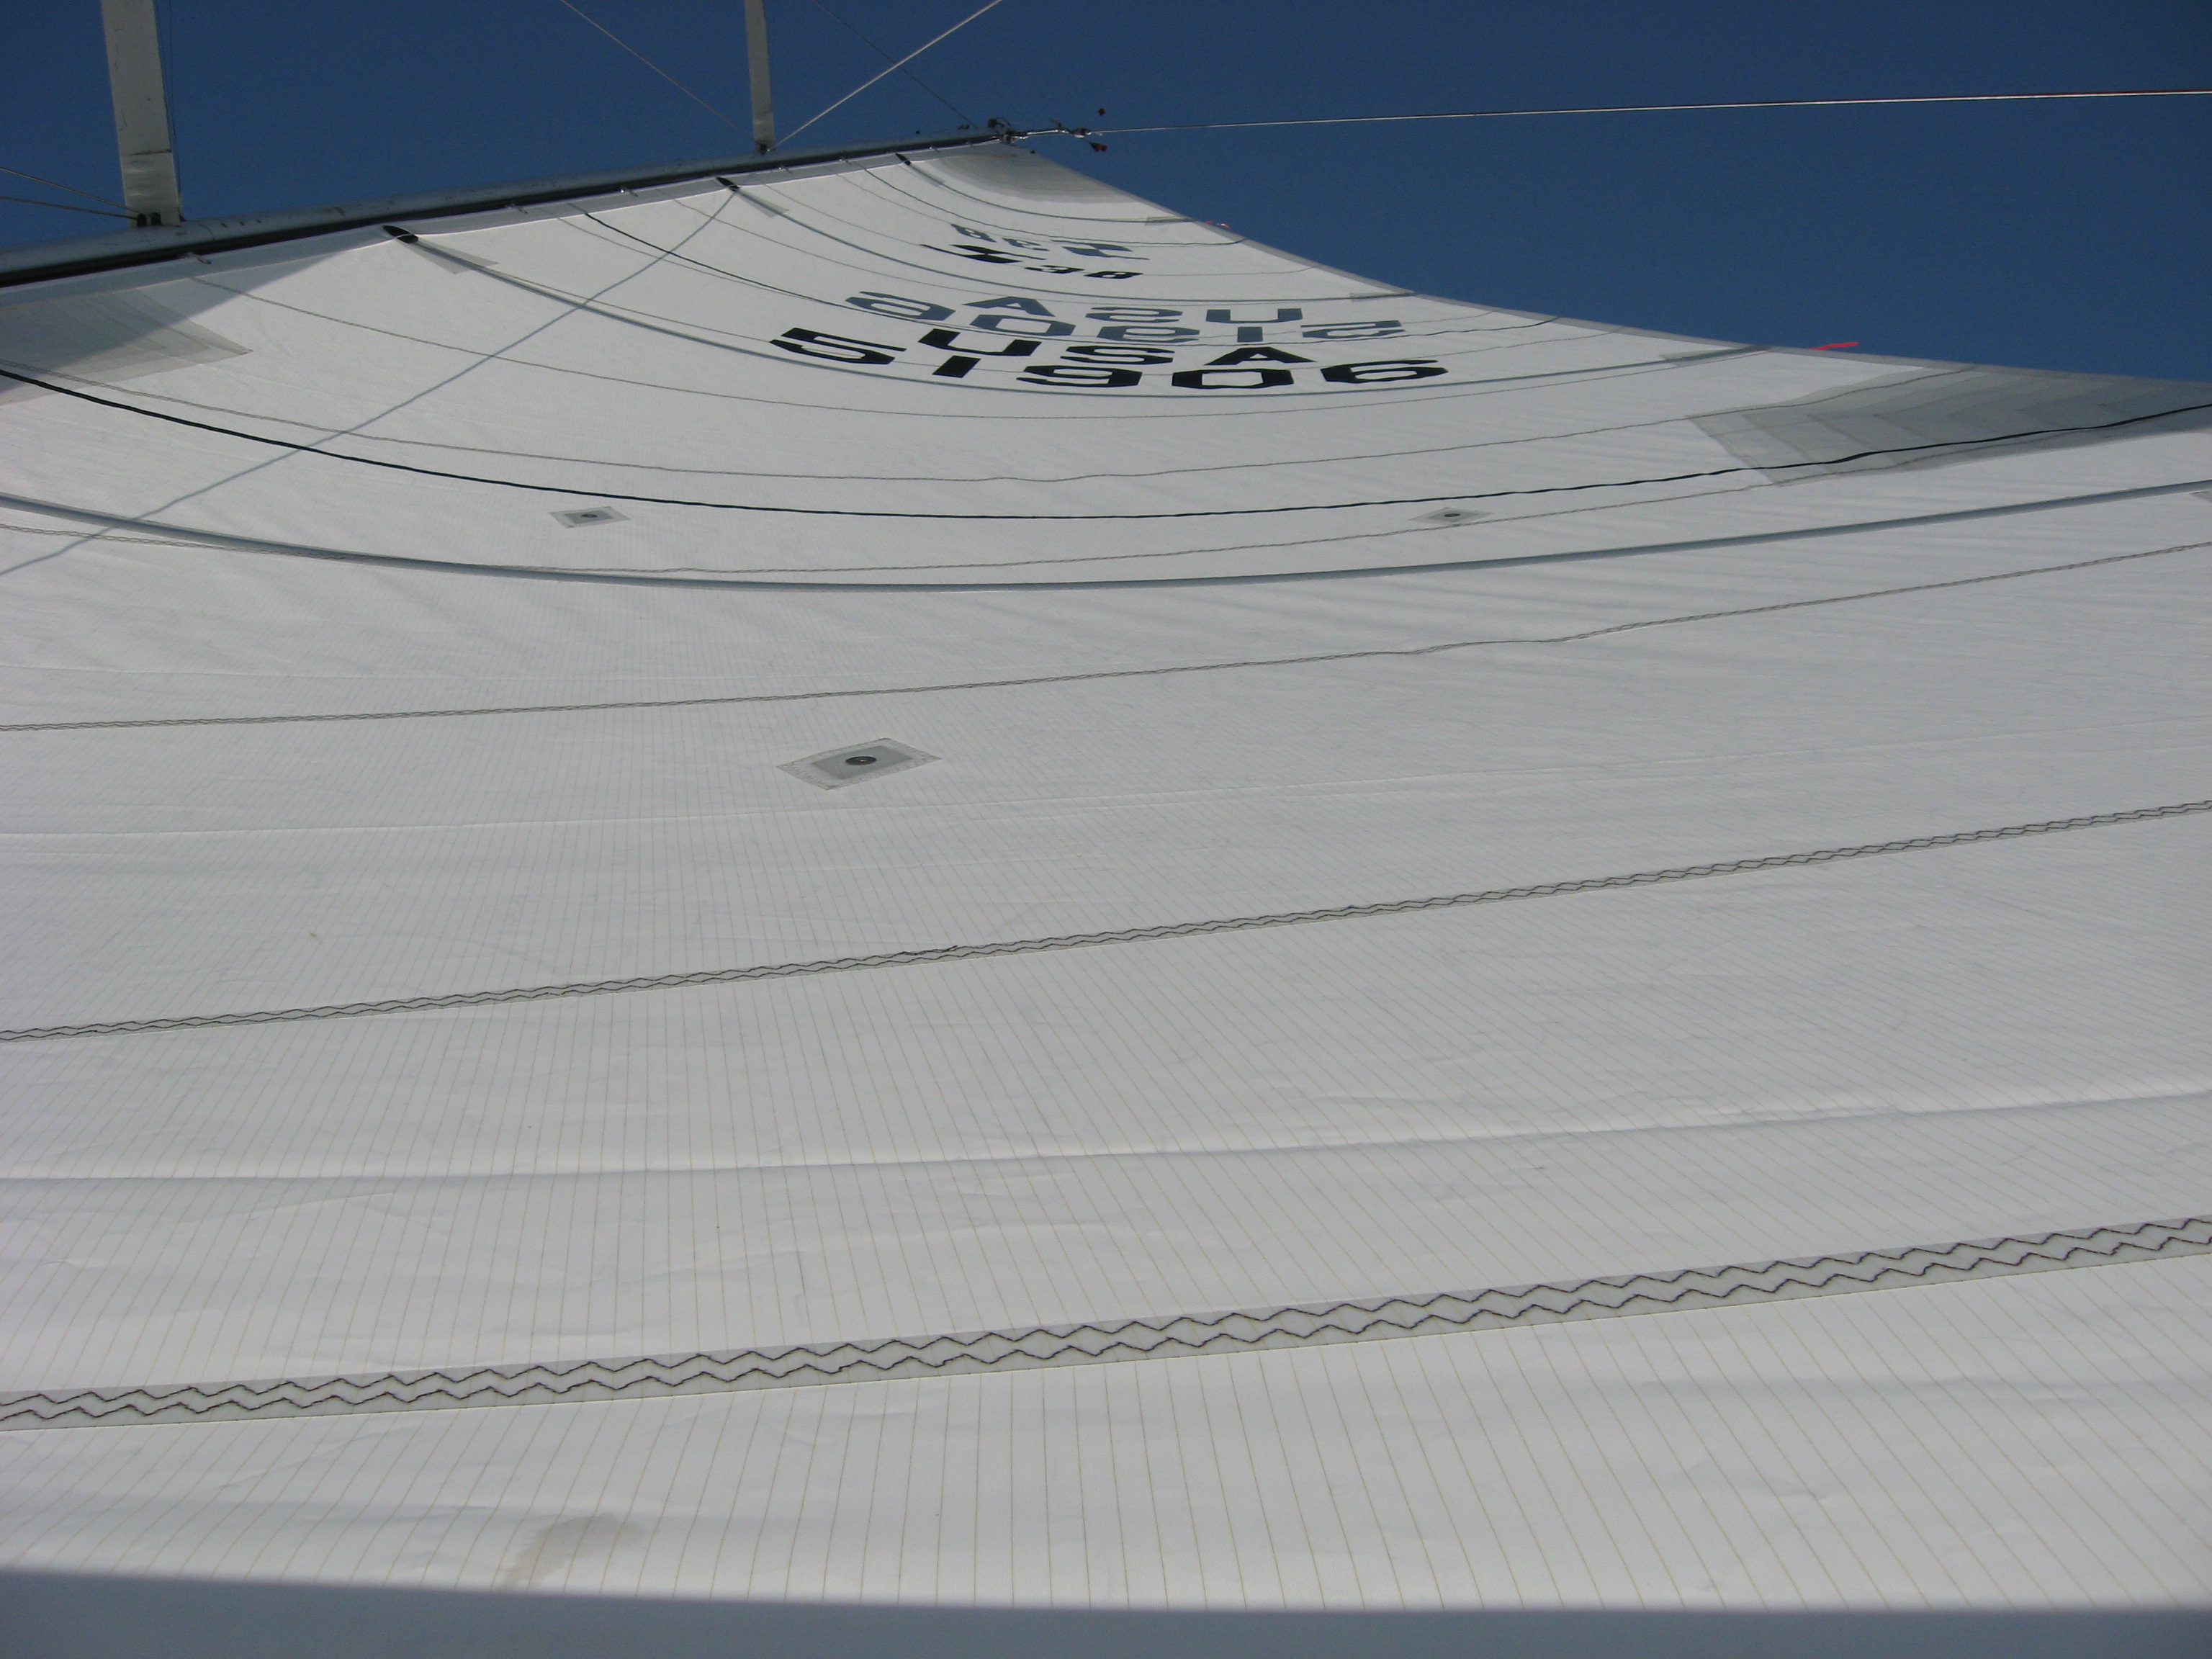
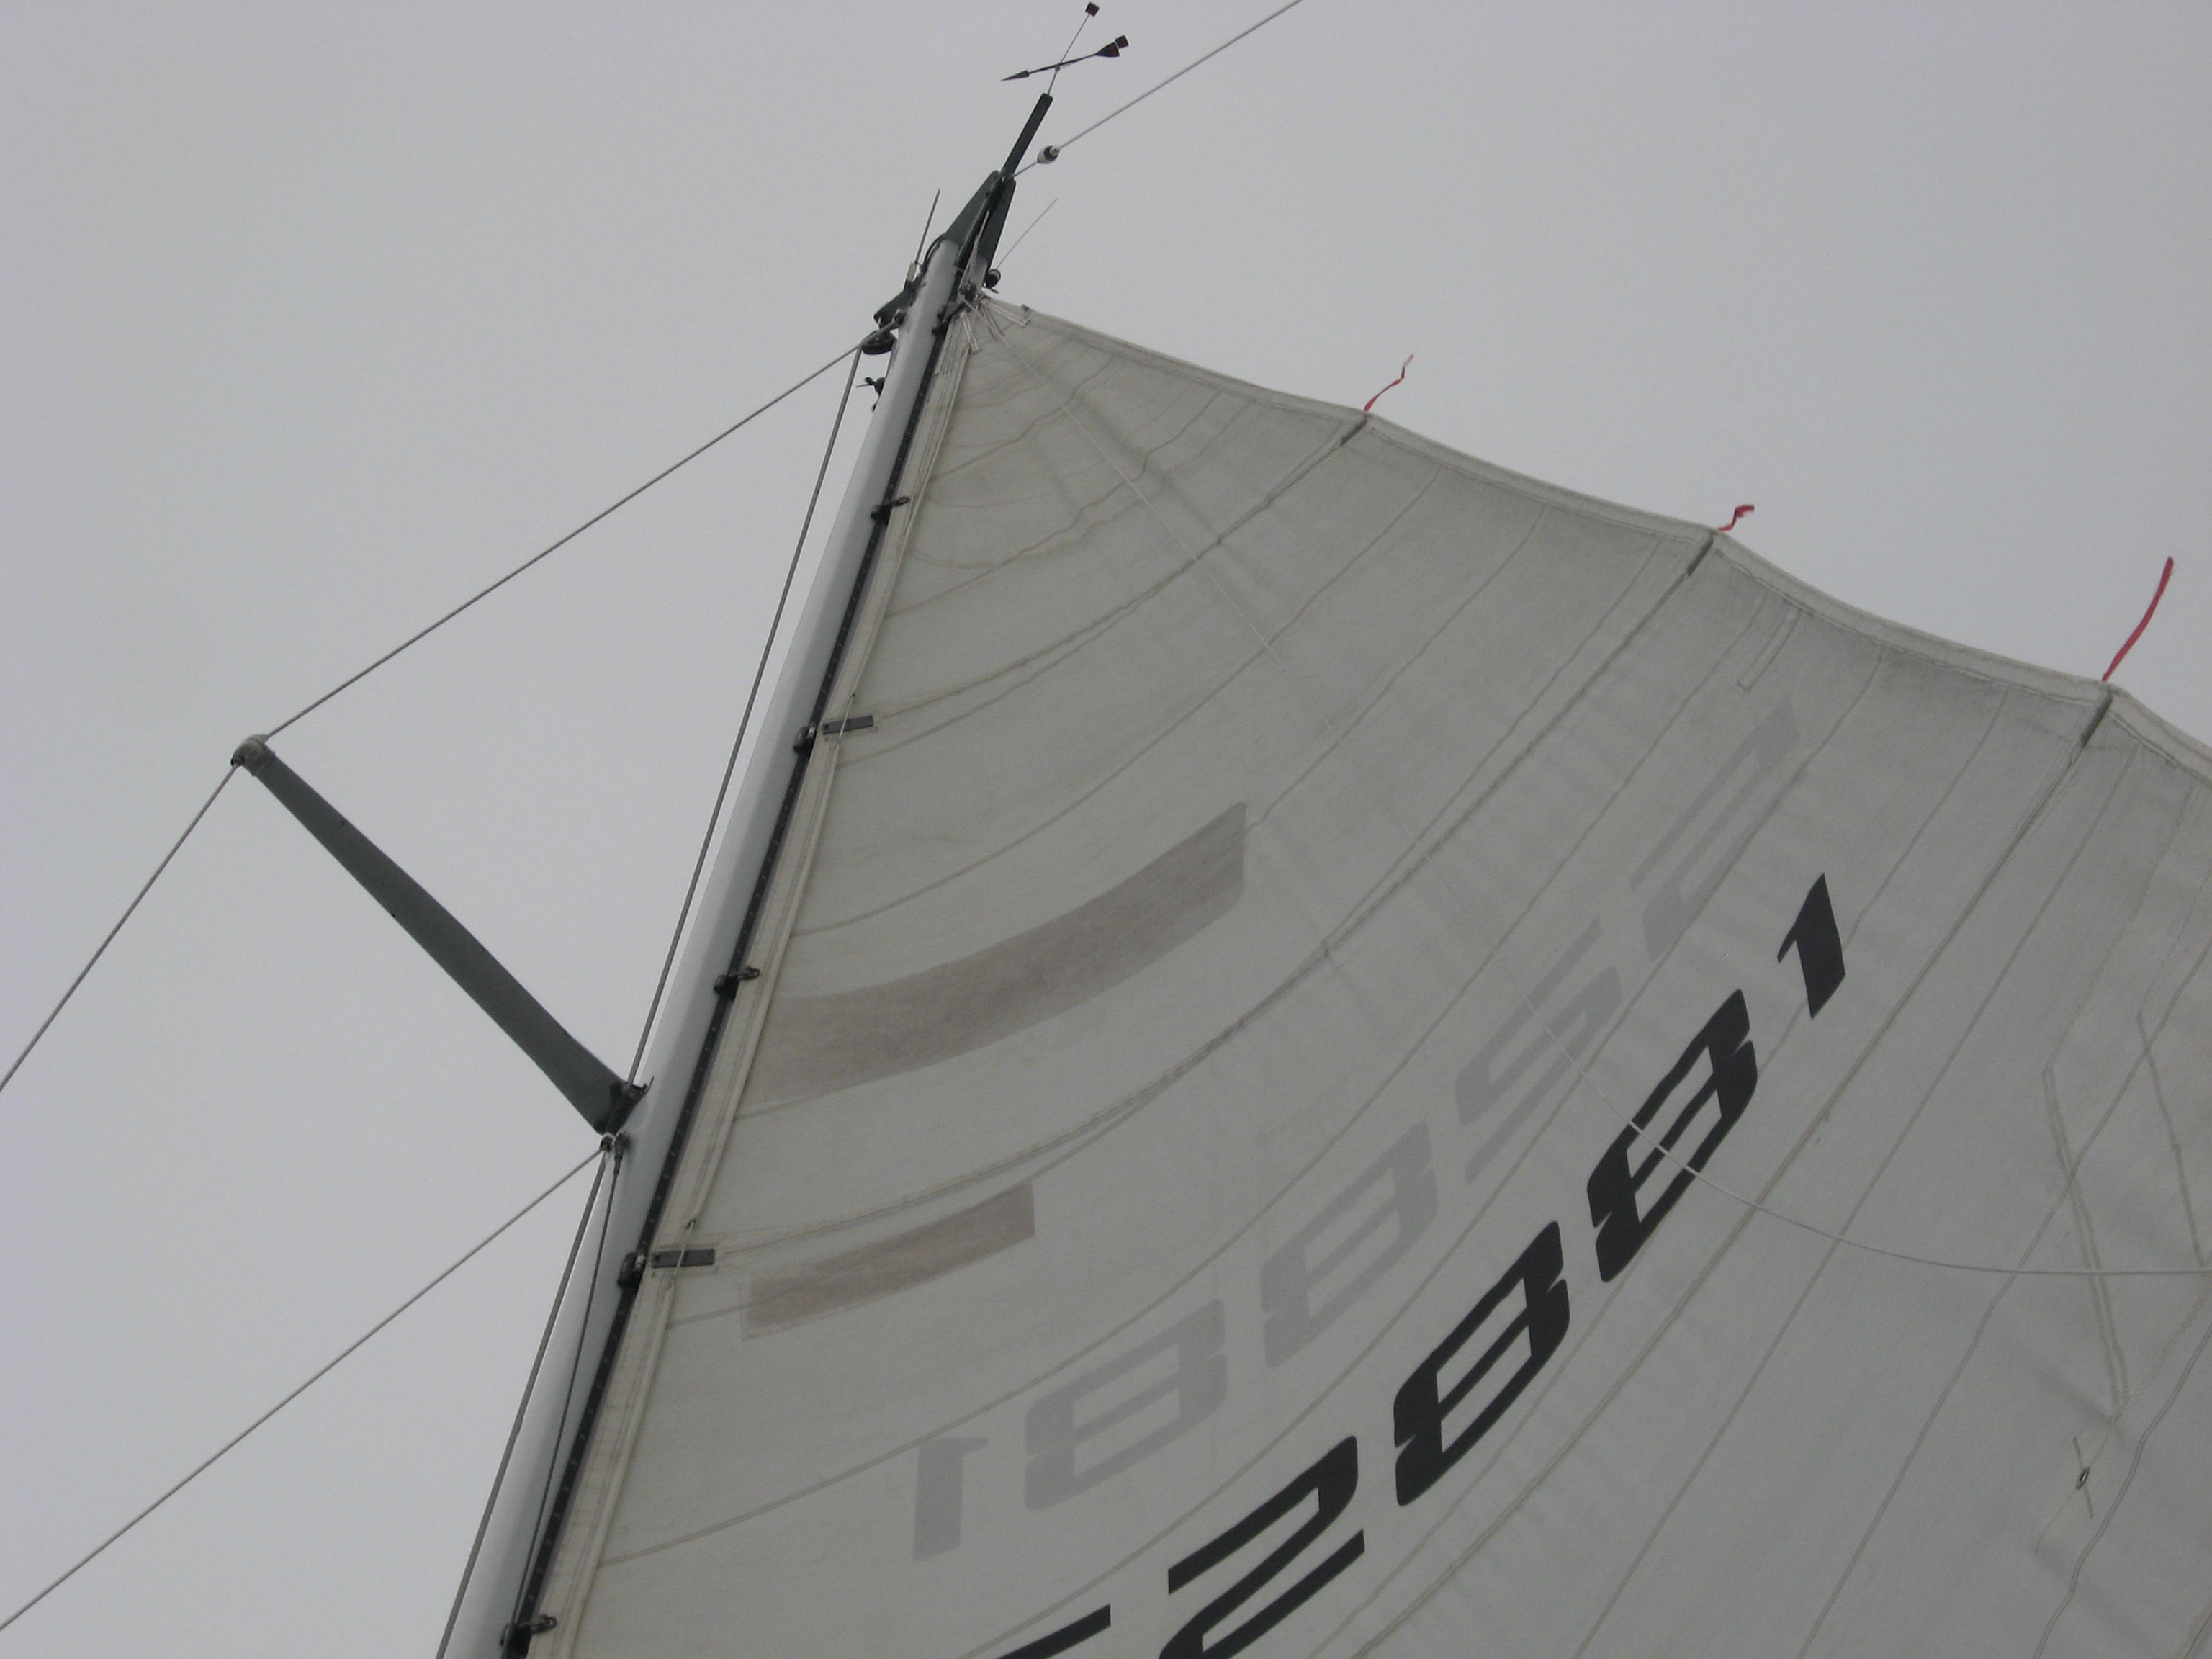
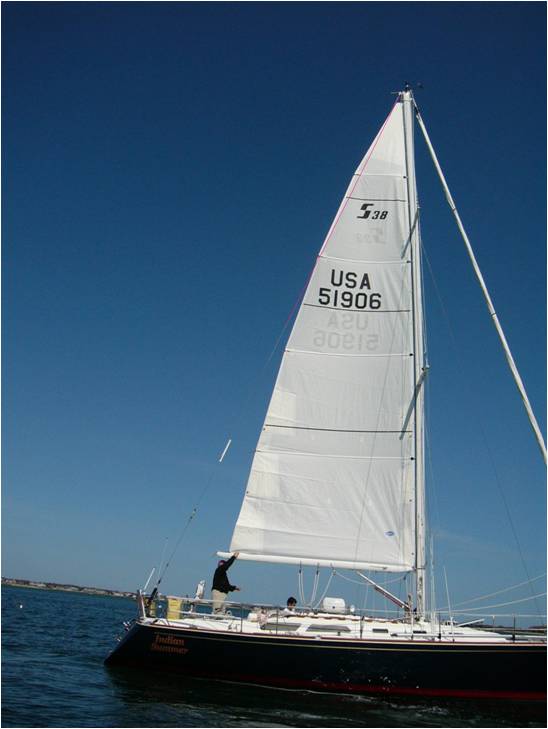
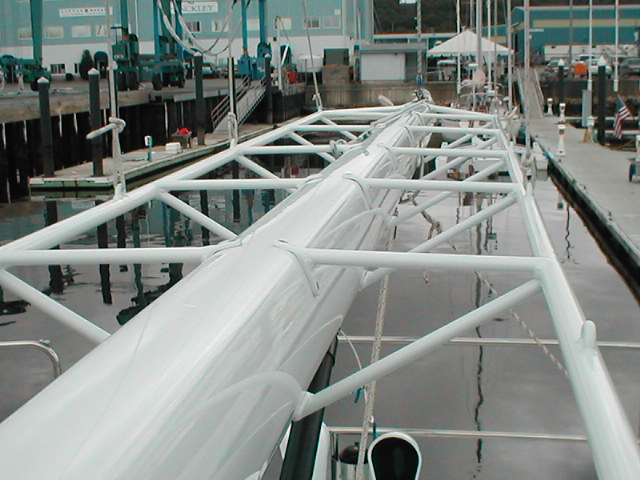
Sailmakers use all of this information regardless of what kind of mainsail they are designing. For cruising boats, you and the sailmaker need this information in order to make the sail so it does not overlap the backstay too much UNLESS this is something you have discussed with them.[ See here: Scroll down to the bottom two images]. It is necessary too for in boom mainsails because these booms are very precise on how much roach a sail can have-Too much and it will not roll properly. The roller booms come with a 30 (or so) page manual for the sailmakers. With the advent of battens for in-mast sails girths come into play too. For race sails, even for Wednesday night racing, of course you want the sail to be legal.
If you are taking the measurements off the boat yourself one thing they may ask for is the distance from the gooseneck, aft and parallel with the boom, to the backstay. In other words the position on the backstay where the boom would intersect the backstay ( if it was that long) If this distance does not have its own check box in the measuring form, make a note in the “comments” section of the form. These dimensions give the sail designer a triangle that outlines the area in which the sail might fit, unless you have come to terms with them for something else-Like a oversized roach. In other words a triangle with sides: Luff, the distance from head to boom/backstay intersect AND distance boom /backstay intersect. With this information the sail designer can place the backstay on the design software and so know where the girths are going to be relative to the backstay.
One last detail regarding girths….
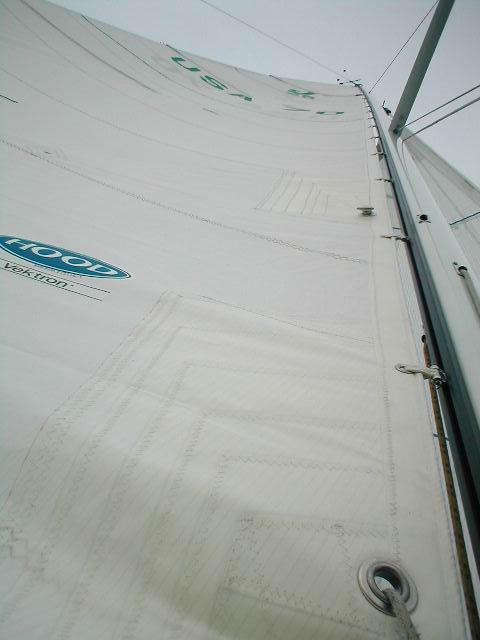
Girths can obviously have an impact on how much ROACH a sail has, BUT remember that the sail designer needs to take into account mast bend too. Sails have shaping in the luff and on a mainsail it is generally called luff ROUND, or sometimes positive, because it protrudes forward. The opposite is hollow, or negative.
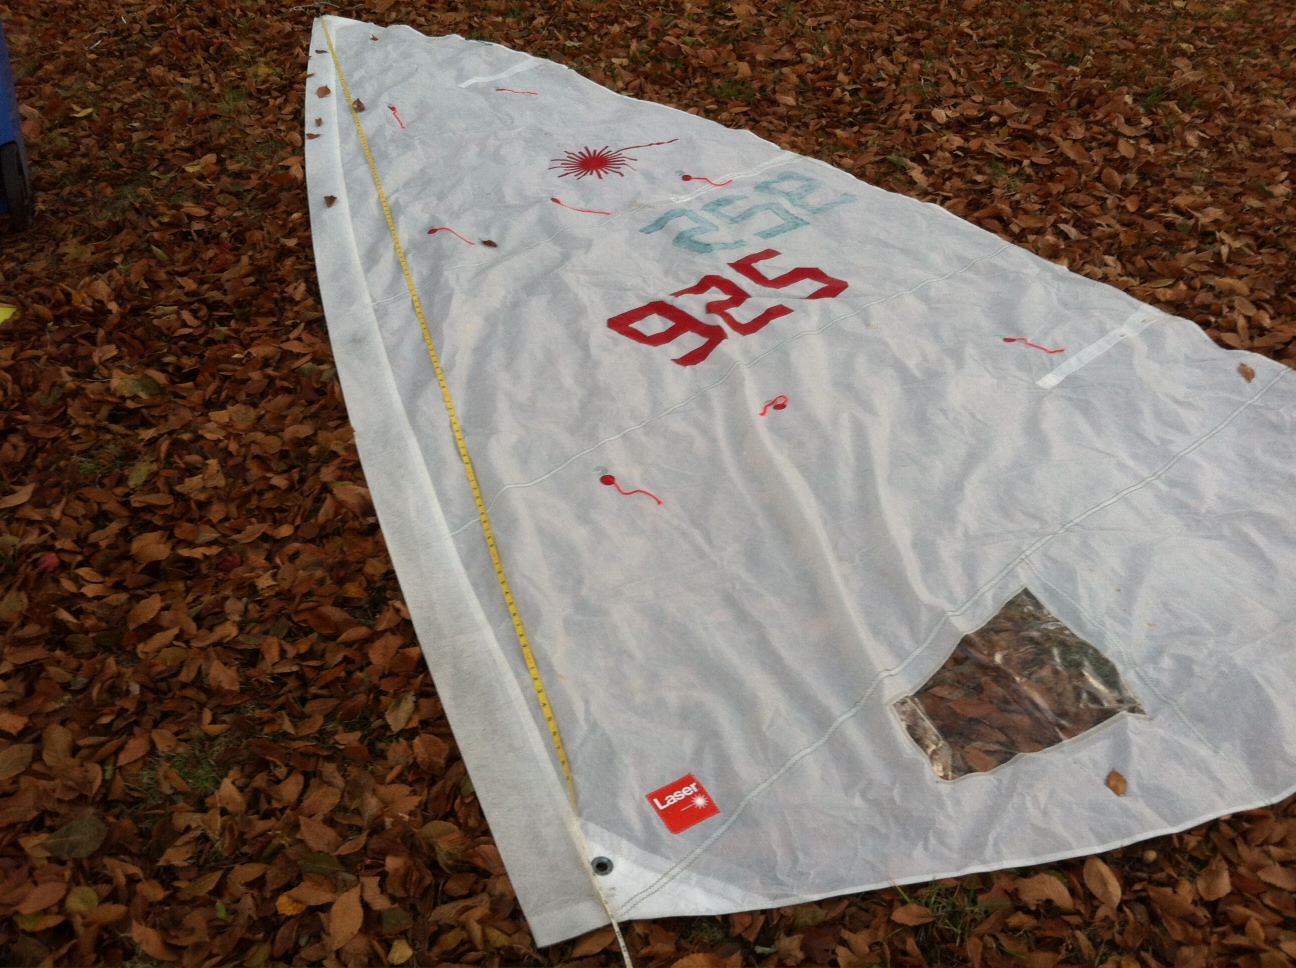
In this picture of the Laser sail, you can see the luff ROUND outside the straight line between the head and tack.
The relationship between ROACH and LUFF ROUND varies depending on many things but boat type, rig type, fractional Vs. masthead, degree of mast bend on either are some of the main ones. At the end of the day, the girths are one of the variables a sailmaker uses when determining how to design a sail and they have an impact on the sails roach. And the roach has an impact on whether or not the sail needs, or requires full length battens and if so what kind of sliders and related hardware is desirable.
These measuring protocols are the same for head sails and spinnakers. Remember this when we get to Code zeros in a while.