Mast RAKE and mast BEND are two aspects of a boat’s sail plan and rigging used in making small adjustments to the mast, thus the performance, on a sailing boat. The two adjustments are quite different. These two words and attendent adjustments are frequently confused among weekend sailors. I will try to separate the two in this post.
Mast RAKE refers to the distance aft of perpendicular (to the waterline-Horizontal) the top of the mast is. It is used to fine-tune the boats balance and is generally not changed very often on cruising boats and perhaps never.
Mast BEND refers to applying tension to the backstay so that the mast bends to some degree. The amount of bend varies with the boat. BEND can be adjusted on the boat while sailing to change the sail shape and is adjusted depending on the wind speed.
I will address mast rake first.
MAST RAKE:
Some background:
Sail boat designers need to make sure the boat will ‘balance’ when sailing. This means in practice that there will be the ‘right’ amount of pressure, or ‘helm’, on the tiller or wheel when sailing up wind in about 10-15 knots of true wind. This balance is created by the relative positions of two features of the boat’s design. The sail plan’s Center of Effort (CE) and the boat’s (the hull, keel and rudder) Center of Lateral Resistance (CLR). The center of effort of the sail plan is quite easy to determine.
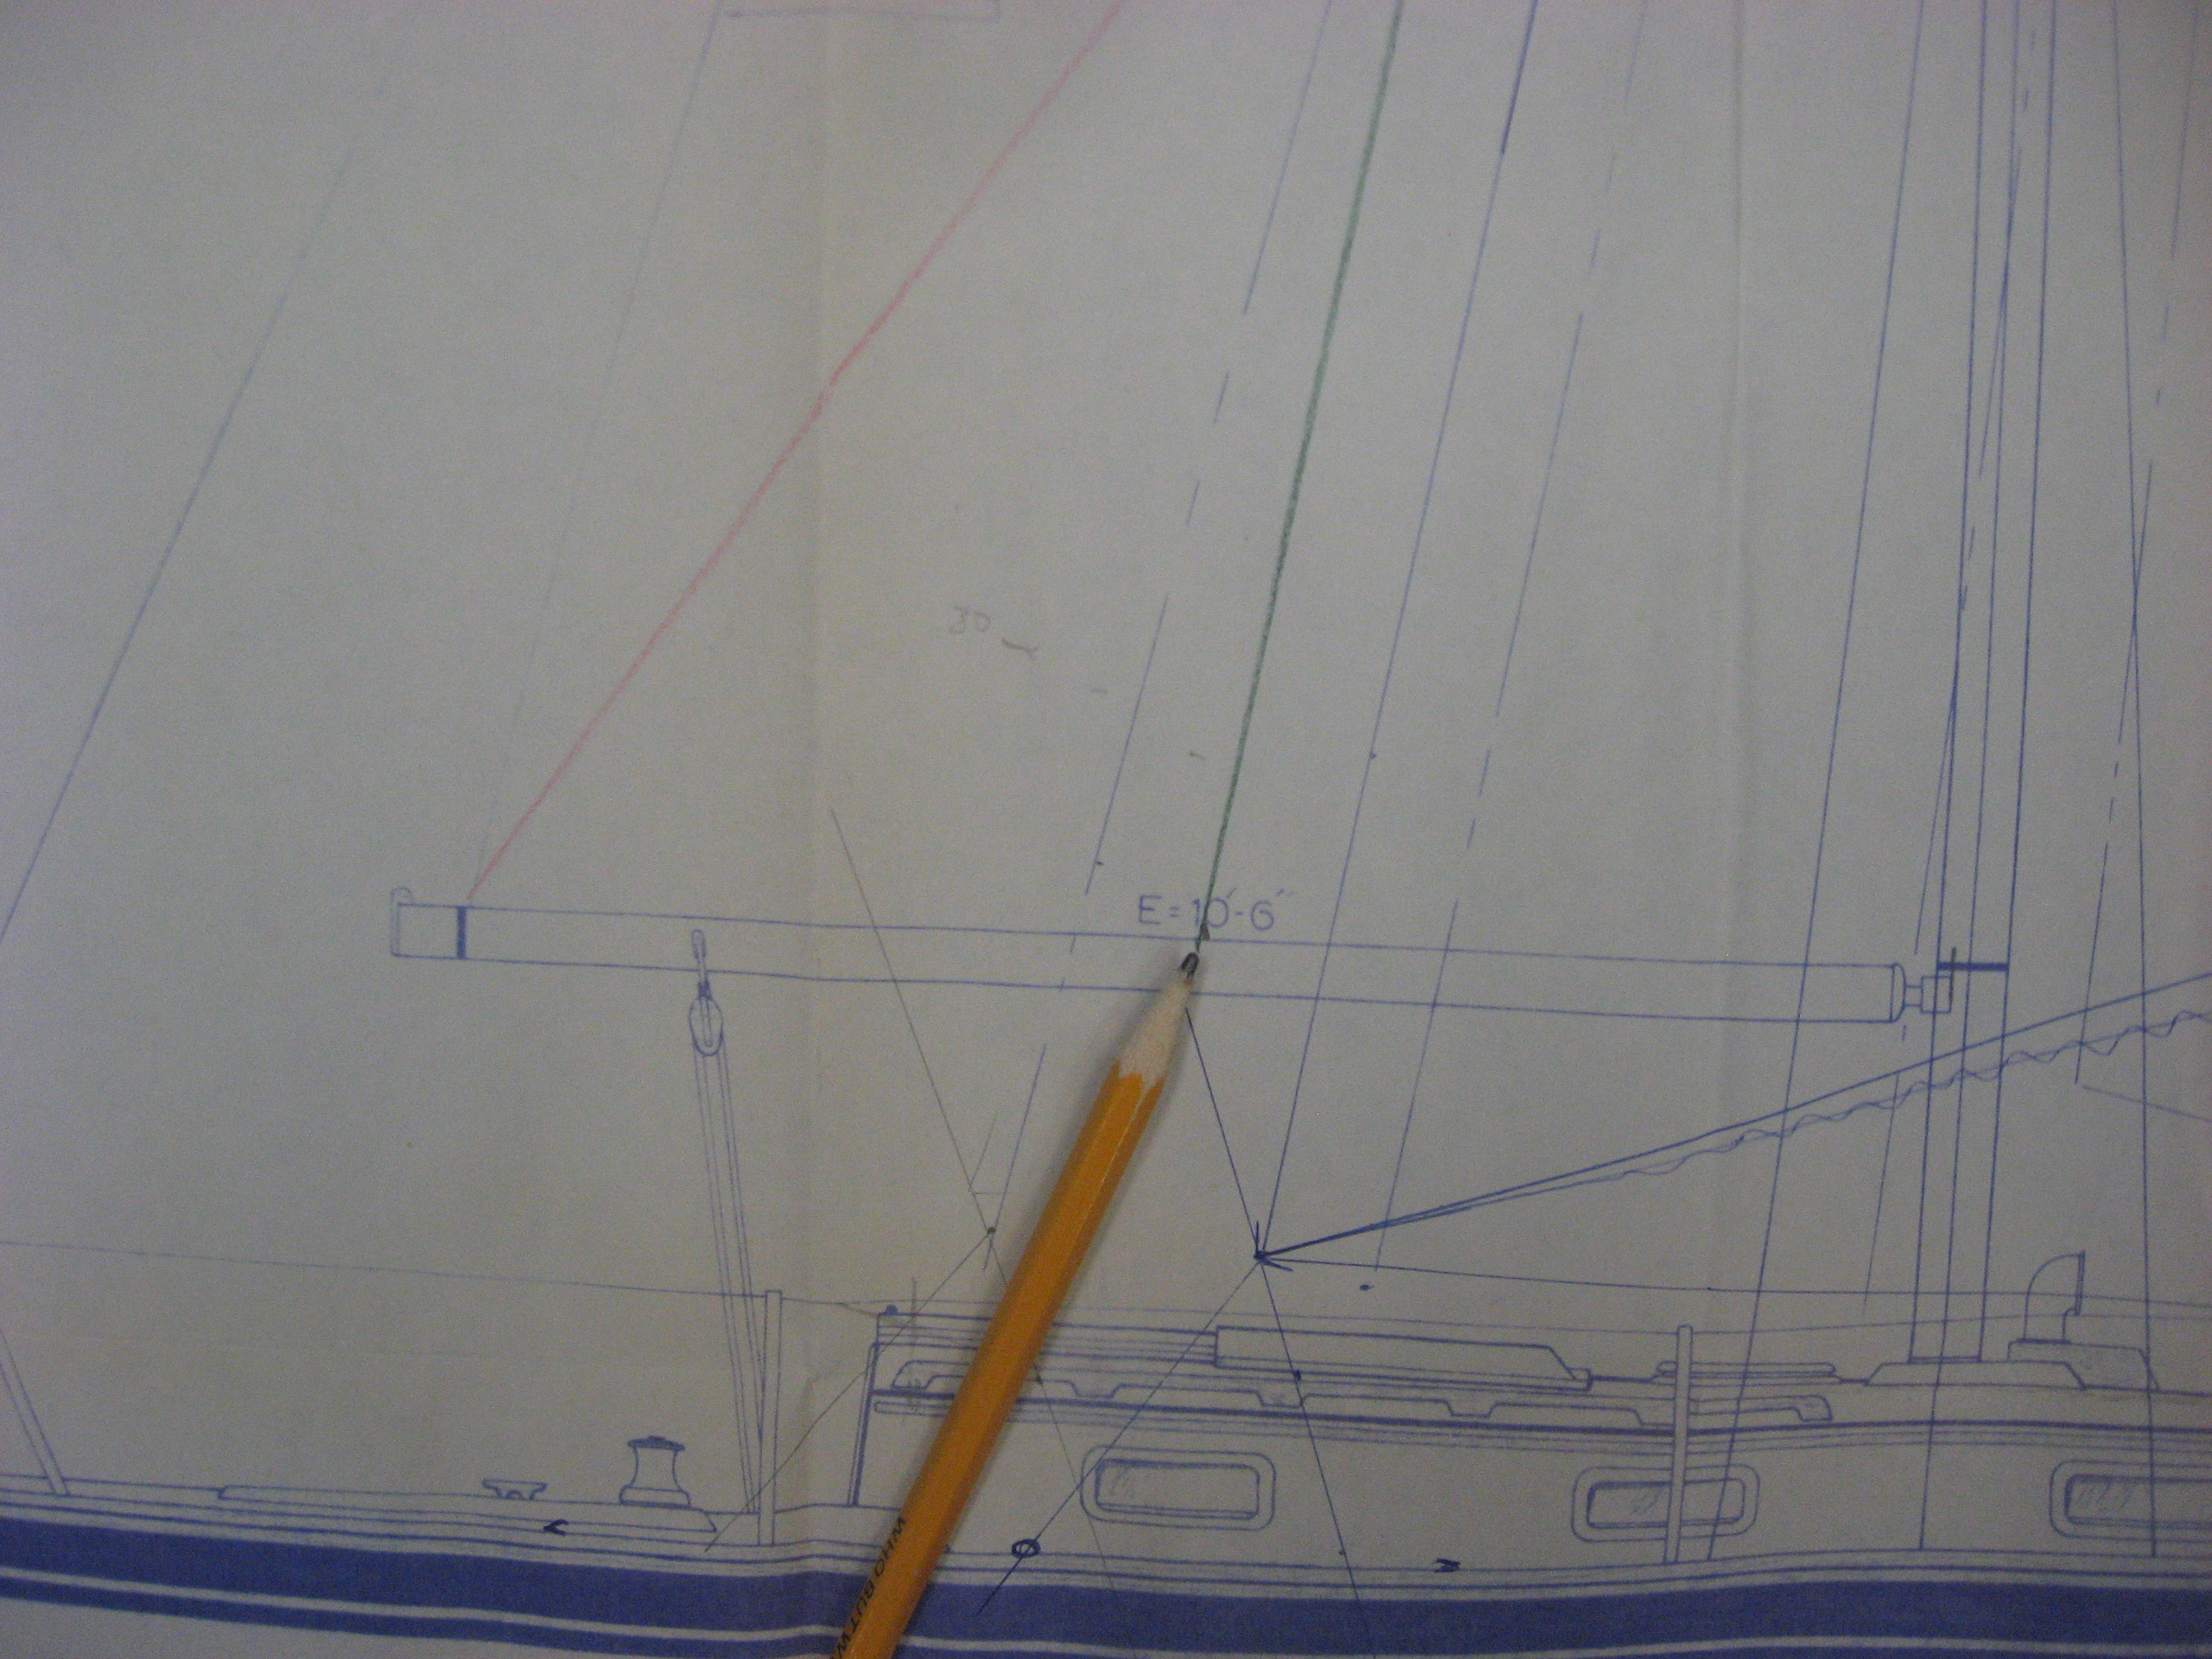
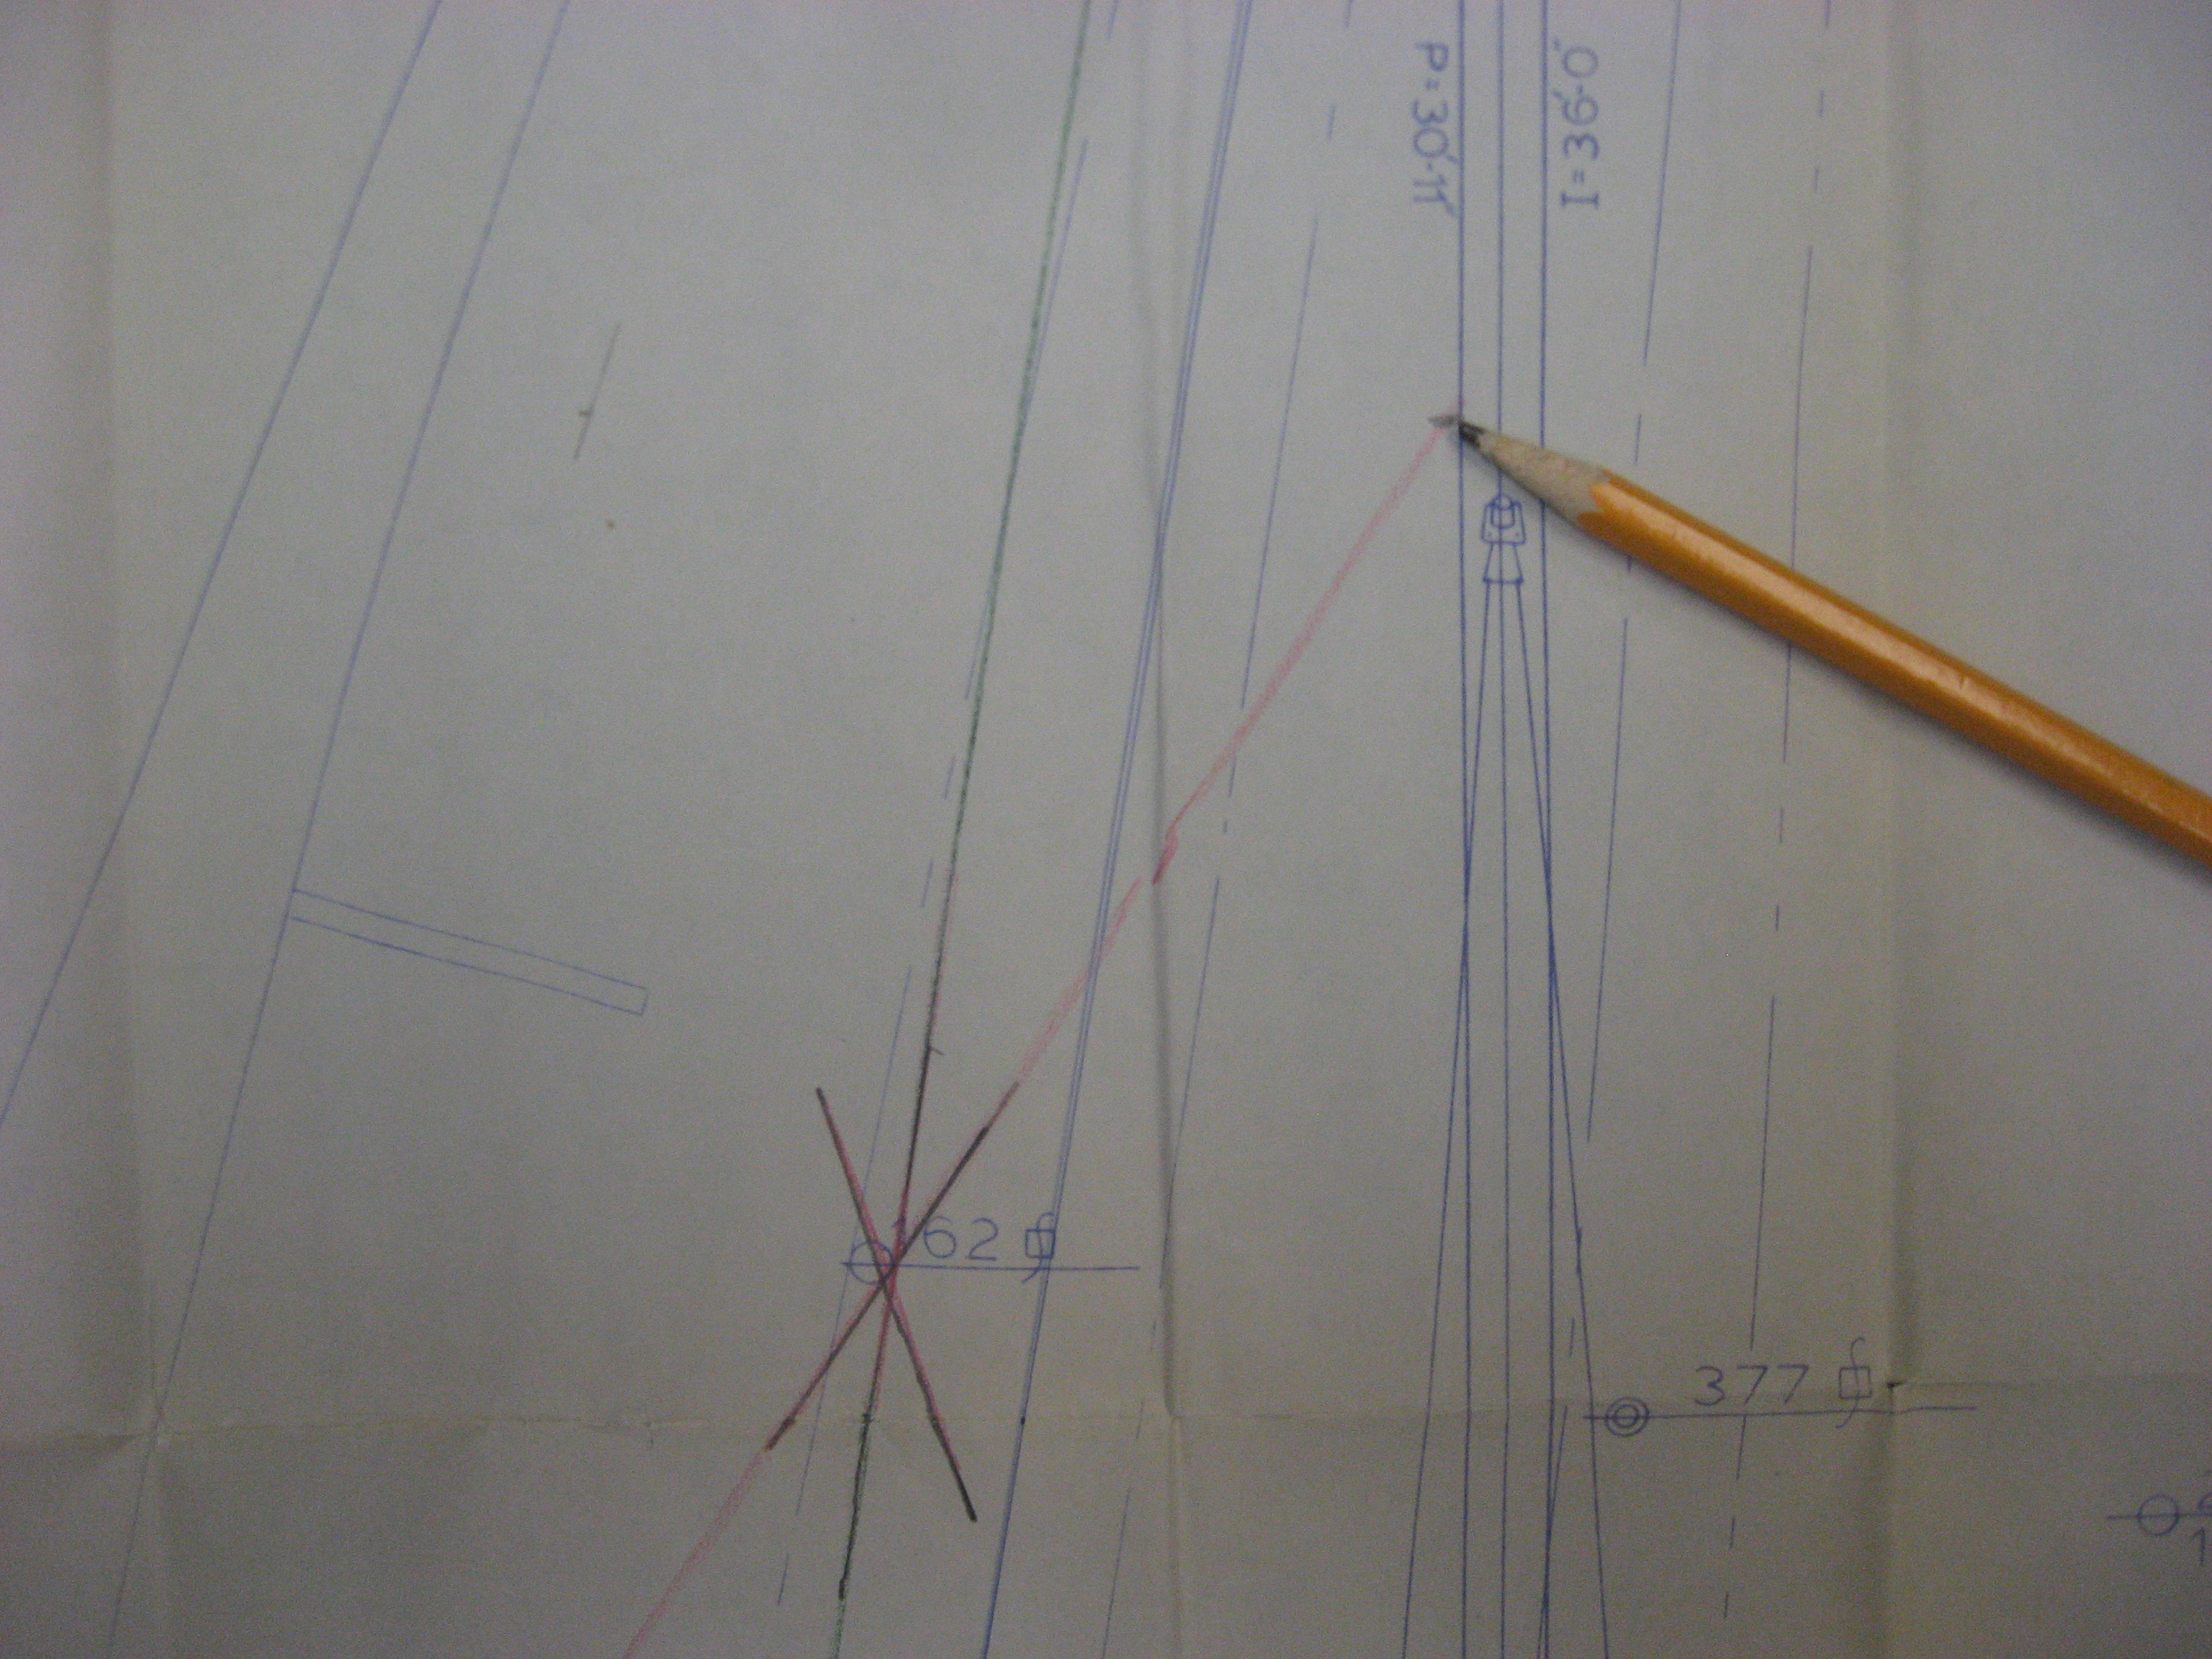
In the picture below you will see three short pencil lines at the pointy end of the crayon. This is the position of the sails C of E that I drew for this exercise. If you look carefully you will see the Designers hand written note indicating HIS C of E on the sail plan, (and a note on the sail’s size in square feet) immediately under where I found the C of E.

The intersections of the pencil lines is the Center of Effort of this sail
The designer calculates the C of E by drawing three lines on the sail plan. They are drawn from the center of one edge of the triangle (the sail) to the opposite angle as seen in the image below.

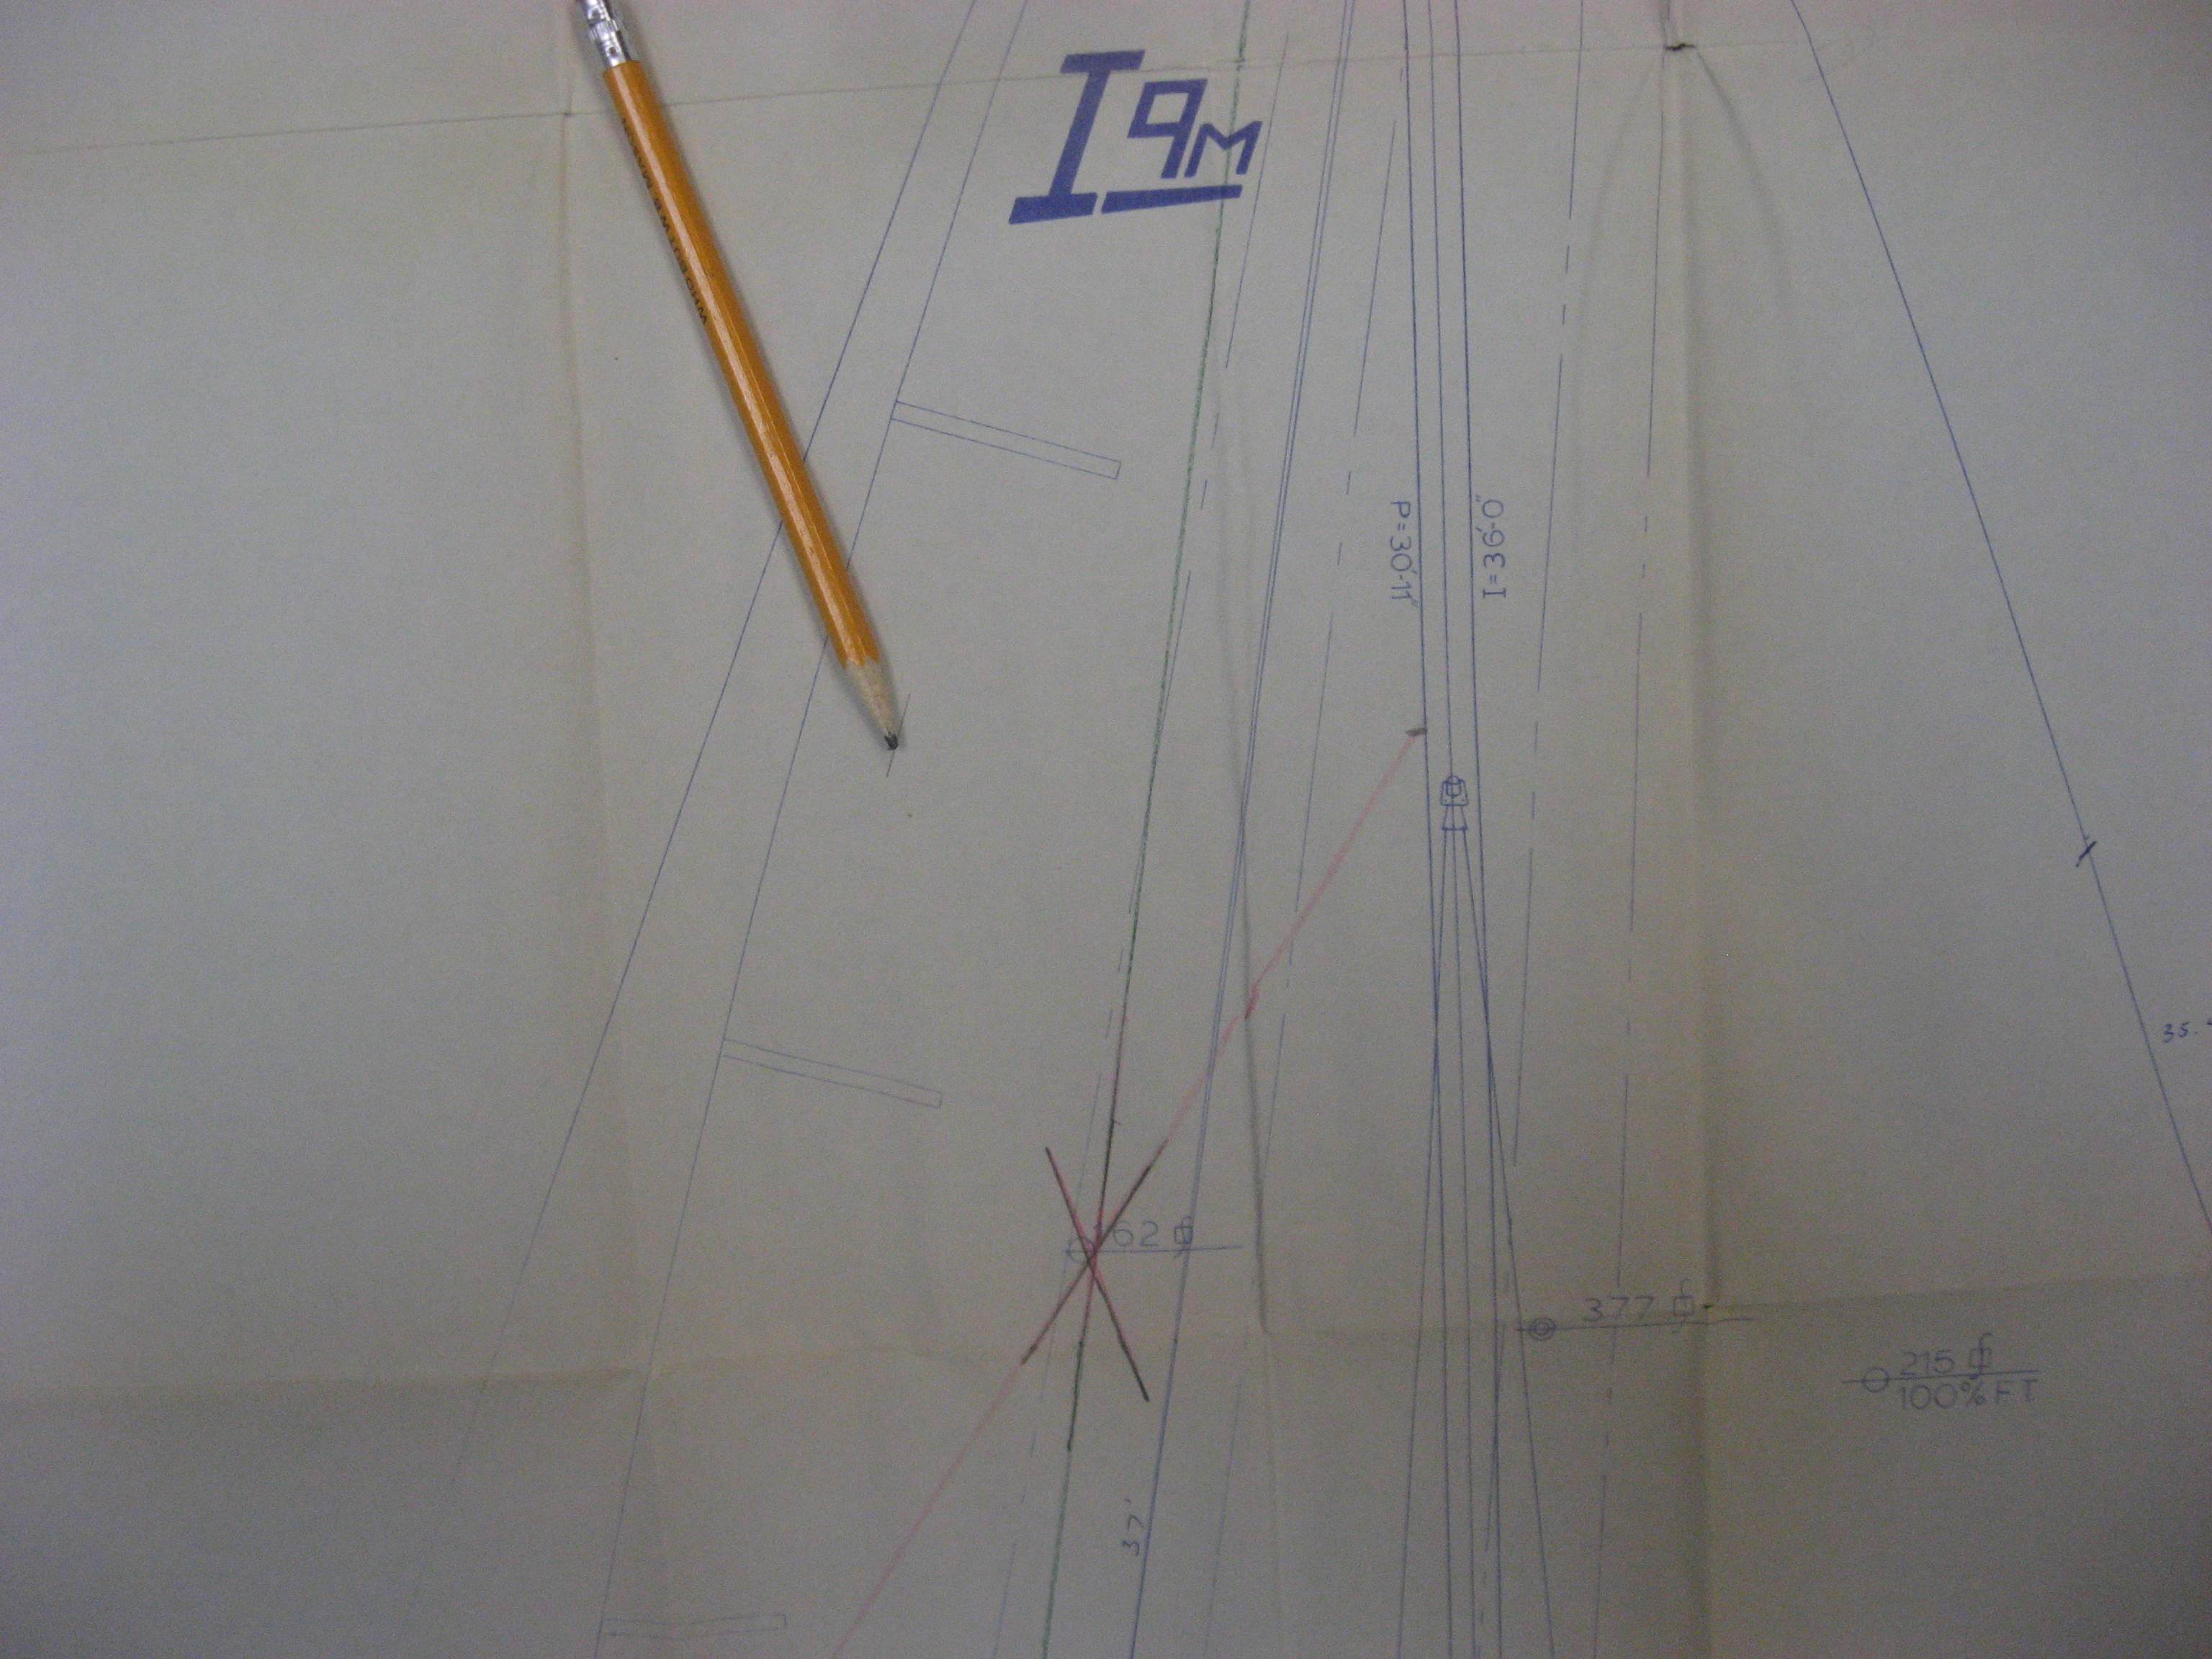
Big picture of the the center of effort
Lines are struck from the mid-point of the boom to the head, from the mid-point of the mast to clew and the mid-point of the leech to the tack. Where the lines intersect is the C of E. This point is an integral part of the sail and ‘moves’ with the sail. So if for instance the fore stay is lengthened, the mast HEAD moves aft (increasing the rake) the C of E moves aft (creating more weather helm). The reverse reduces weather helm and if excessive, creates neutral or sometimes lee helm.
Mid point of boom.
The C of E is found by striking a line from each sides of the triangle to the opposite corner. Above is the mid-point of the boom, to the head of the sail.
A line from the mid point of the mast to the clew
The picture above shows a line from the mast mid-point to the clew.
And this line is from the leech mid-point to the tack
Sailmakers need to know the mast rake for a few reasons all to do with making sure the sail(s) fit the boat.
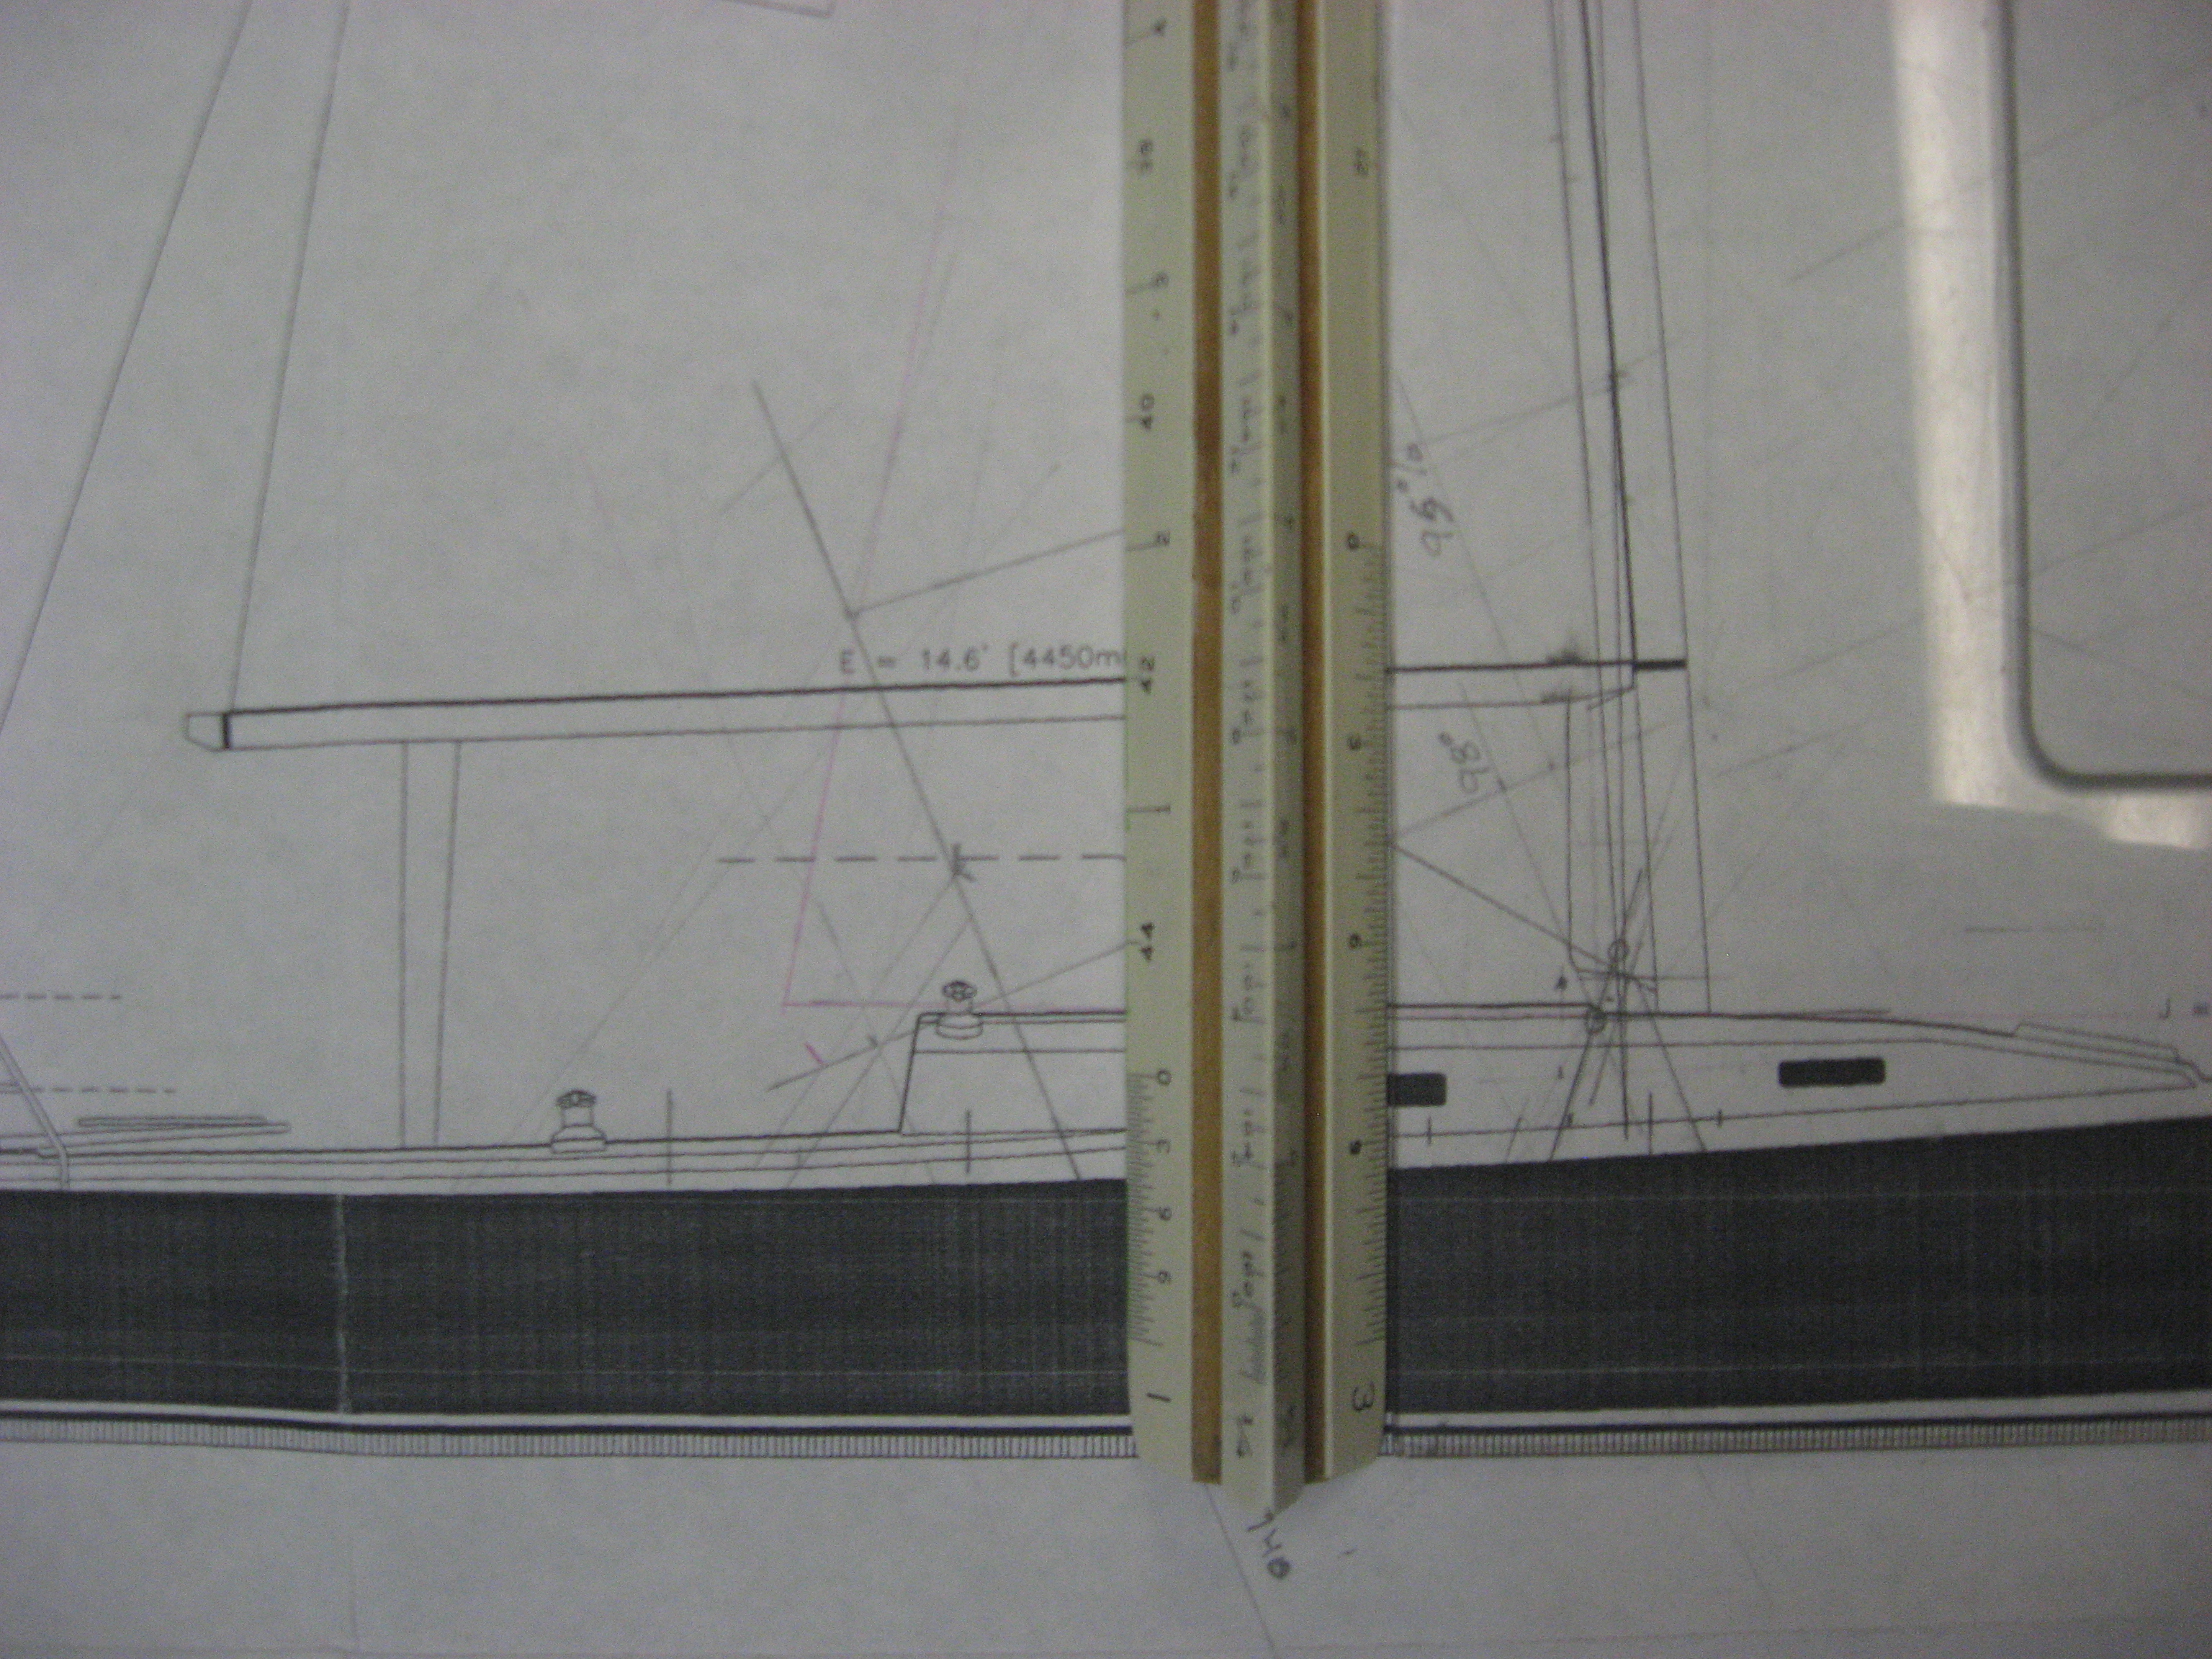
RAKE is determined in most boats, not dinghies (they use another way) by measuring the distance the masthead is AFT of vertical, that is perpendicular to the waterline. It is measured at the boom and described as “xx inches of rake”, at least among Sailmakers & Riggers. Generally it looks like this:
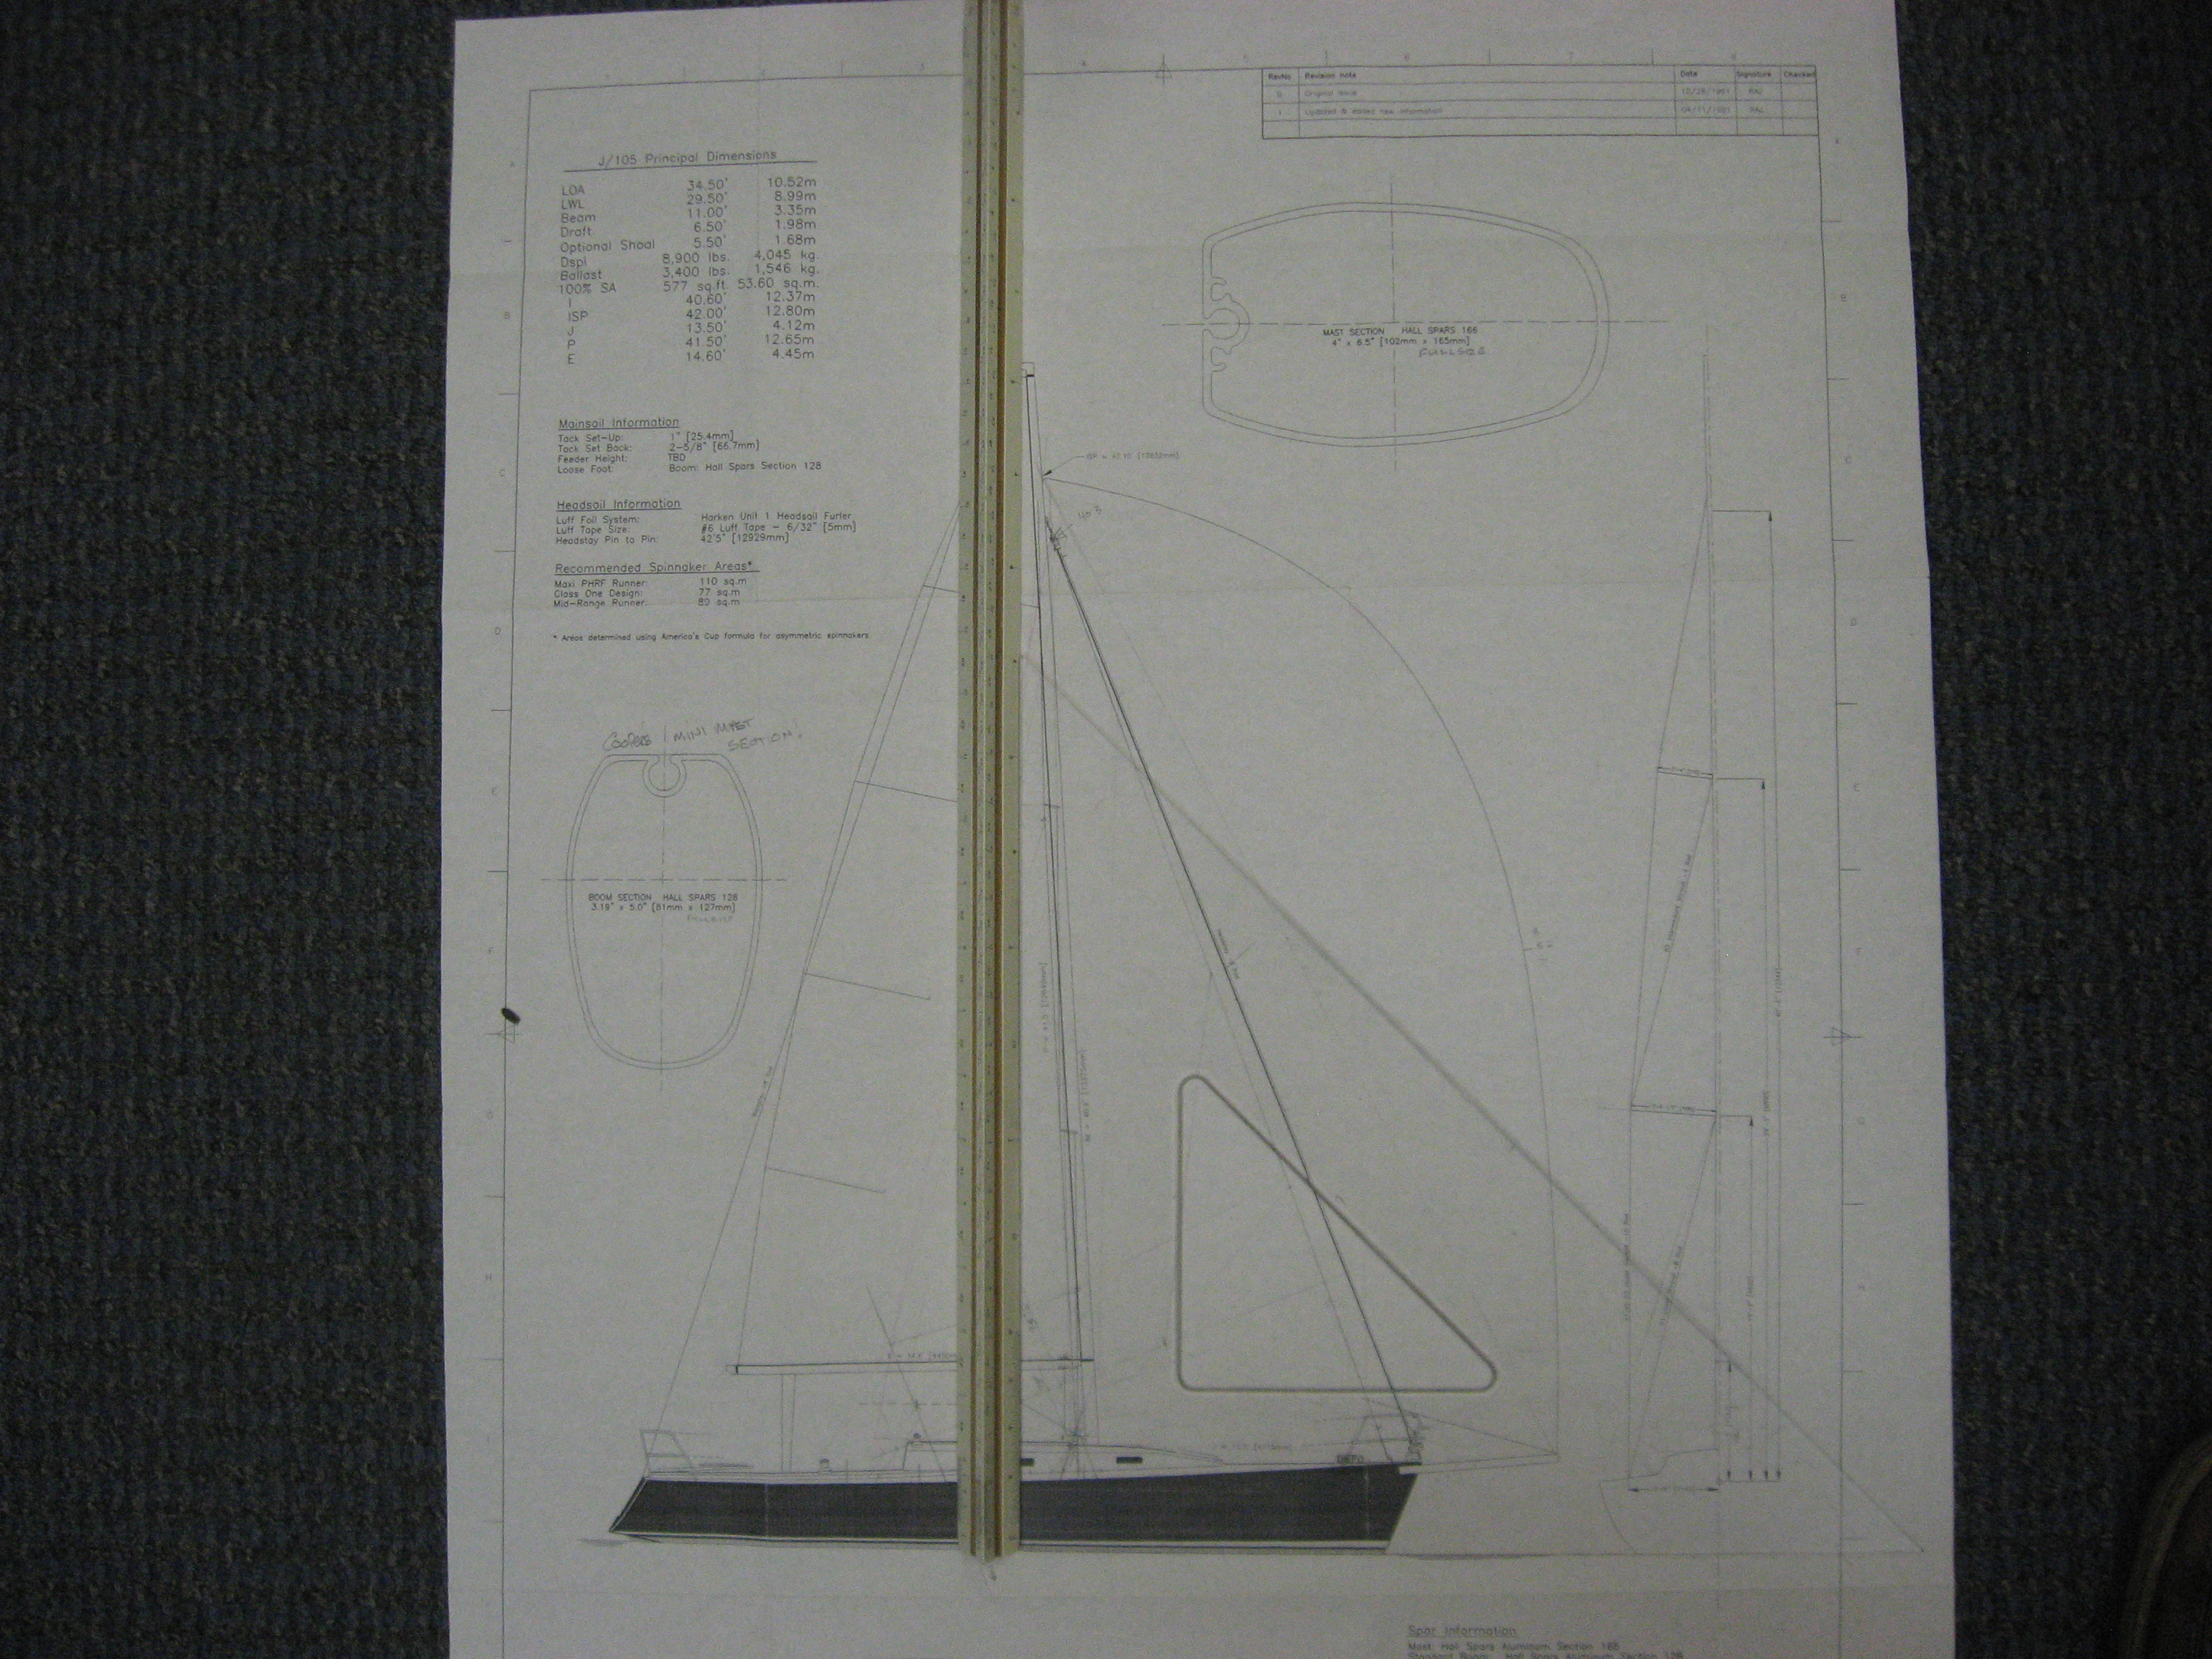
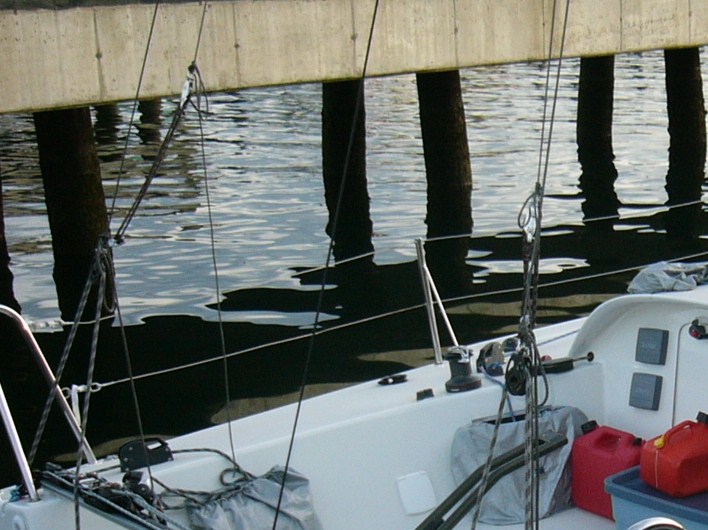
Mast rake measurement on a J-105 rig.
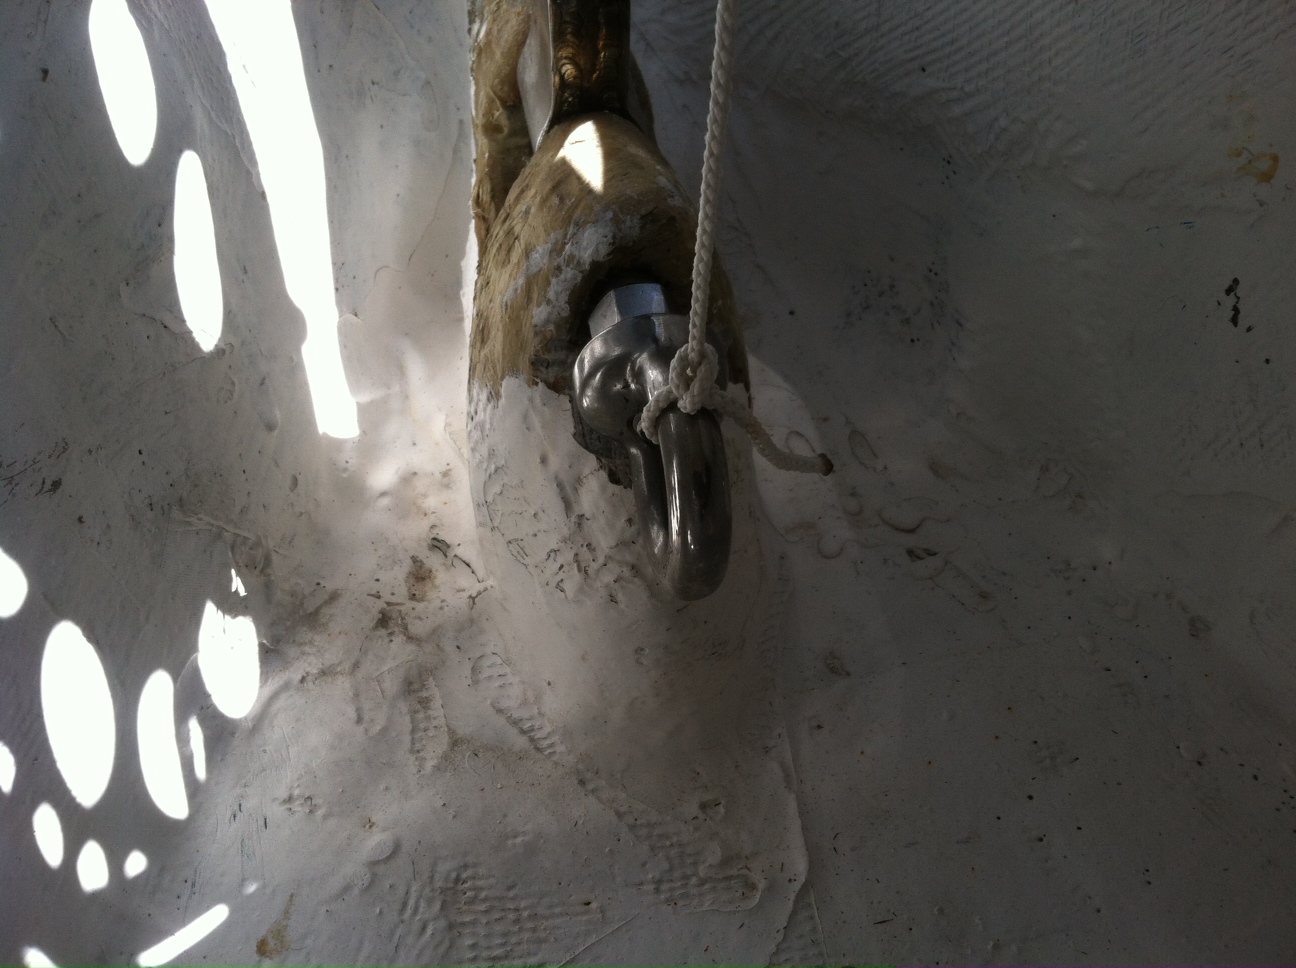
The ruler shown above is set perpendicular to the water line, (on the dwg,) and just touching the back of the mast at the masthead (see picture of mast head below). Sailmakers do this, on a sail plan by using the right angle triangle on the right and laying the ruler alongside the triangle so it touches the mast head while perpendicular to the LWL. You can see here the rake on the J-105 on the sail plan is considerable.
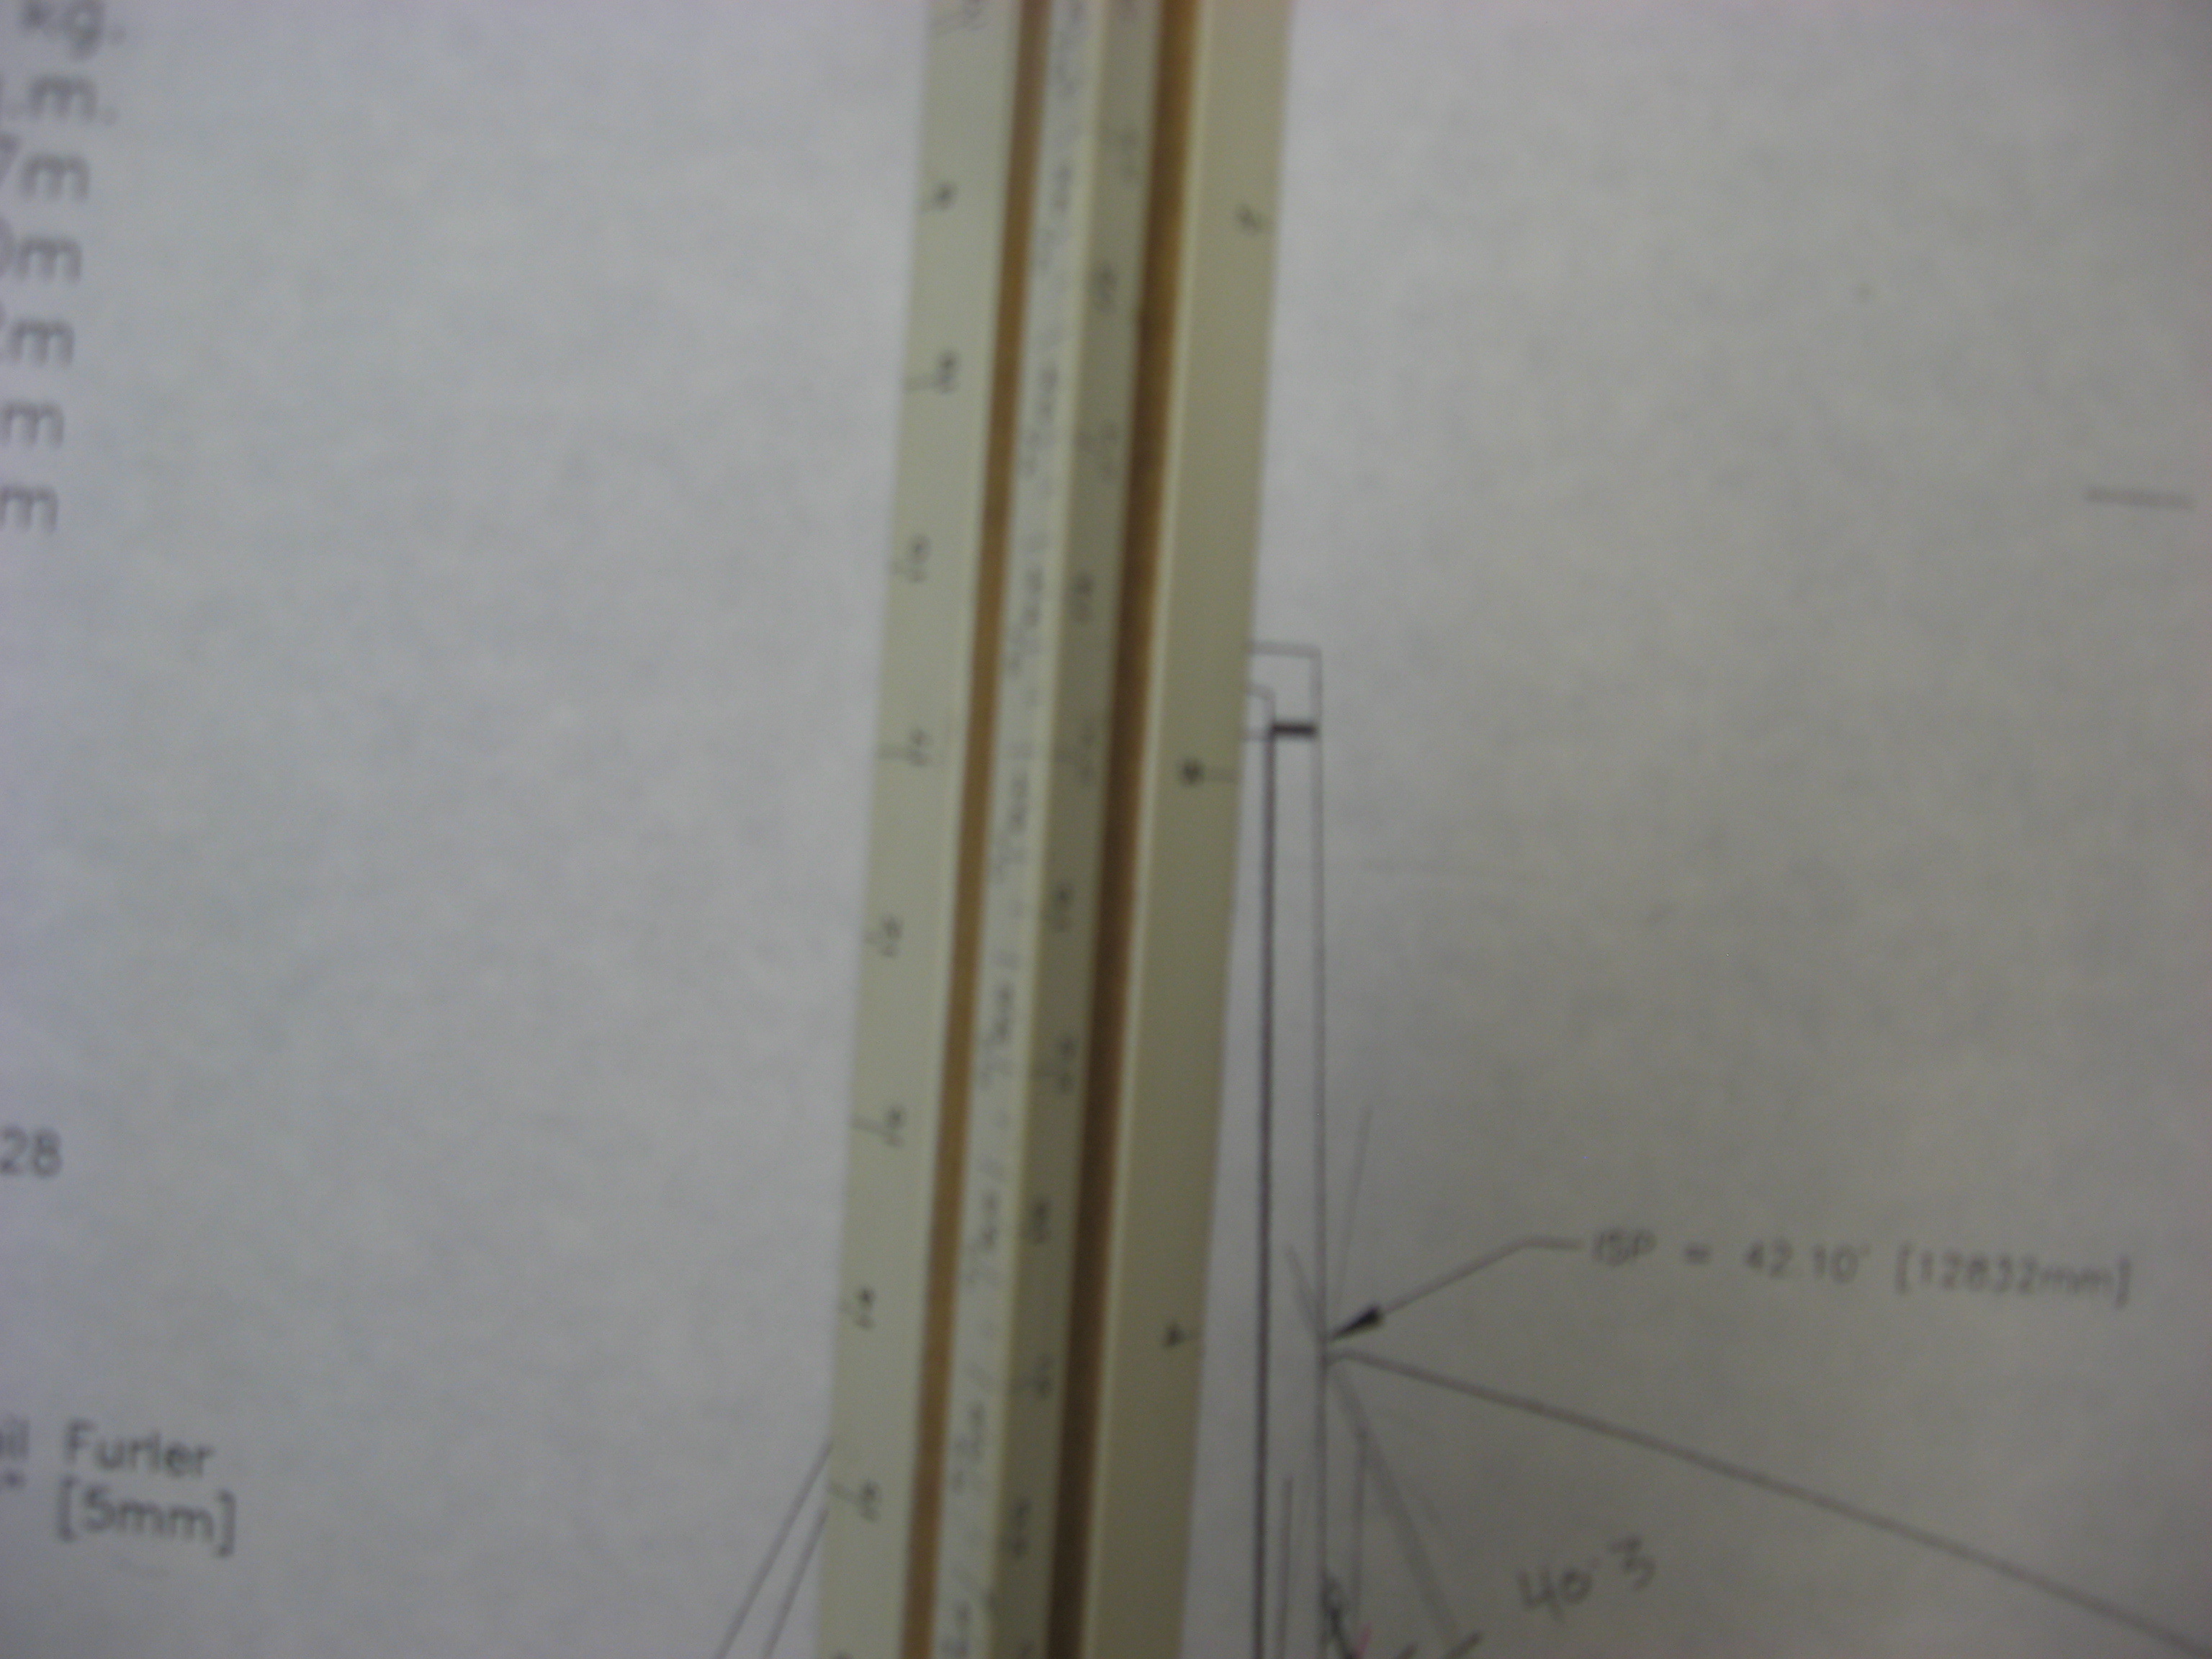
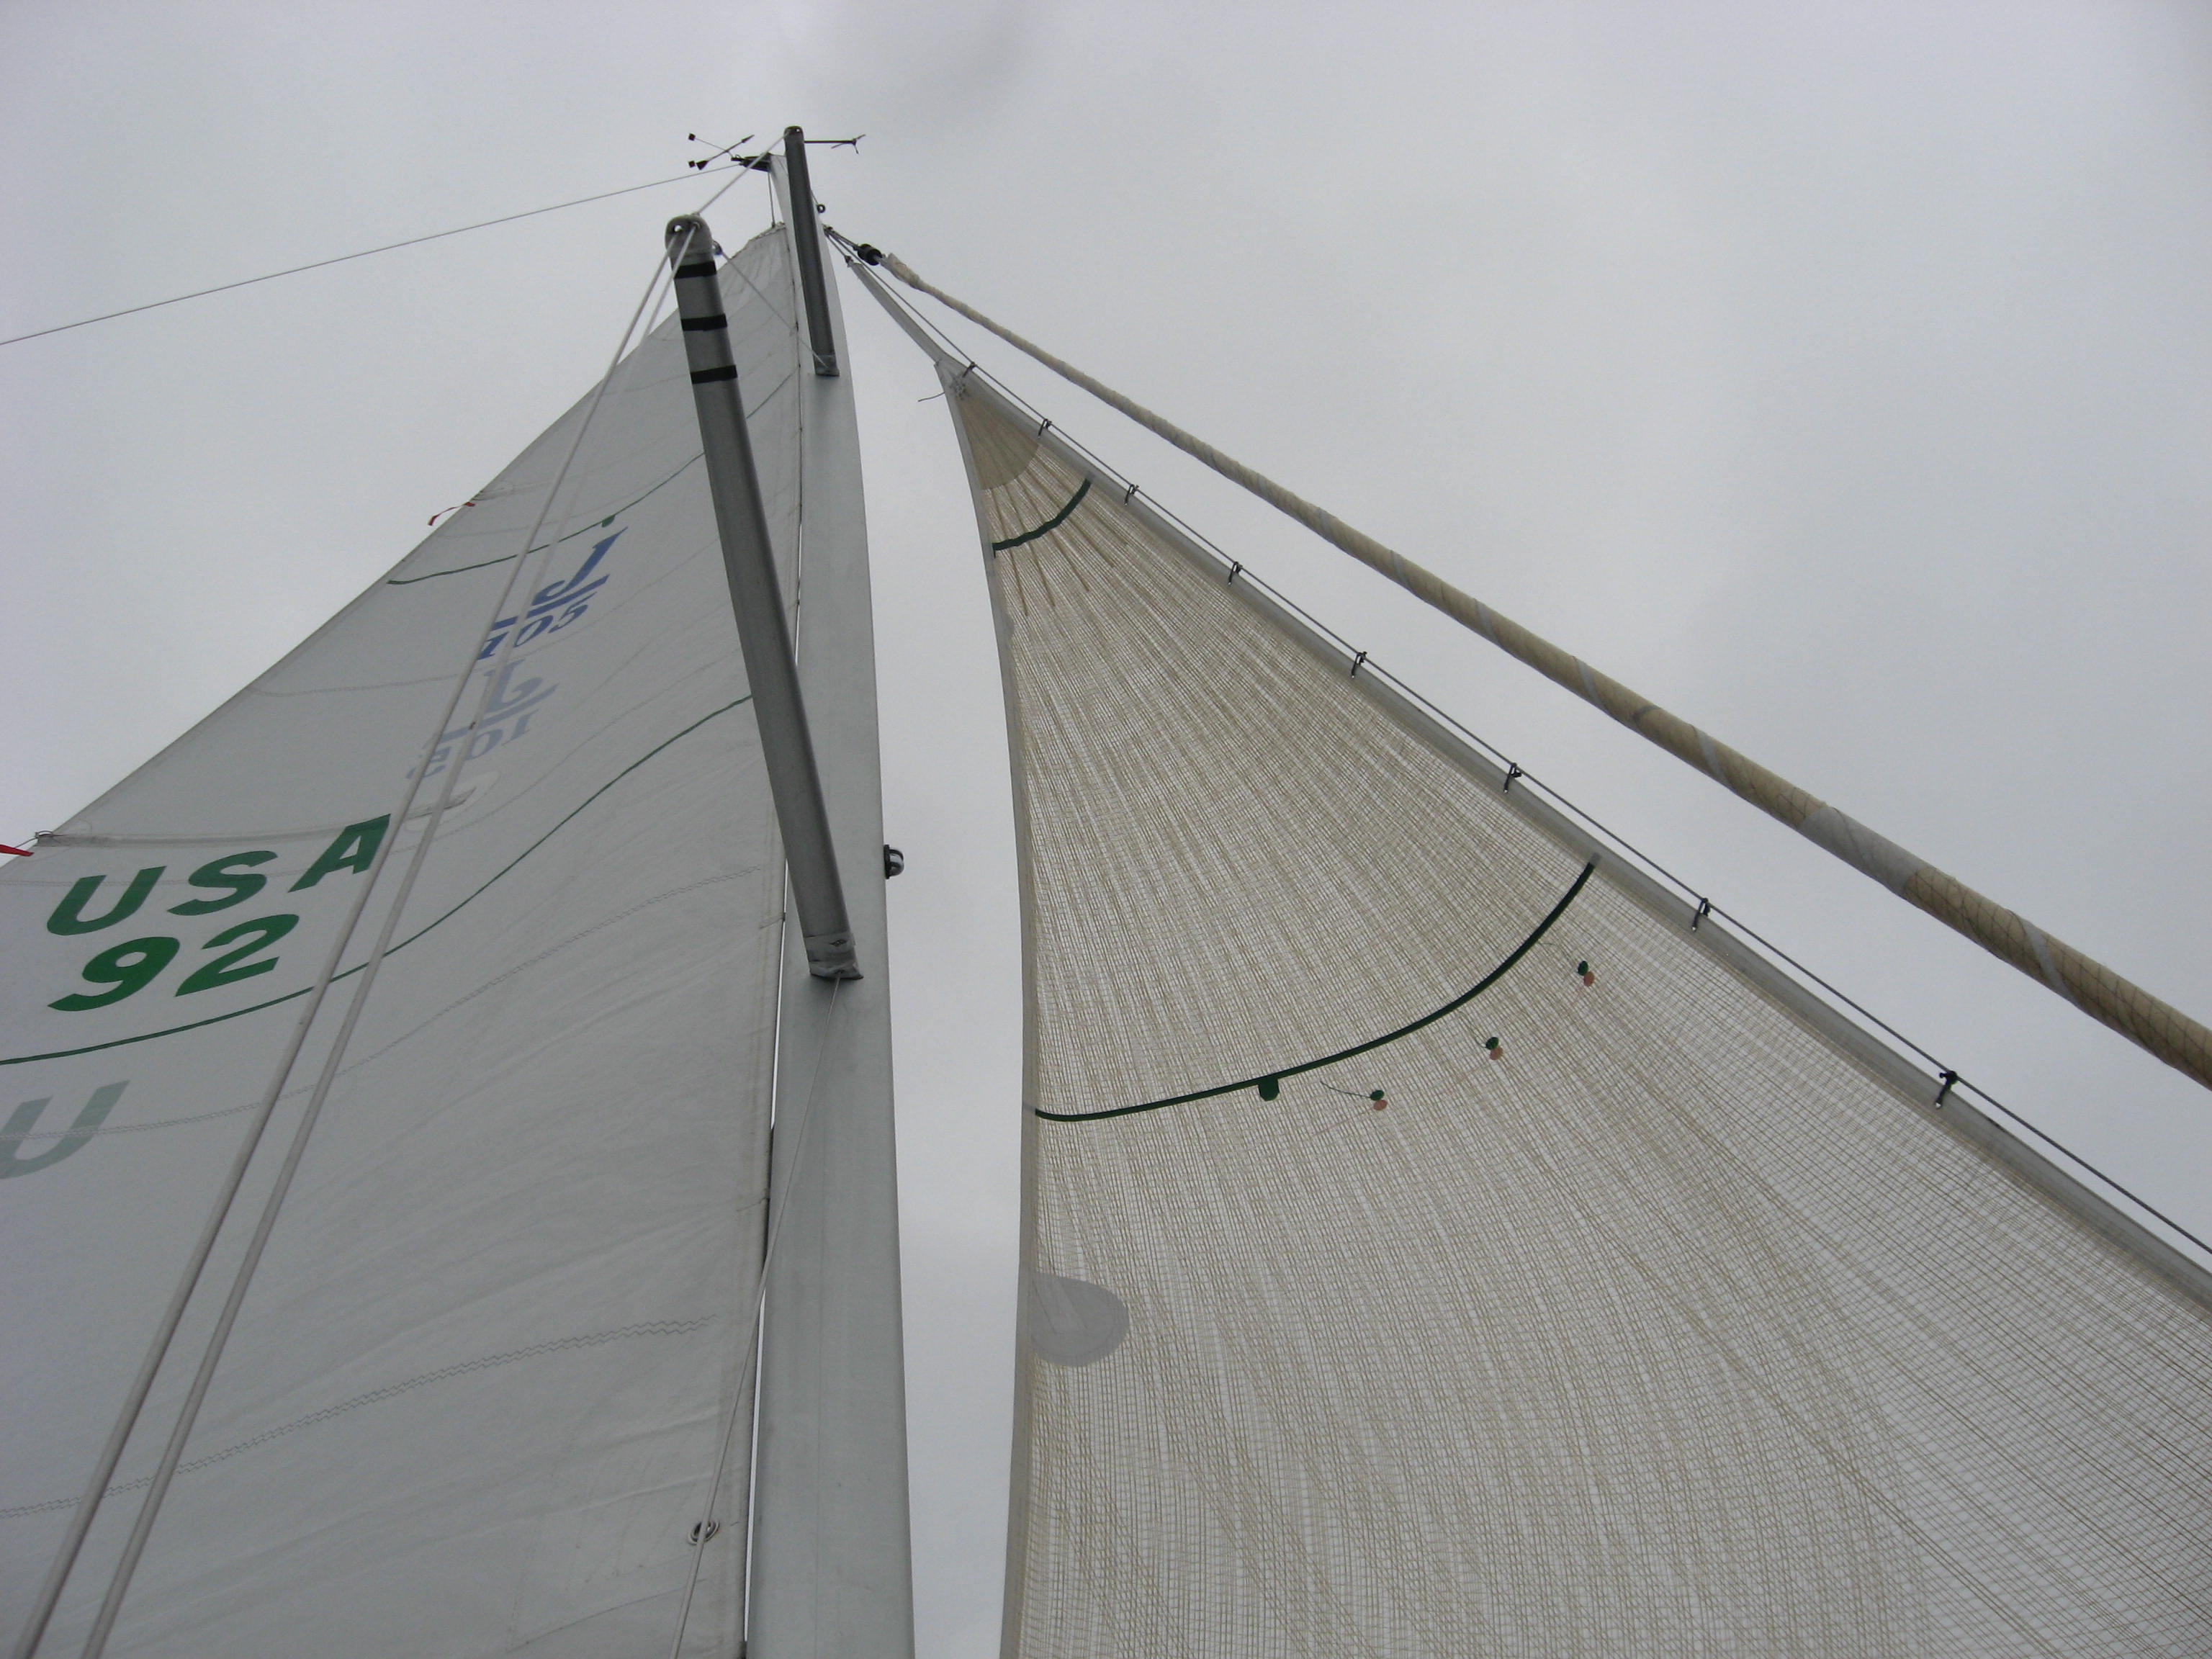
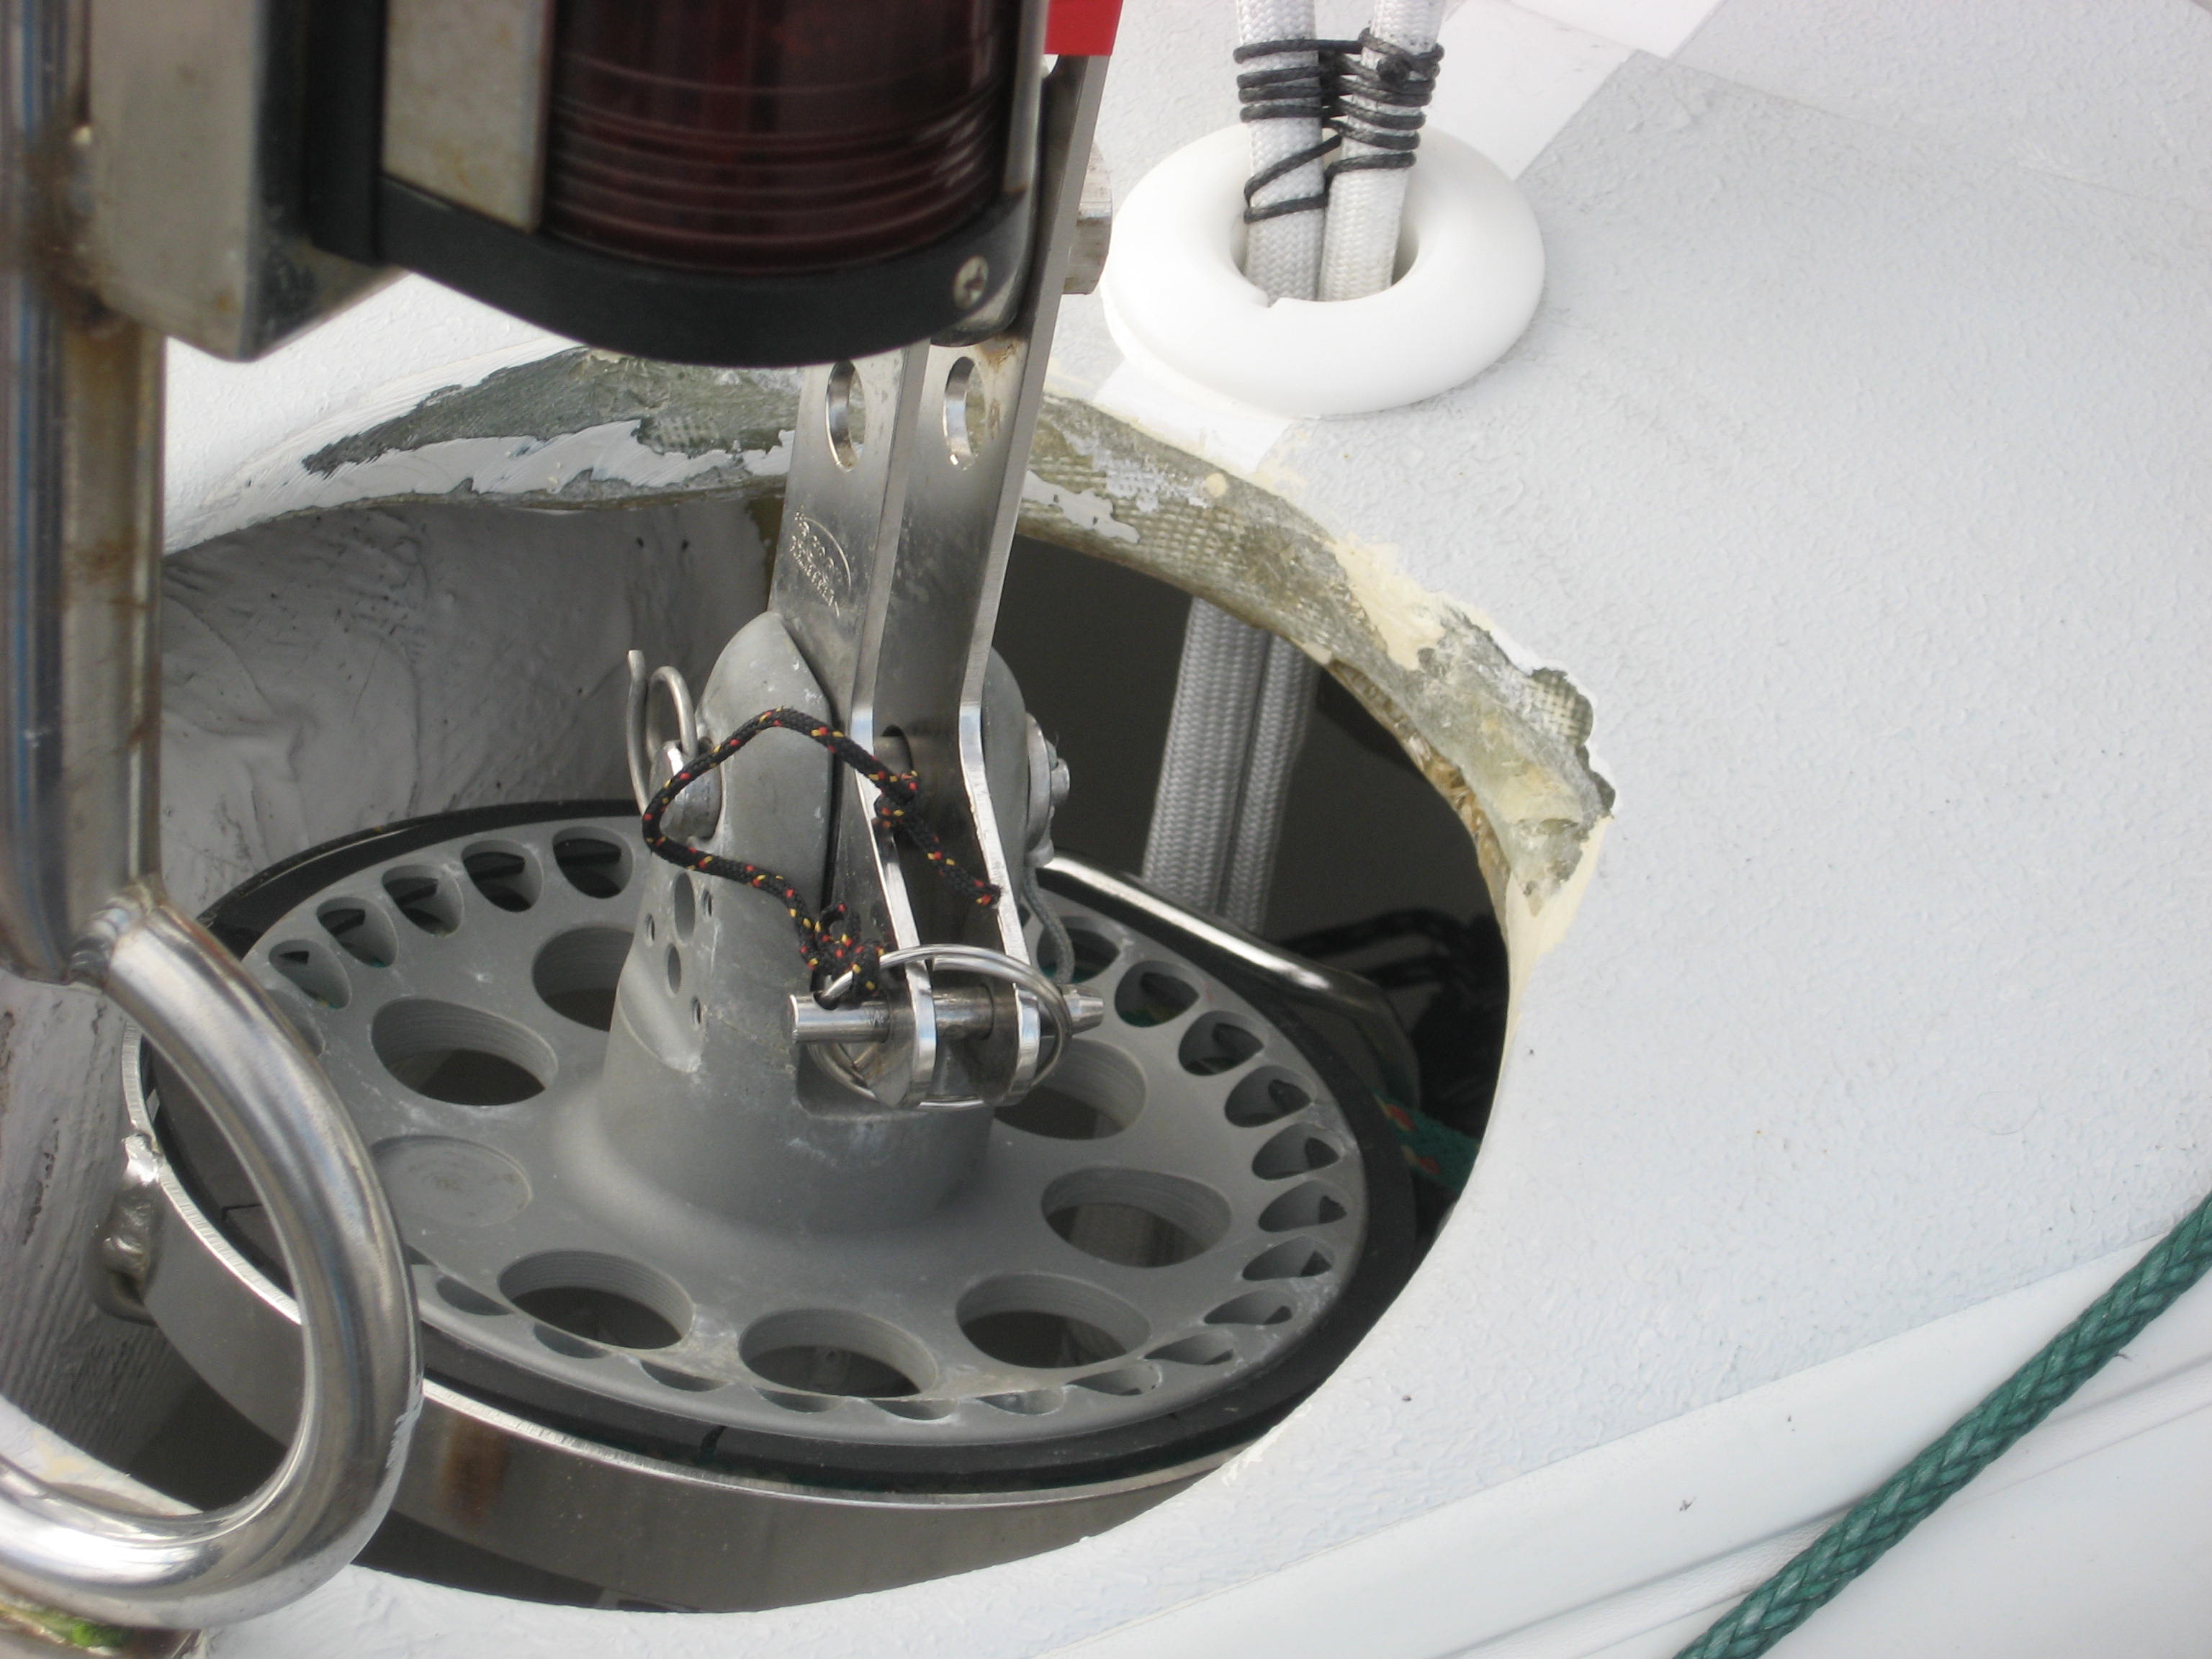
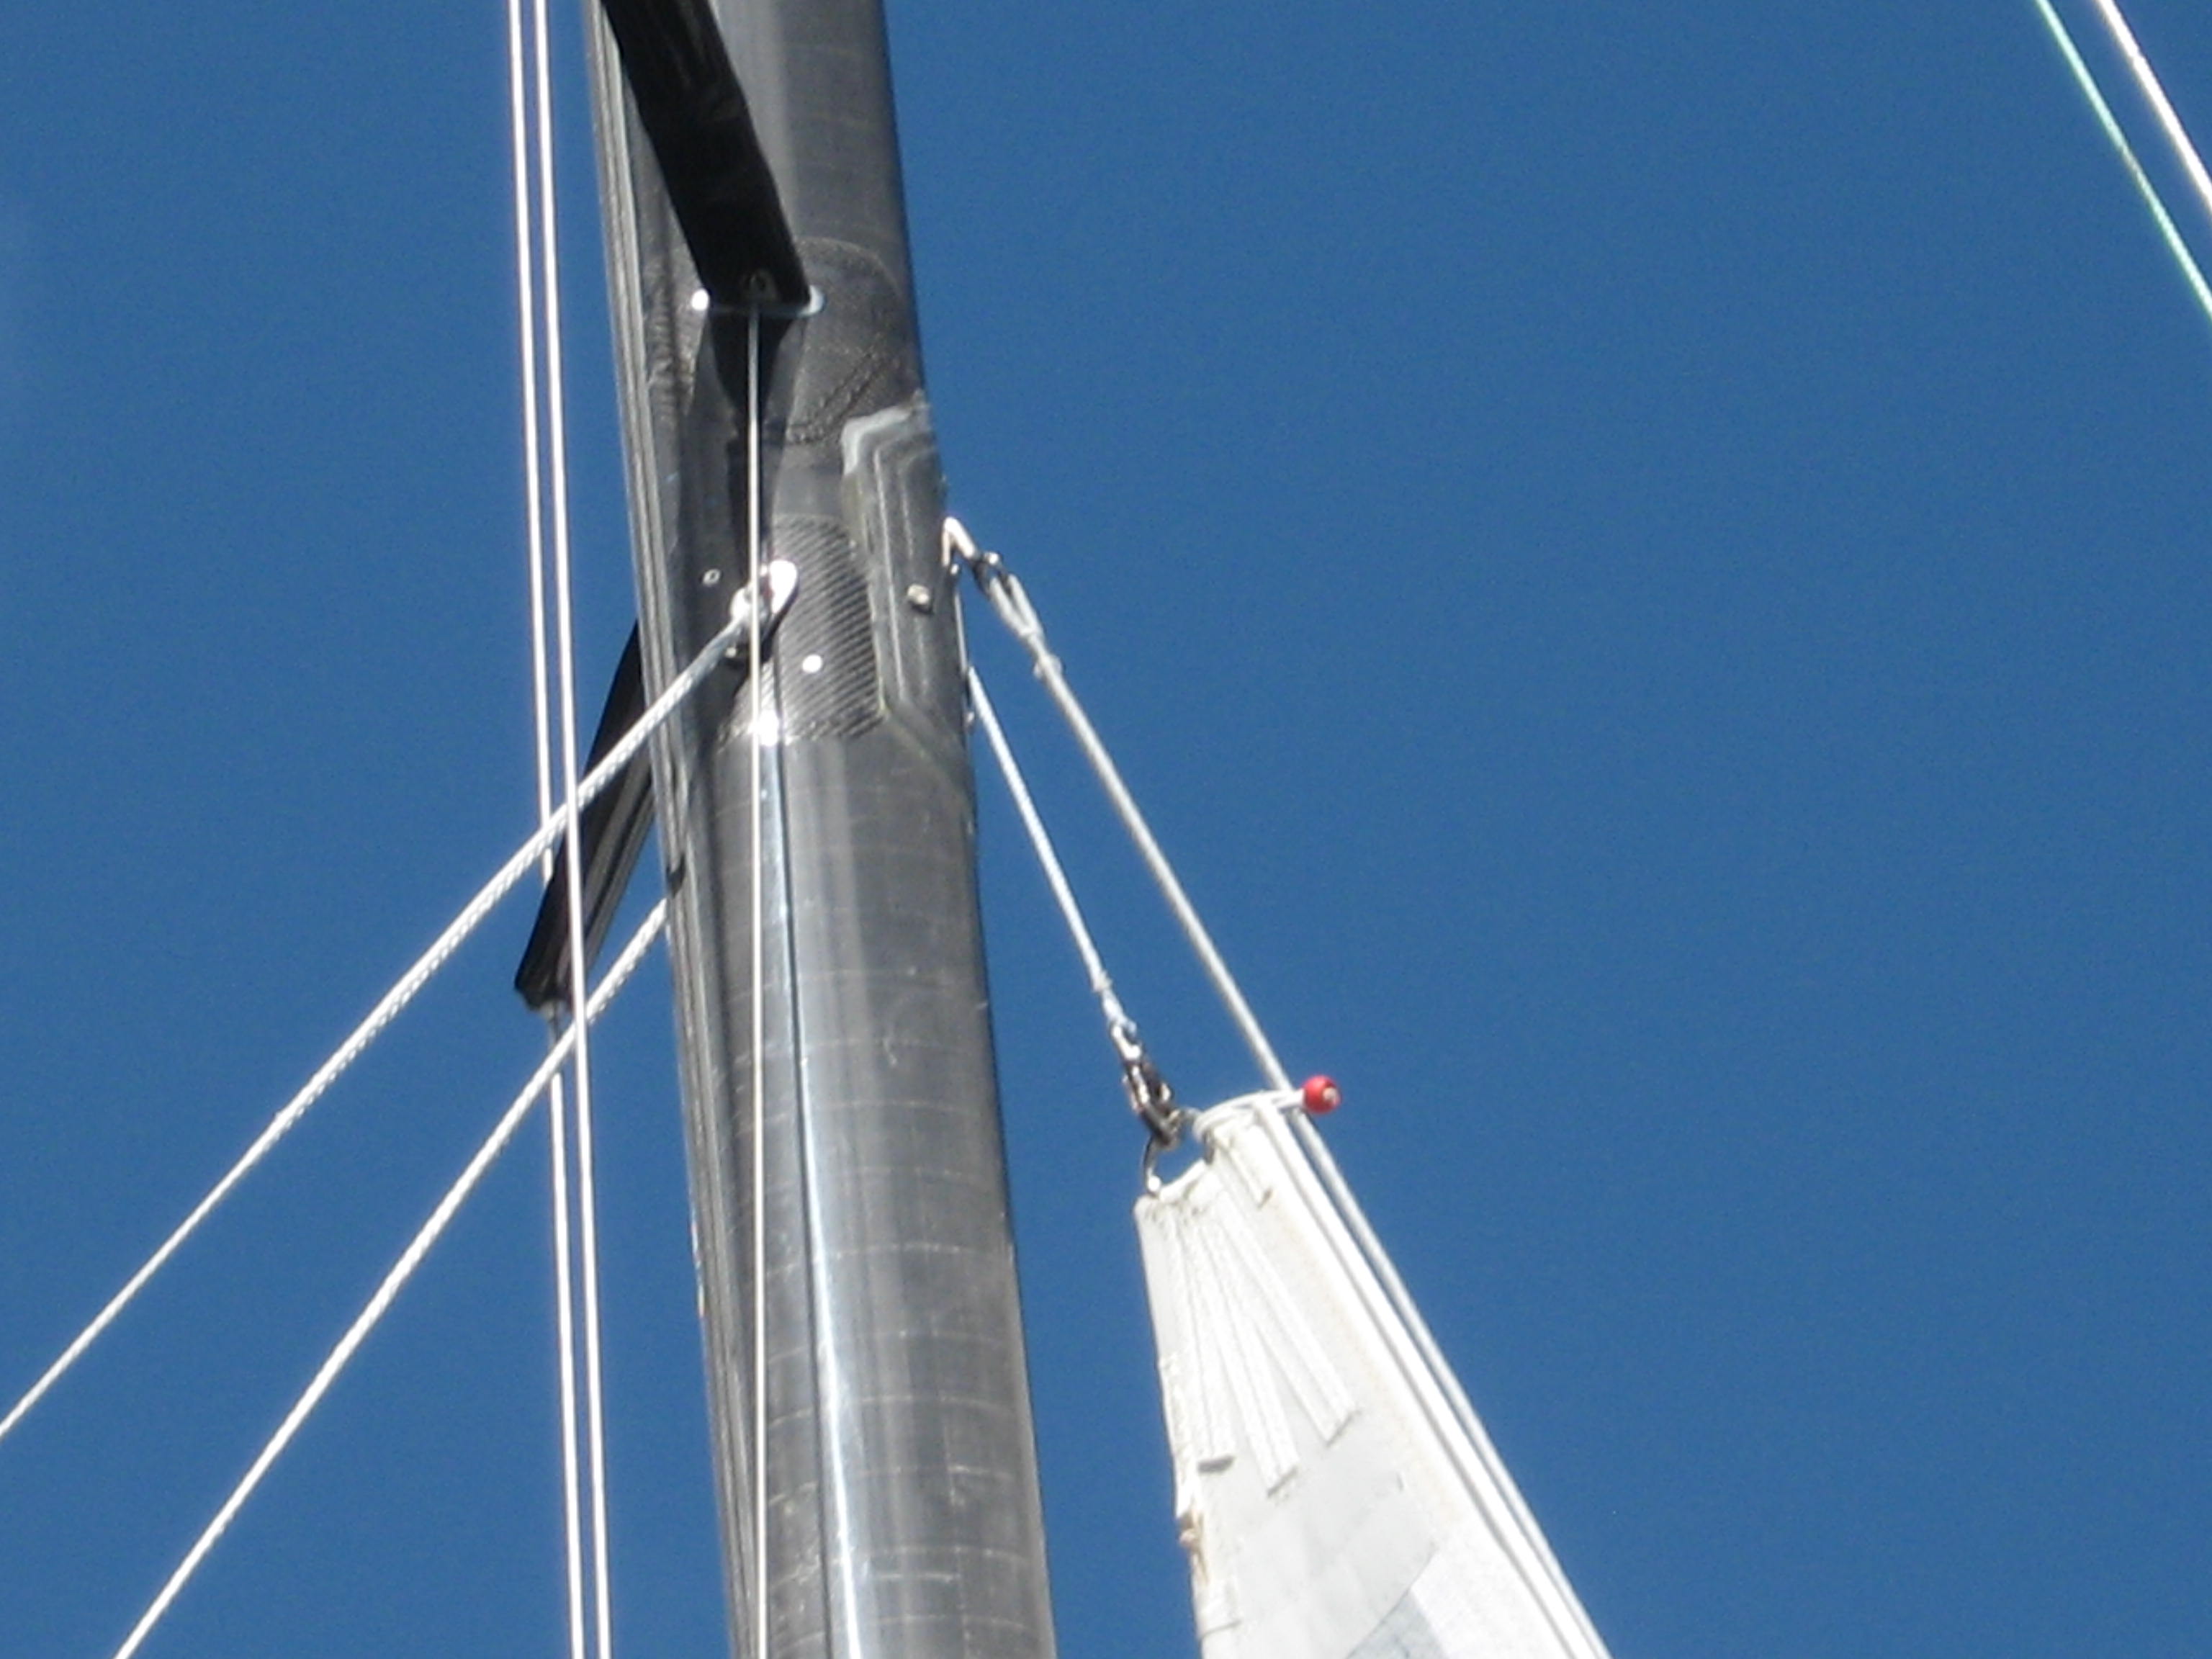
Mast rake view at the top of the rig
To measure the rake on the boat you basically set up a plum bob, so you will need the following. The main halyard; a weight—a one gallon jug of water, fuel or rum, or the canvas tool bag is fine and a measuring tool: a 6-foot Stanley tape is fine. Ideally this measurement is done on a windless or light air day where the boat is not bouncing around. It should take 5 minutes or less. It is dead easy to do alone but a mate is always good to have.
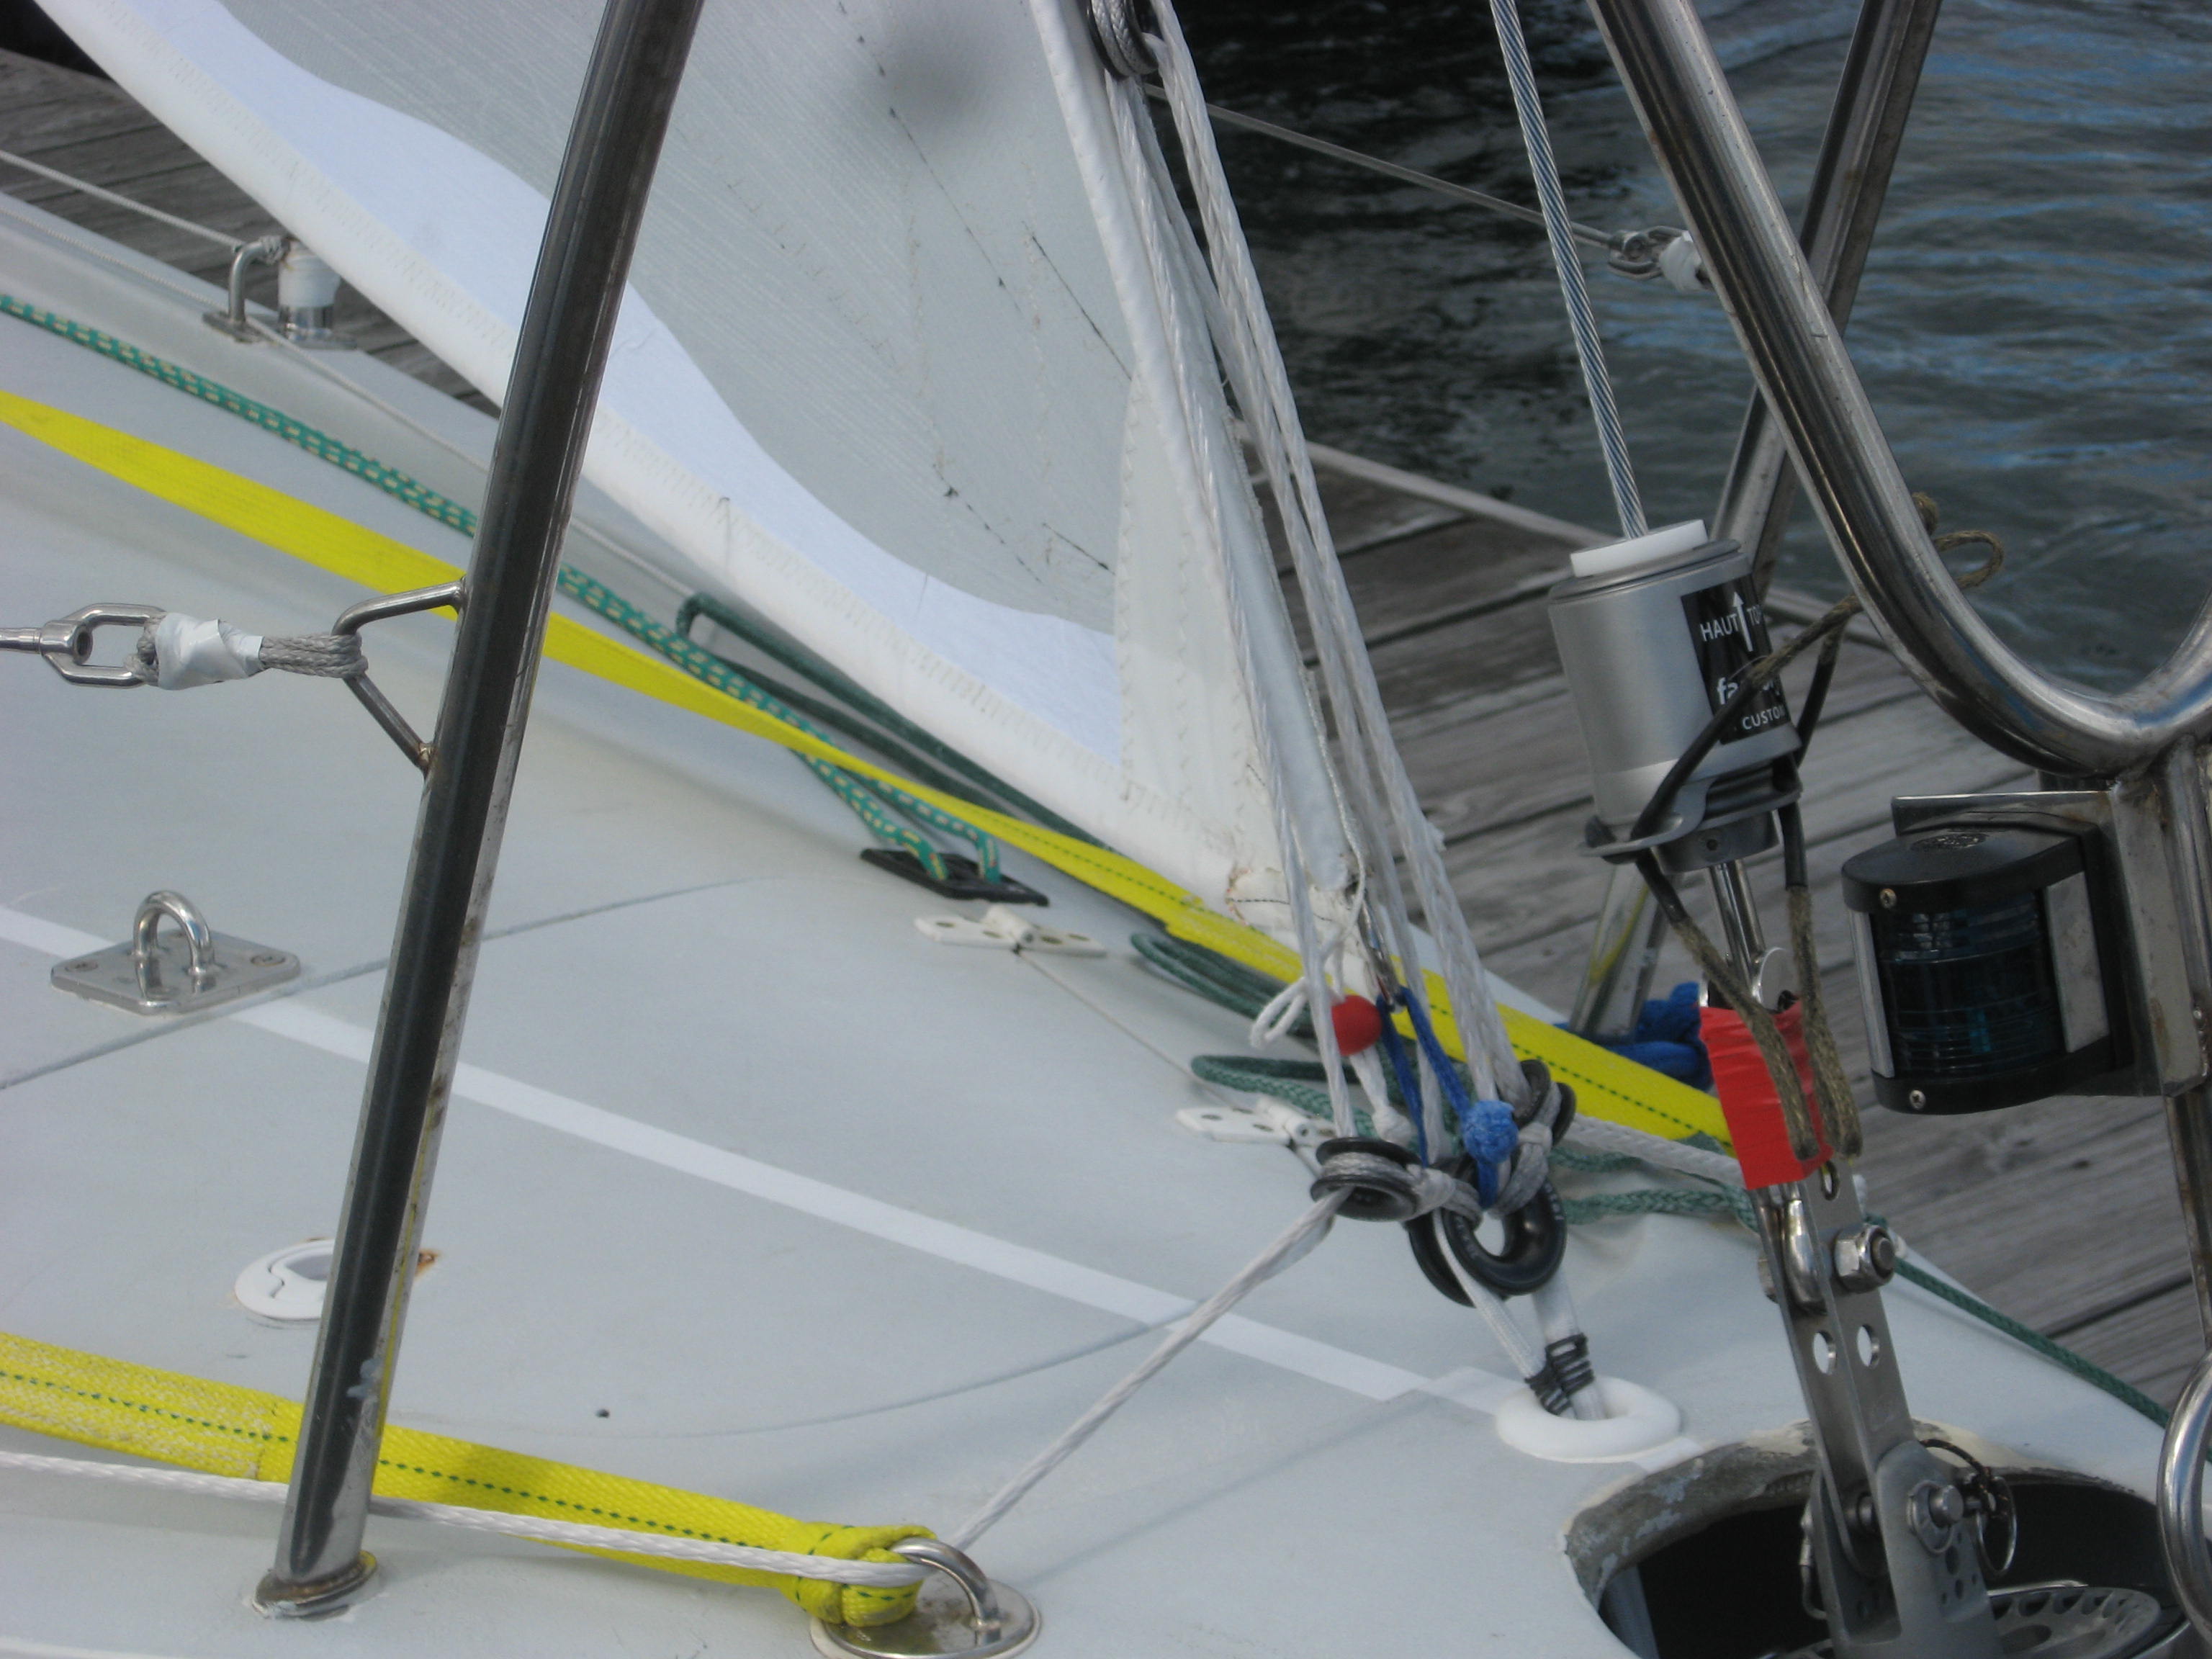
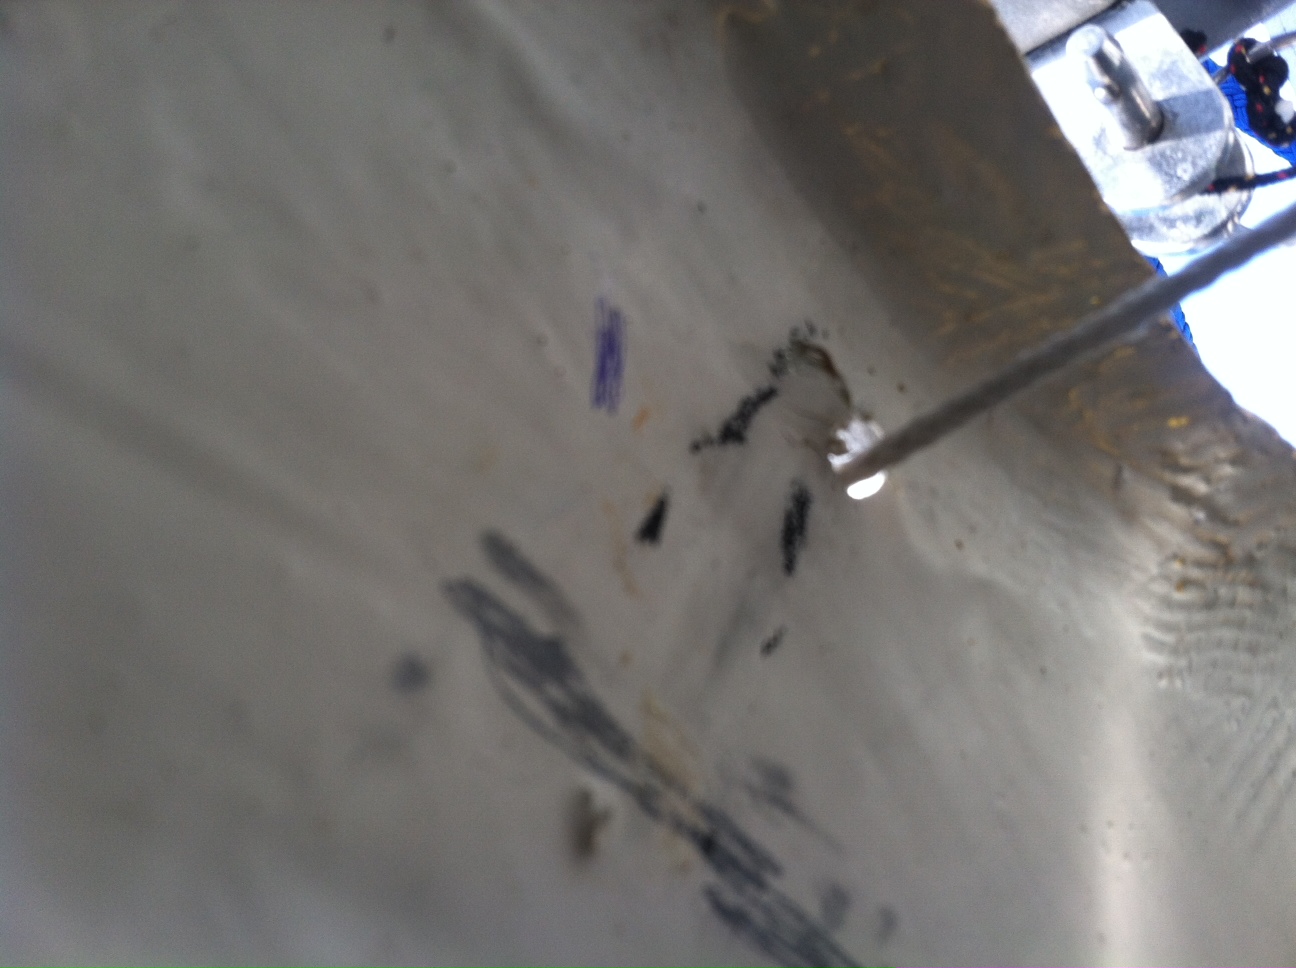
Attach the weight to the main halyard and hoist the halyard only a couple of feet so the weight is half way between the bottom of the boom and the cabin top. Let the halyard/weight come to rest. Where the halyard crosses the boom, measure forward to the aft face of the mast and note the distance. This is the rake:-“xx inches”. So in the picture below, the amount of rake is that distance between the forward side of the ruler and the aft side of the mast,
View of the plum bob/main halyard across the boom
I used a J-105 as an example here because they have a lot of rake so it is clear in these pictures. Most ‘cruising’ boat’s do not have this much rake.
On the other side of the coin, If there is almost no rake, less than say 2 inches on a 35-foot boat, this bears looking into. If there is a lot, more than say 12-15 inches on the same boat, again this bears research. In the former, you may relate this to the light feel in the helm. In the latter, it will be a large factor in the boat’s weather helm.
Sailmakers need to know how much rake is on a boat when designing sails for several reasons. On a practical note, three key ones are: so the boom does not hit the dodger or bimini or on some boats the mast gallows. How much rake a boat has is also an indicator as to how the boat is set up; rigged or tuned up if you like. To use the J-105 example, if I were sent a measurement sheet that showed 3 inches of rake on a J-105 that would set of alarm bells because it is way off base.
Rake information is needed for designing headsails too. The C of E of headsails is determined the same way as for a mainsail. Thus the amount of rake has an impact on where the clew is going to land. If one was to merely duplicate the three edge dimensions for one boat of a particular class onto a sistership, without checking the sistership’s rake, AND the sistership had a lot of rake, then the clew would be a lot lower and perhaps the sail would not be able to be sheeted to the installed genoa track. The reverse is true if there is a lot less rake, the genoa may want to sheet where there is no track–Seen that happen too.
These two scenarios are less of a problem on cruising boats but a detail that consumes a lot of checking-time on race boats where the track locations are very specific and the tracks are usually pretty short, to save weight of course.
Next up Mast Bend