Bending the mast is a fast and simple way of managing the power on your sail boat
As discussed here mast-rake and mast bend are two different aspects of mast “tune” that affect the boats balance and so feel and ultimately performance. This essay discusses mast BEND. There is an element of headsail shaping connected to mast bend but we will get to that in future posts.There are other tools in the mainsail shaping tool box, but this essay is about mast bend
The Basics:
More wind requires a flatter sail
Less wind prefers a fuller sail.
Mainsails have shaping both across the sail (broad seaming) and at the luff, known as Luff Curve
This “curve” is intimately connected with the characteristics of the mast, and so, of the boat. There are differences in the amount of luff curve required between masthead and fractional rigs, masts with spreaders in line–that is to say where the cap shrouds are perpendicular to the mast-Or with “swept back” spreaders, such as many newer boats have.
Some Definitions:
Chord: Is an imaginary line between the luff and the leech
Depth: (and draft, camber & shape-They are quite synonymous and generally used interchangeably by Sailmakers in their jargon) is that distance, perpendicular to the chord line, at which the sail’s surface is furthest away from the chord line.
In the sketch below:
The line ZZ is the chord line.
The portion “C” is the chord LENGTH on the sail.
The distance “a” is the chord DEPTH (draft camber shape…).
The distance “b” is the POSITION of the draft measured aft of the leading edge of the foil which is in this case to the right of the image. Thus a/c is the draft and b/c is it’s position.
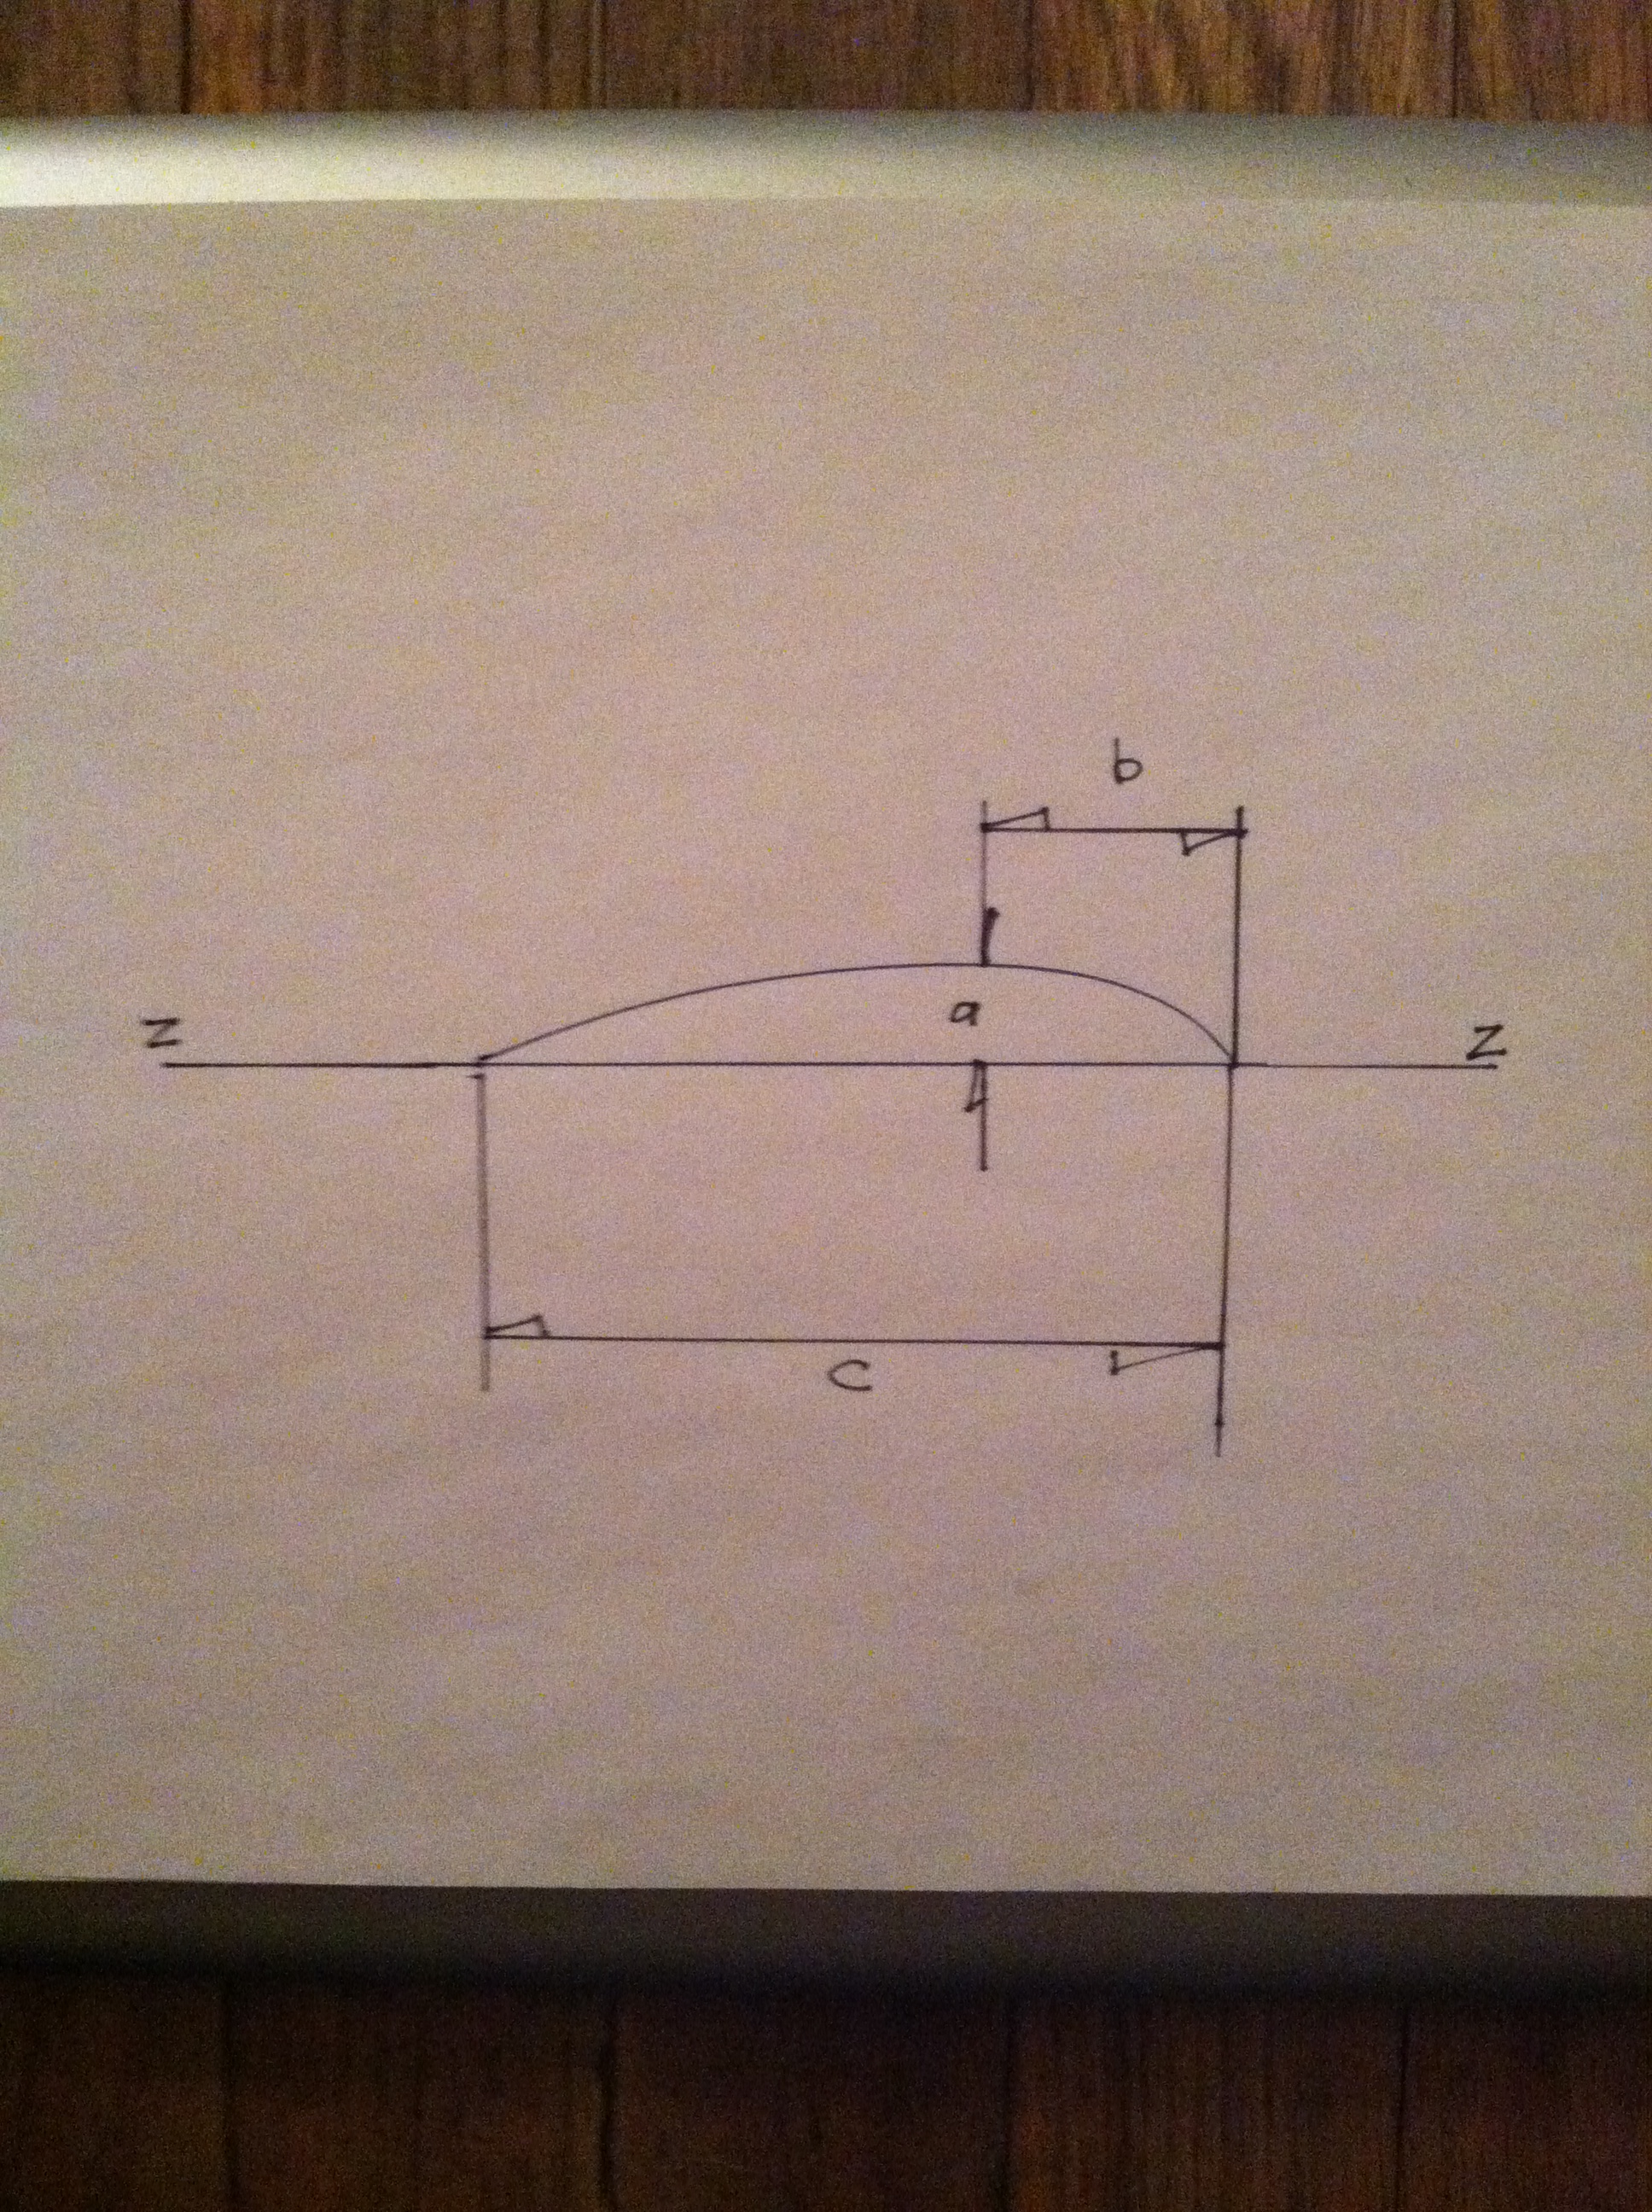
Chord (length) draft and location of draft are all depicted in this image.
Power: over and under (powered)
Power (force, energy …wind speed) is what gives the sensations you feel thru the wheel or tiller and via the heel angle of the boat. With headsails, managing the power is relatively easy: Too much power, then put up the small (er) one-Or more likely today either partially roll up the genoa or roll it up all the way and motor-sail.
Sail size and shape:
Having the right (sized) sails of the right shape for the conditions is, for those who prefer to sail for the sensations of how the boat feels thru the tiller/wheel, a key part of this sensation. Too much sail and/or sails that are too full makes the helm feel heavy and generates too much weather helm. In this condition the boat heels more than you want and always inclined to want to round up. This is of course unpleasant, occasionally quite noisy, slow and not infrequently intimidating for some on board.
The sensations of being underpowered are less dramatic, noisy, violent and so less intimidating.
Power on a sailing boat comes of course from the sails. Having the right shape in the sails is therefore key to getting the boat to “feel good” and sail well.
Managing the power
One tool in the box of adjustments available to sailors is adjusting the camber of the mainsail-What many folks refer to as the belly of the sail. Camber is the “depth” of a sail at a given point on the sail. (NB when we/you say the sail is blown out, usually this refers to the draft being further than 50% aft on the sail)
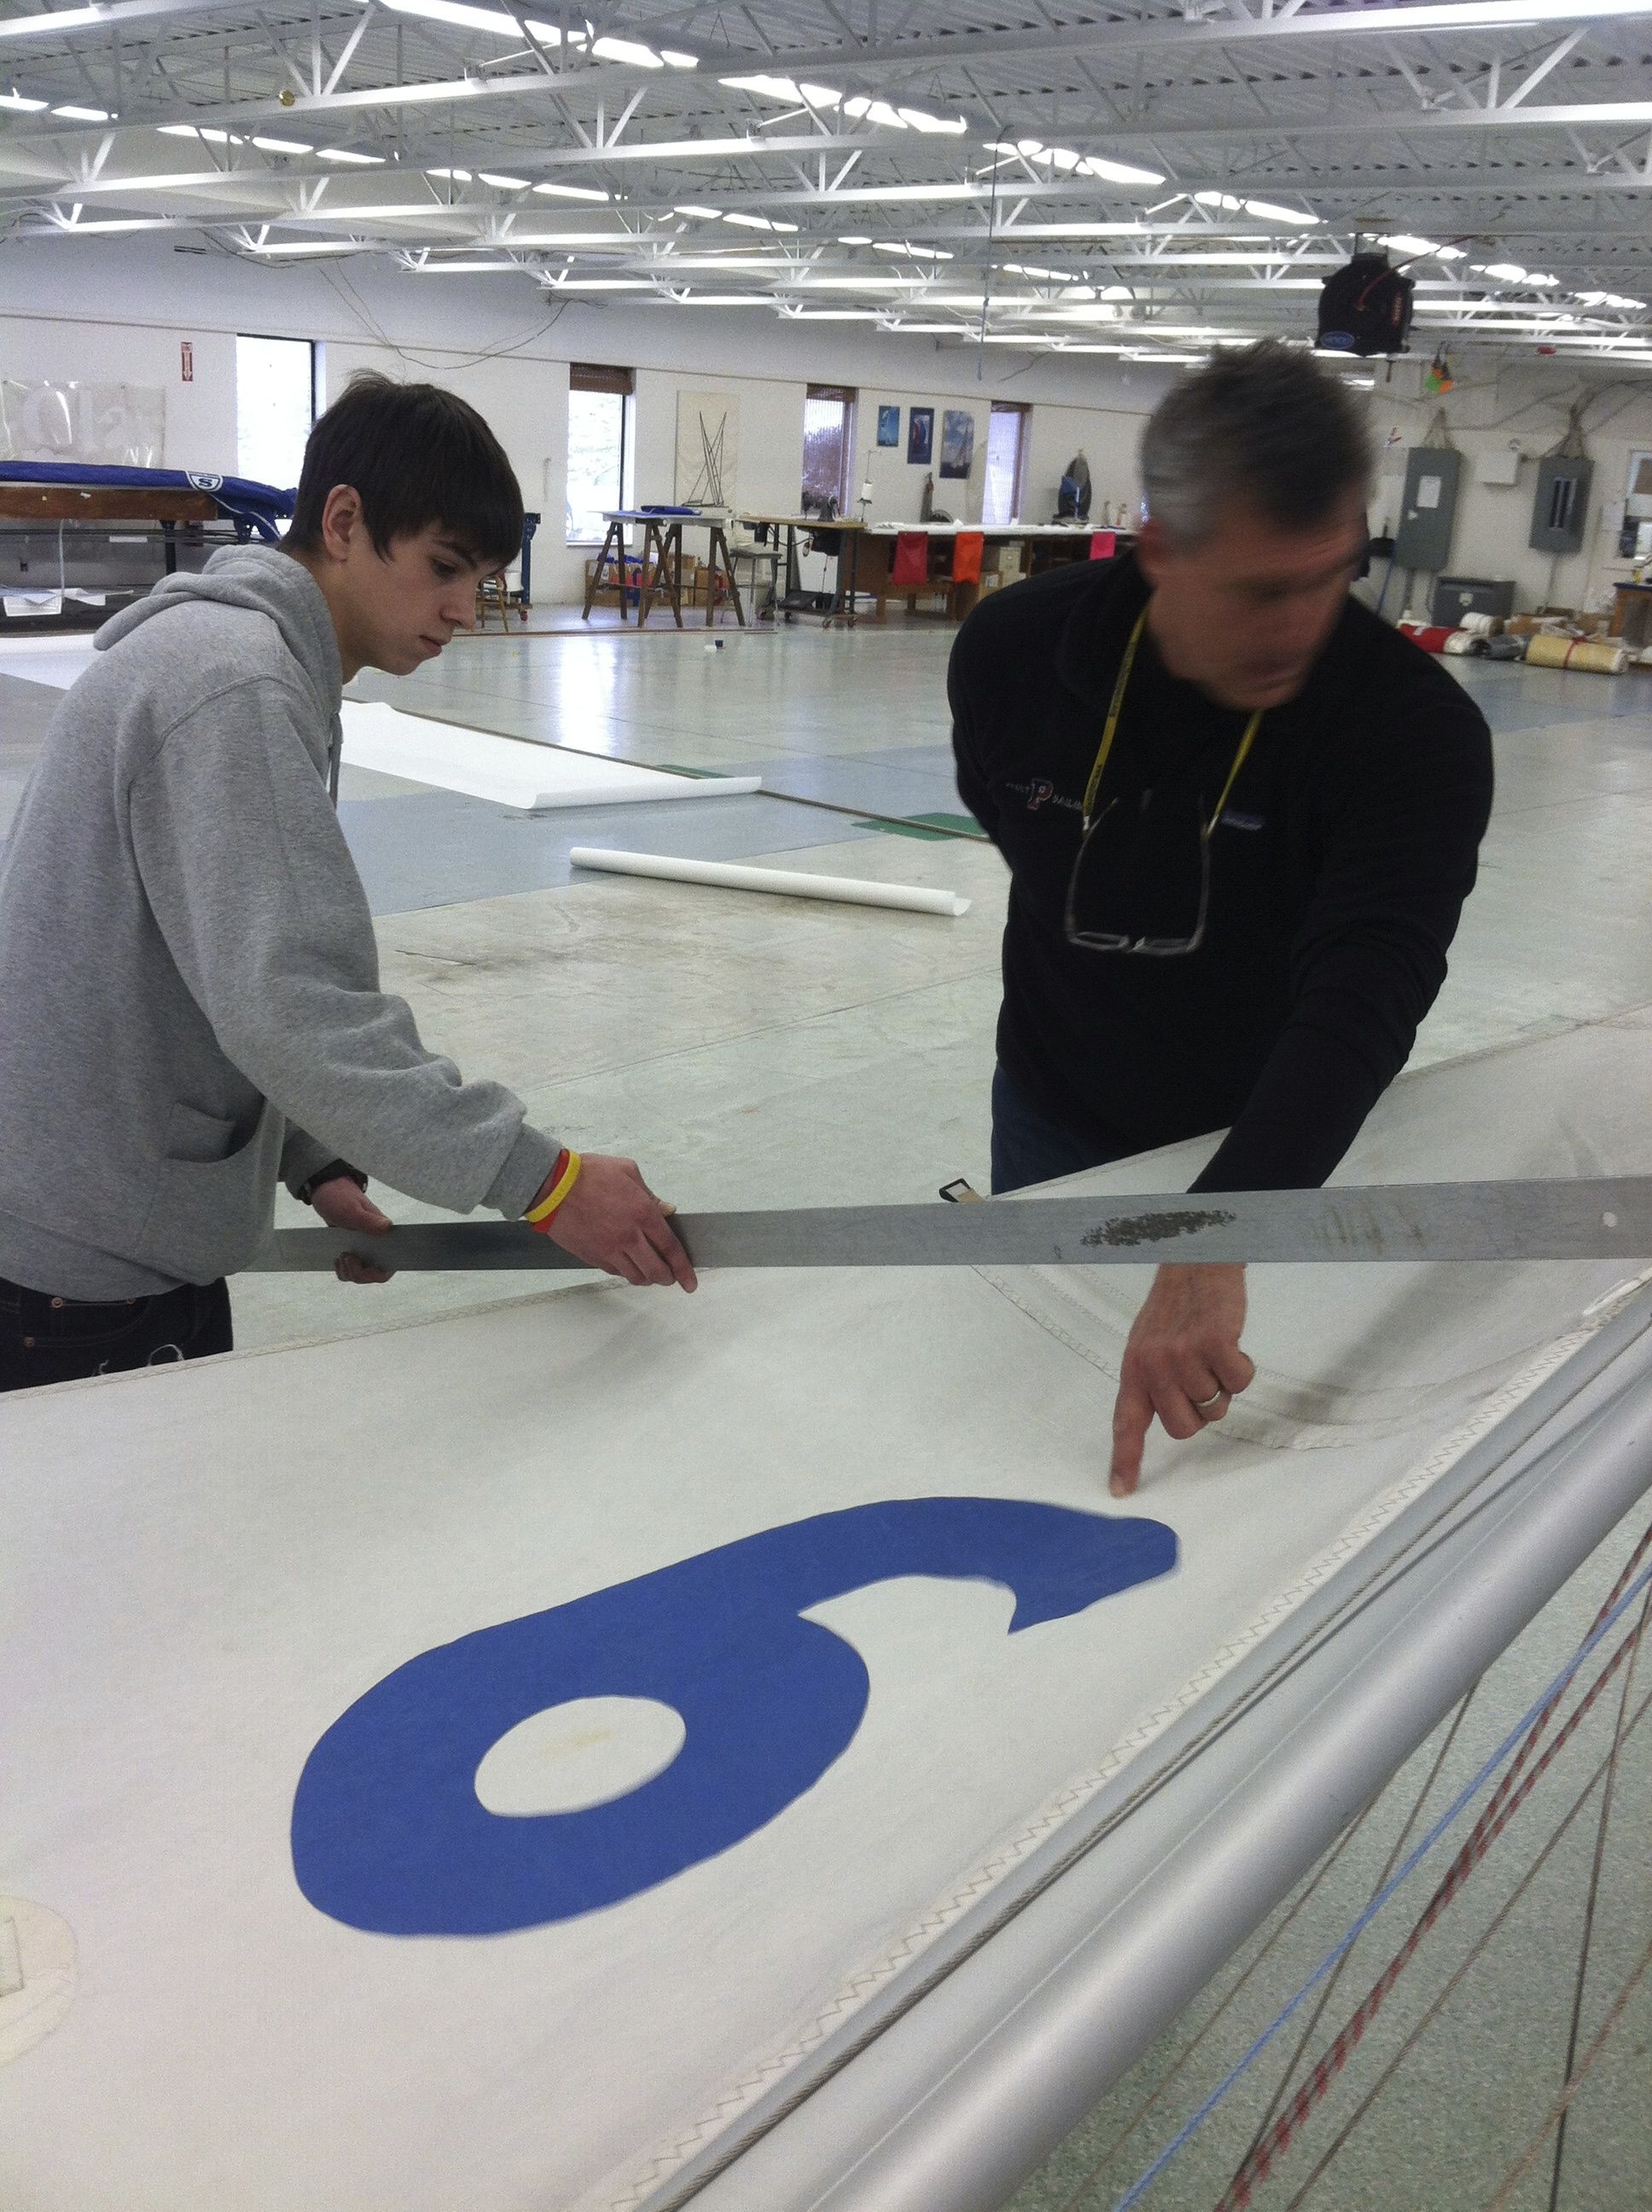
This picture shows me and a high school intern measuring the draft , the amount and its location on a 420 mainsail strung up in the loft.
The camber on any foil is expressed as an amount, at a location. So you might hear Sailmakers say something like…”it was 8% at 35% aft.” This means that what they were looking at was 8% of the fore and aft span (of the chord line) perpendicular from that line and that position was 35% aft, from the luff. Translated: the sail was 8% deep at 35% aft.
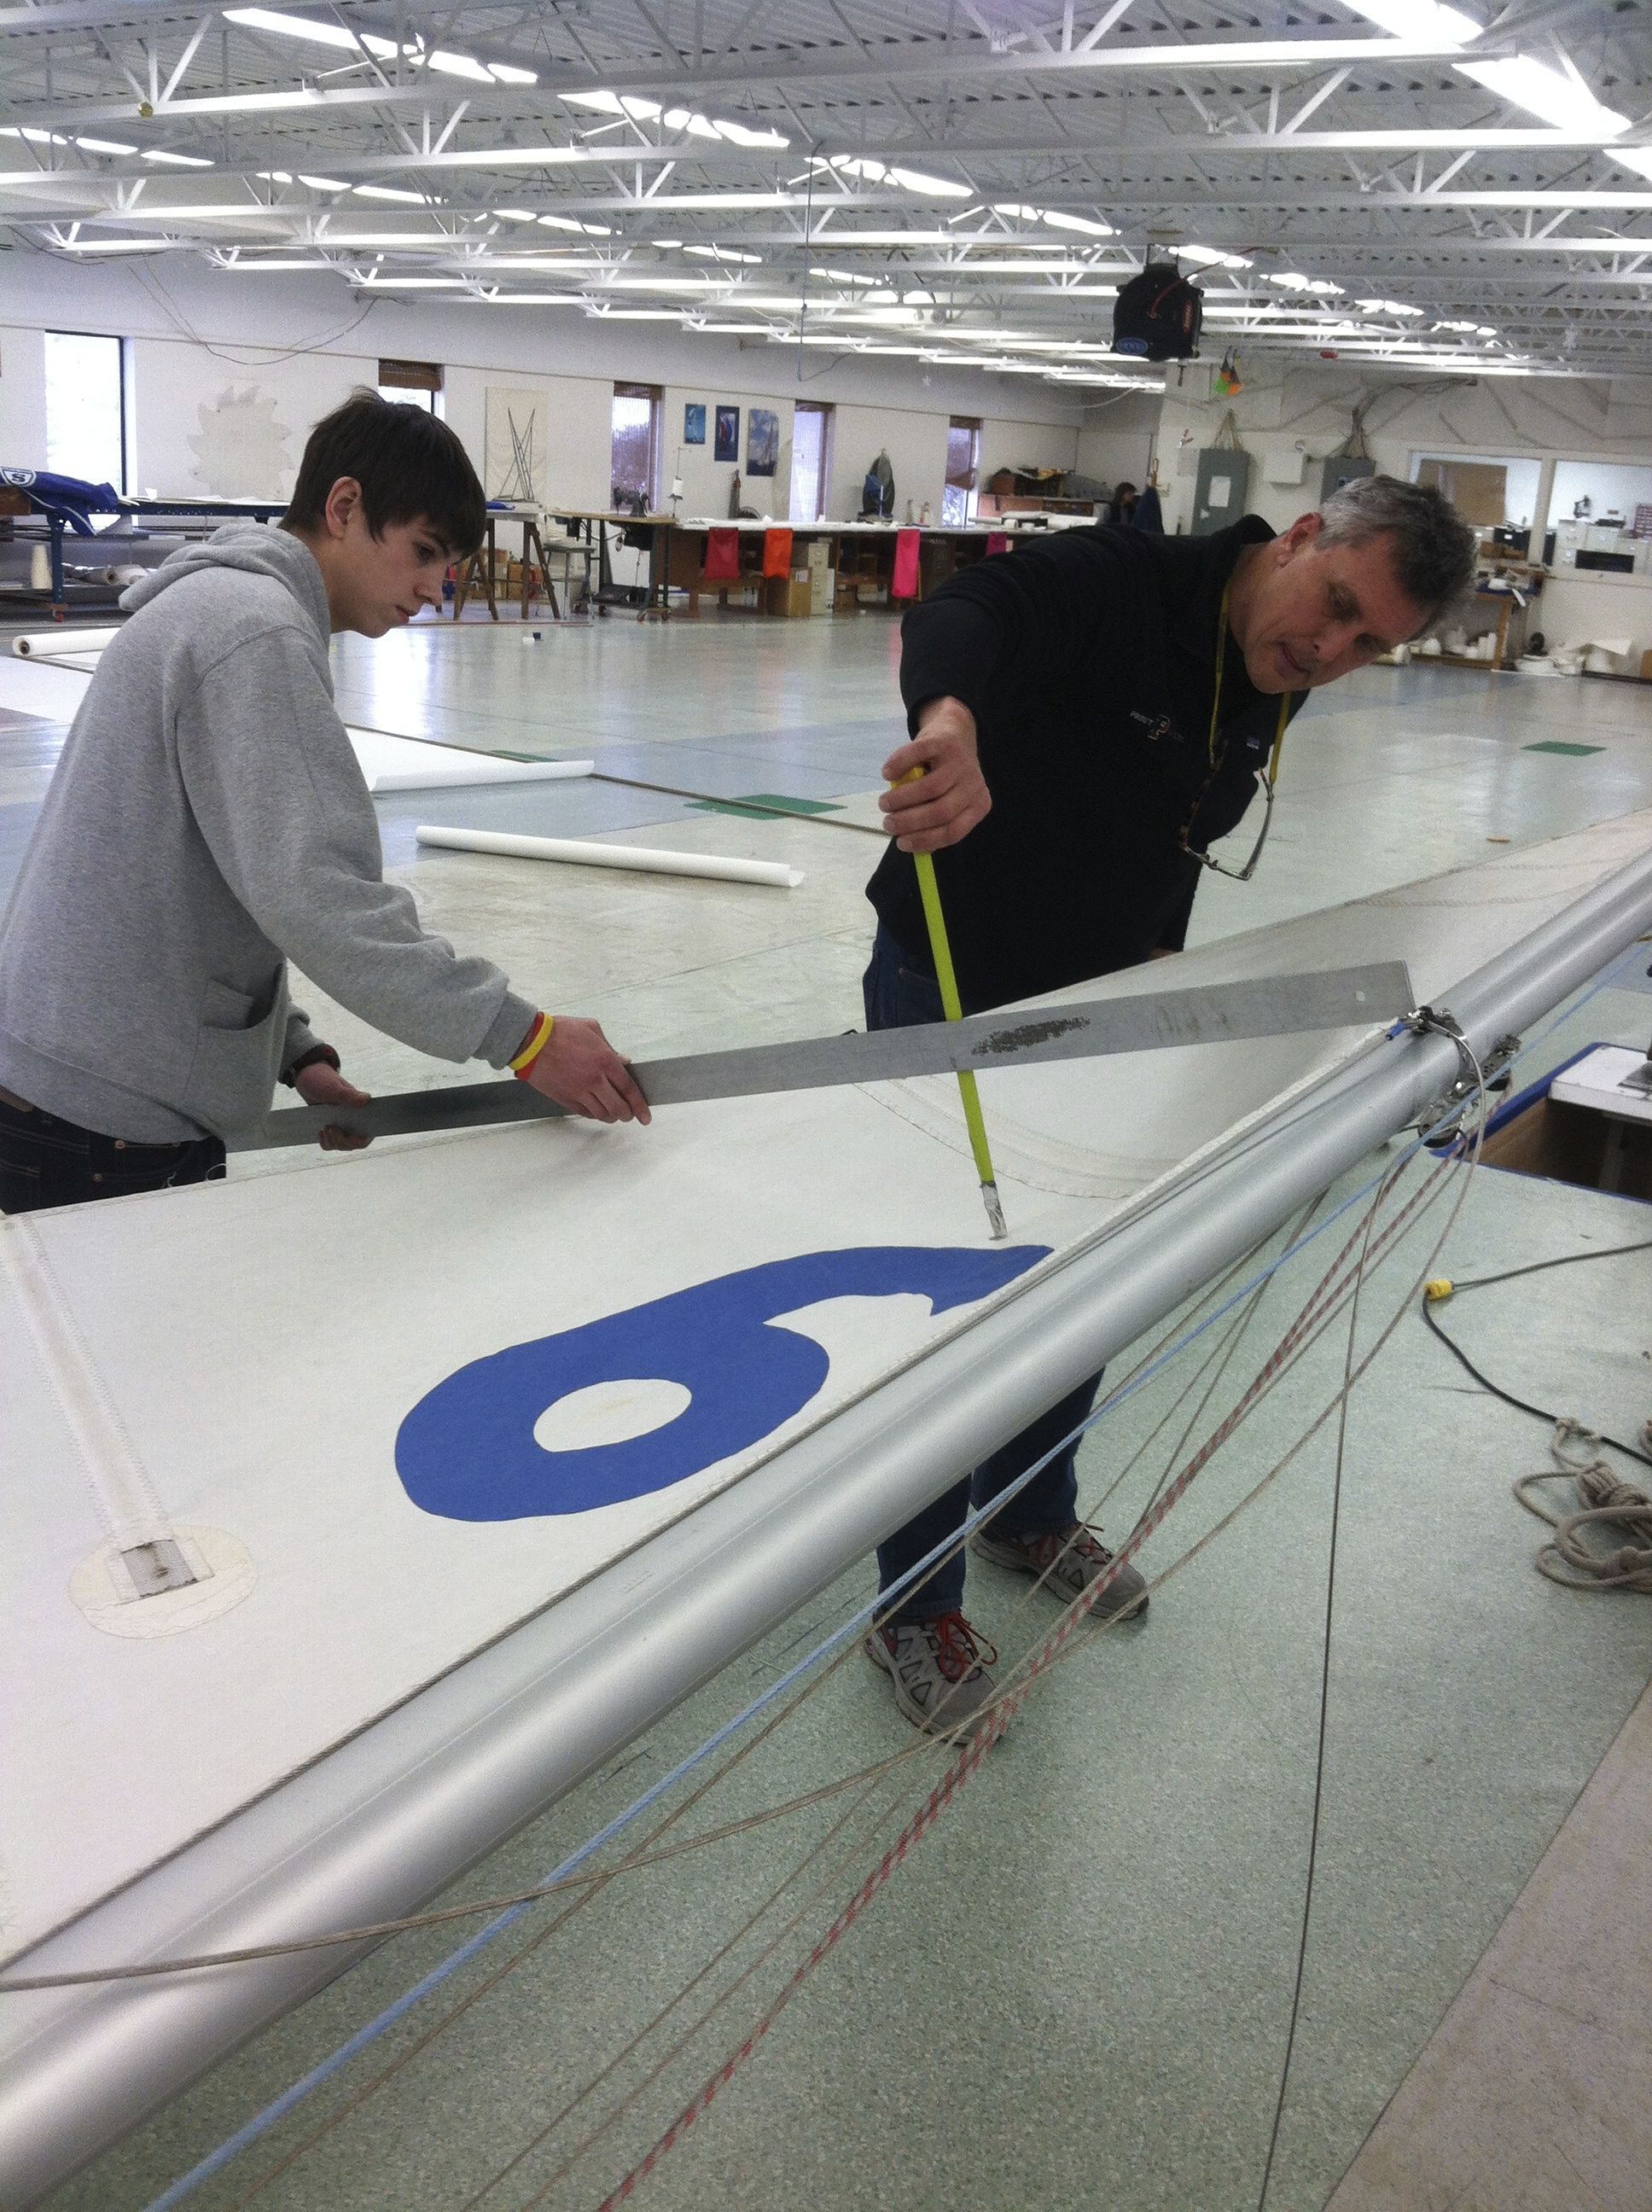
Working with the intern and discussing issues surrounding sail shape: Chord, draft position and so on. This sail looks quite full because the mast is not bent.
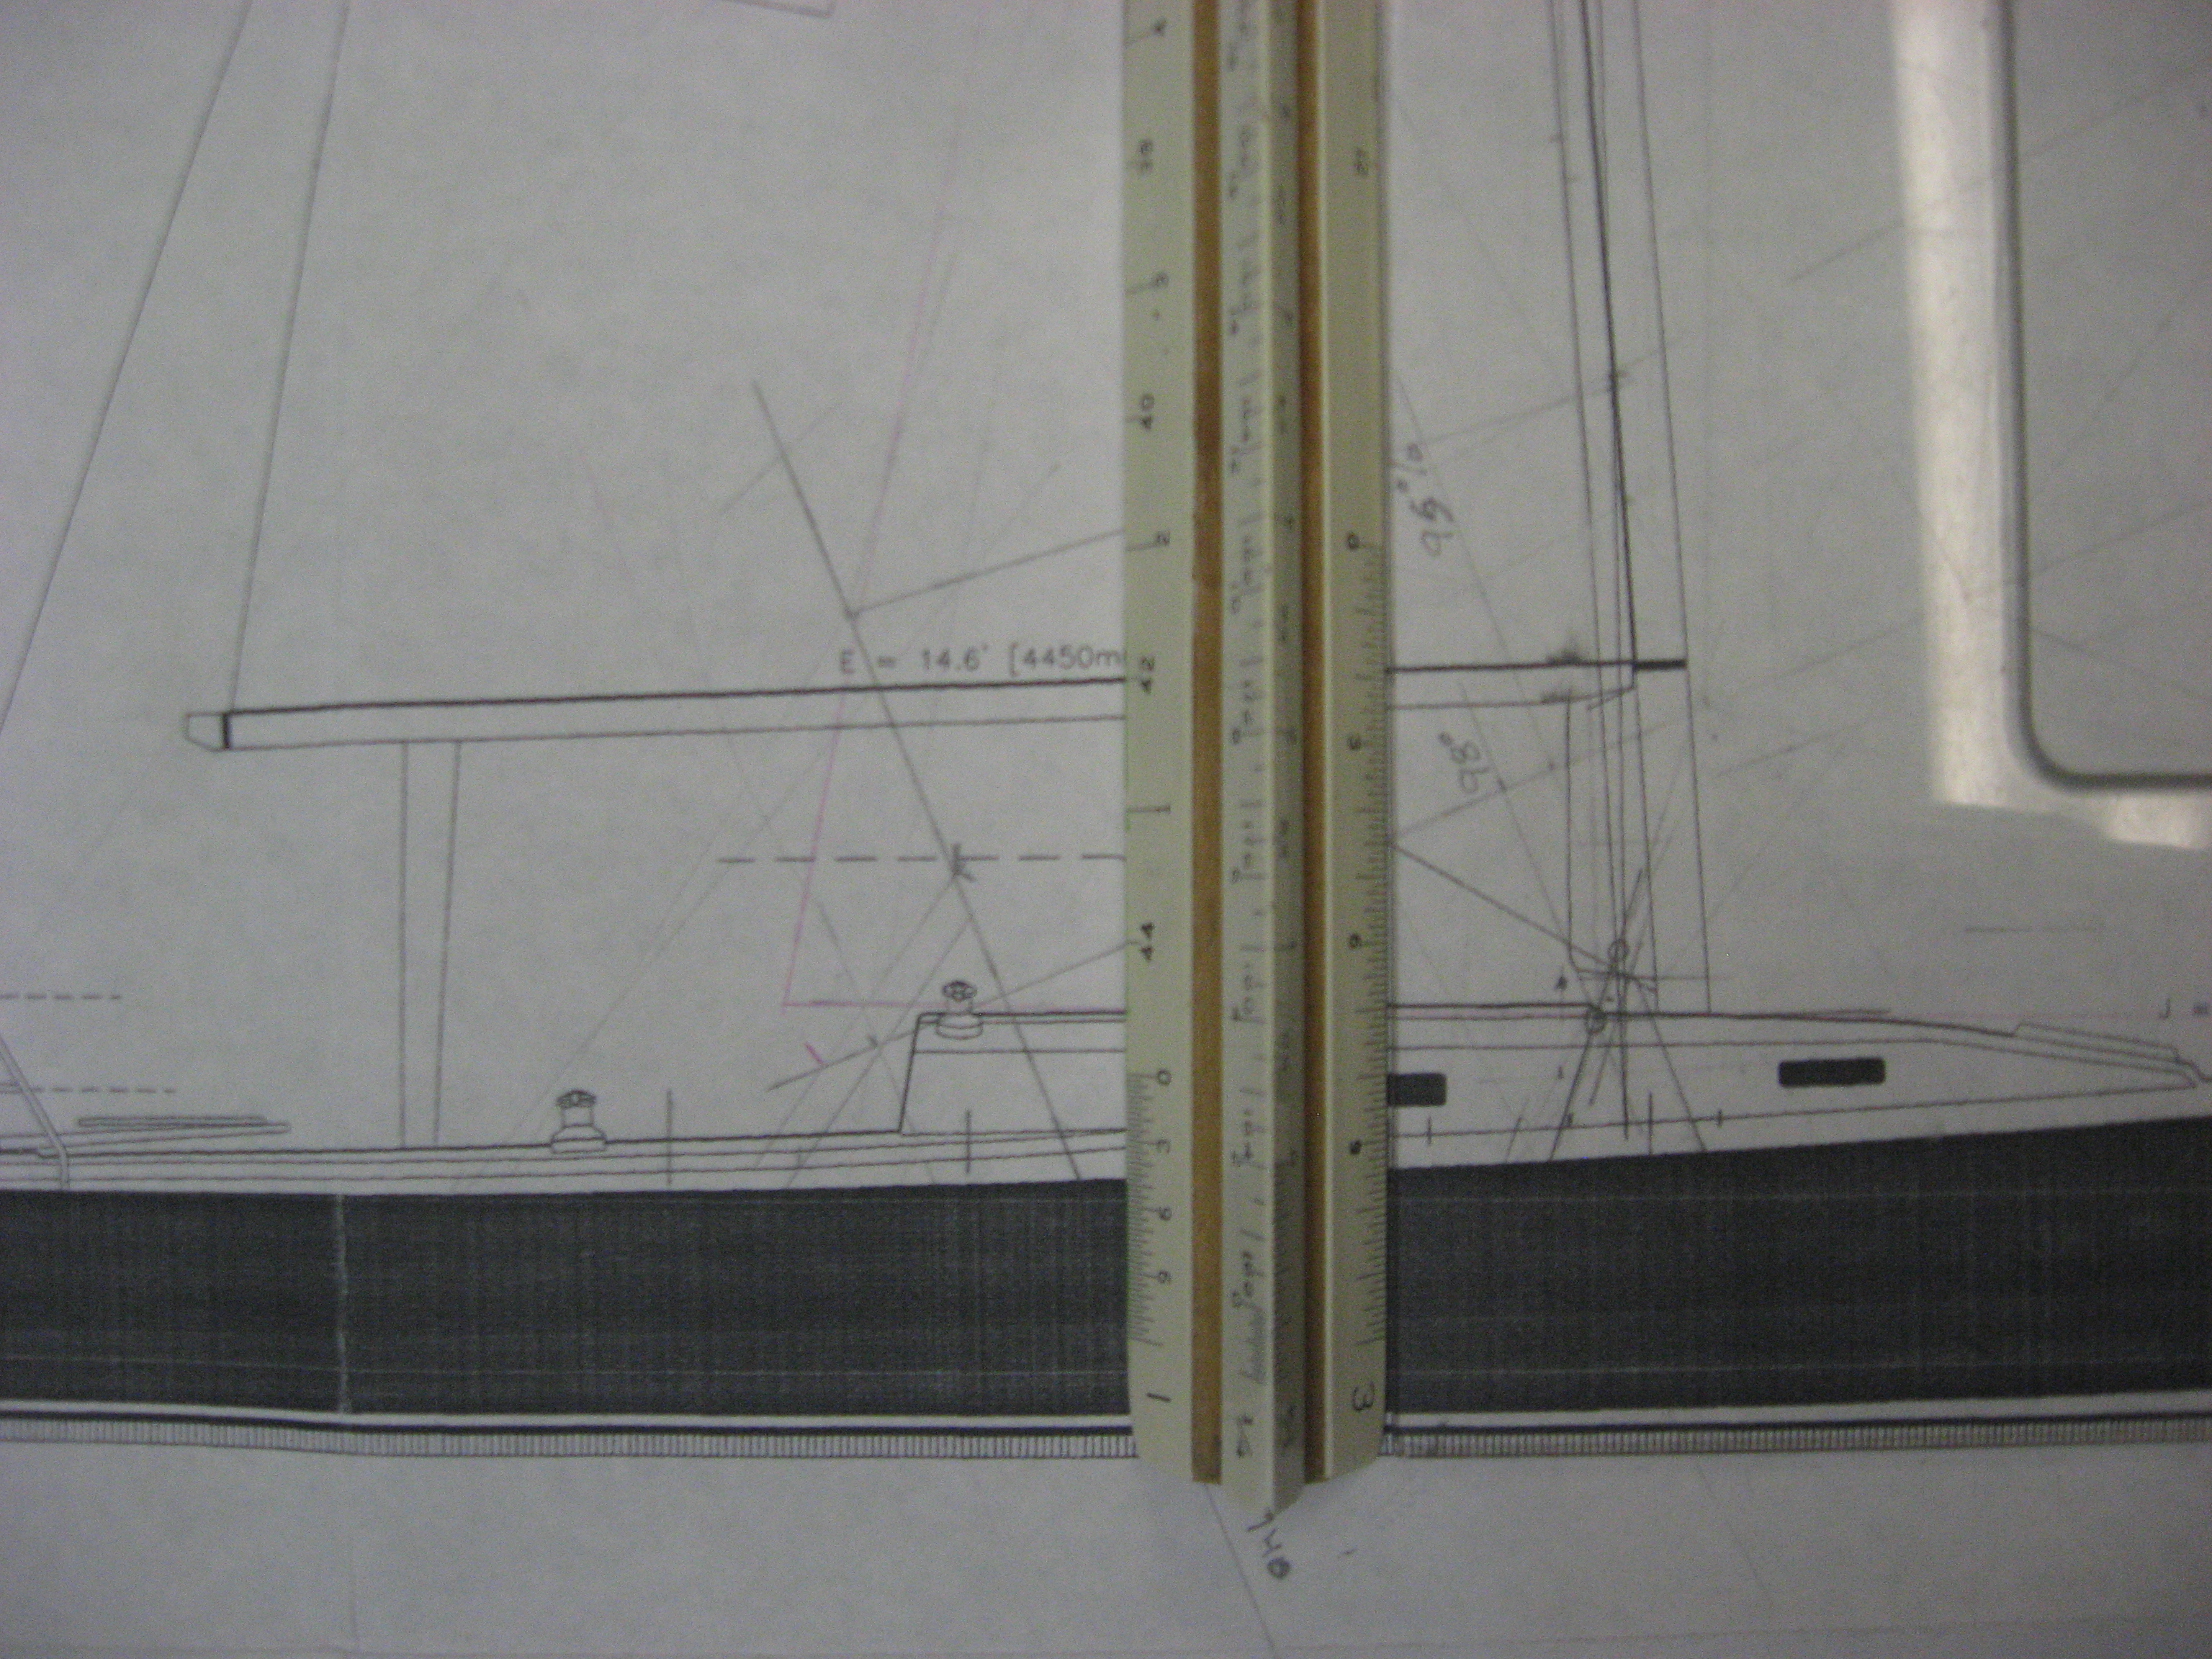
So for example if the chord span (“c” above) was 10 feet and 8% of 10 feet is 9.6 inches so the sail surface was (“a” above) 9.6 inches away from the Chord line, and this point is (“b” above) 3 and a-half feet aft along the span from the leading edge.
So far so good?
Luff round
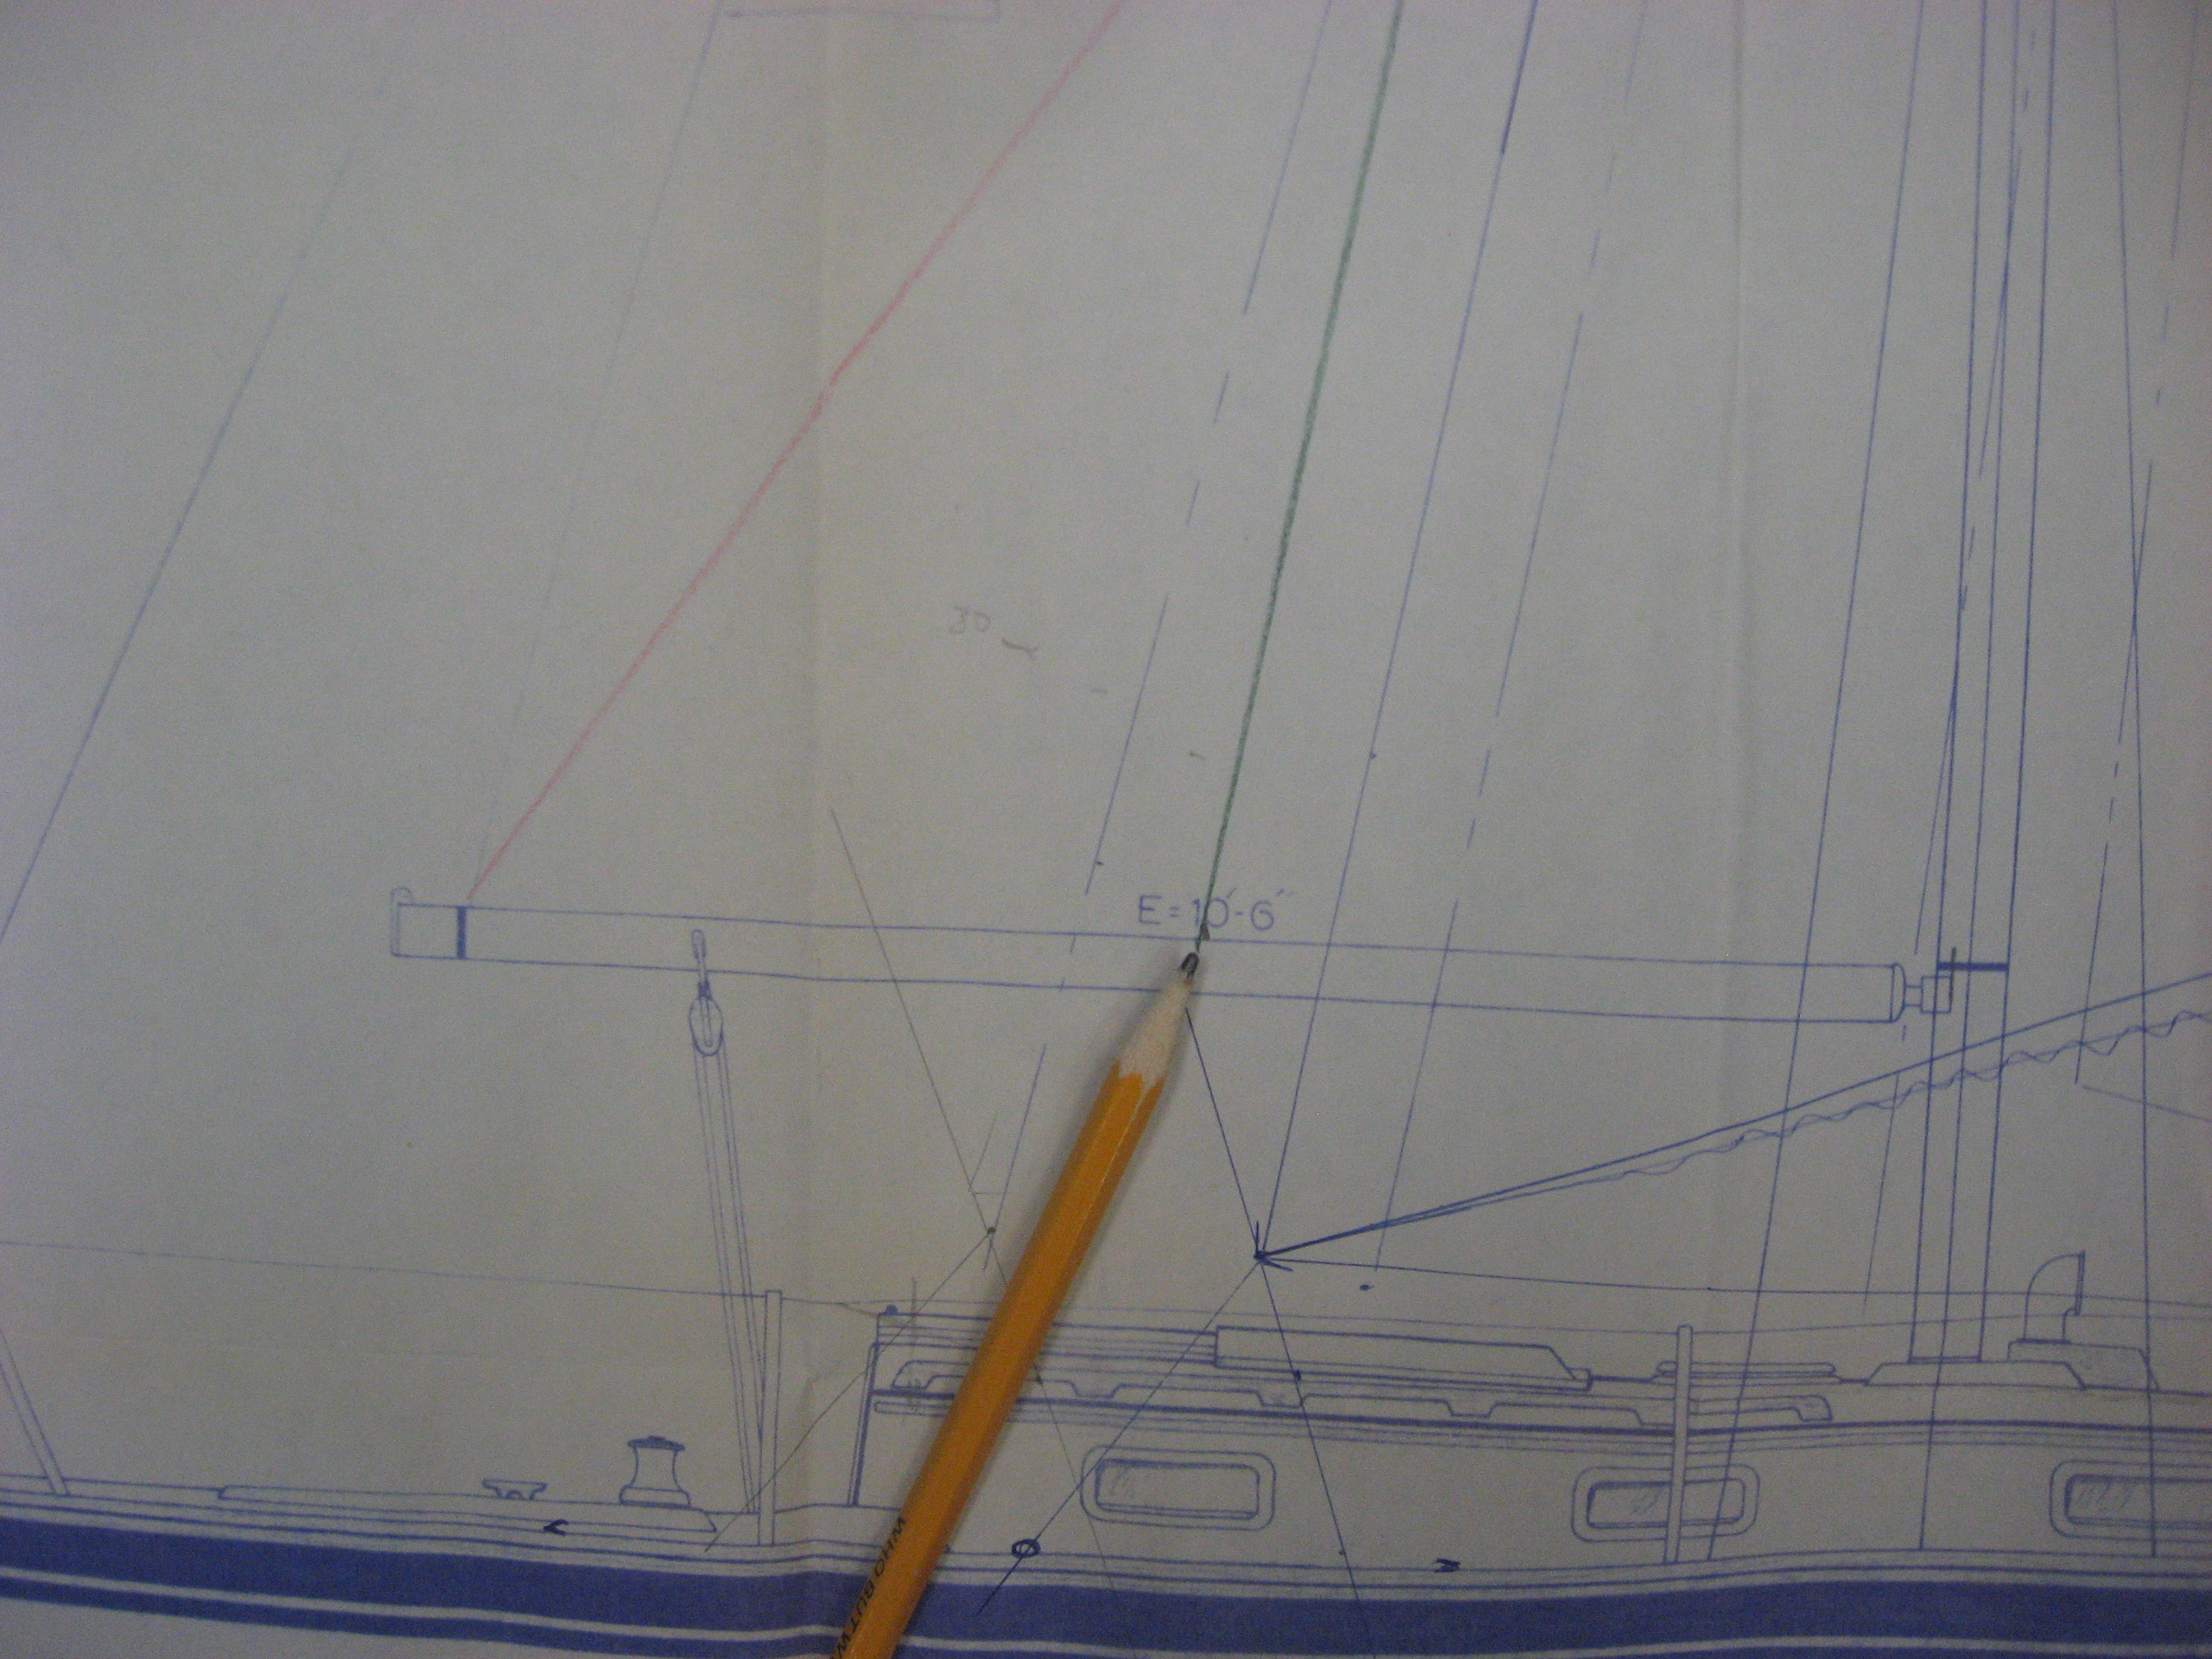
Now sails are not just triangular (Yes, mainsails have roach but many/most “cruising boat” sails have very little), the point is they are curved at the luff too. This is called, no surprise, “luff curve or luff round”. How much curve and at what position on the luff and how these points is determined are all components of the sail’s design.
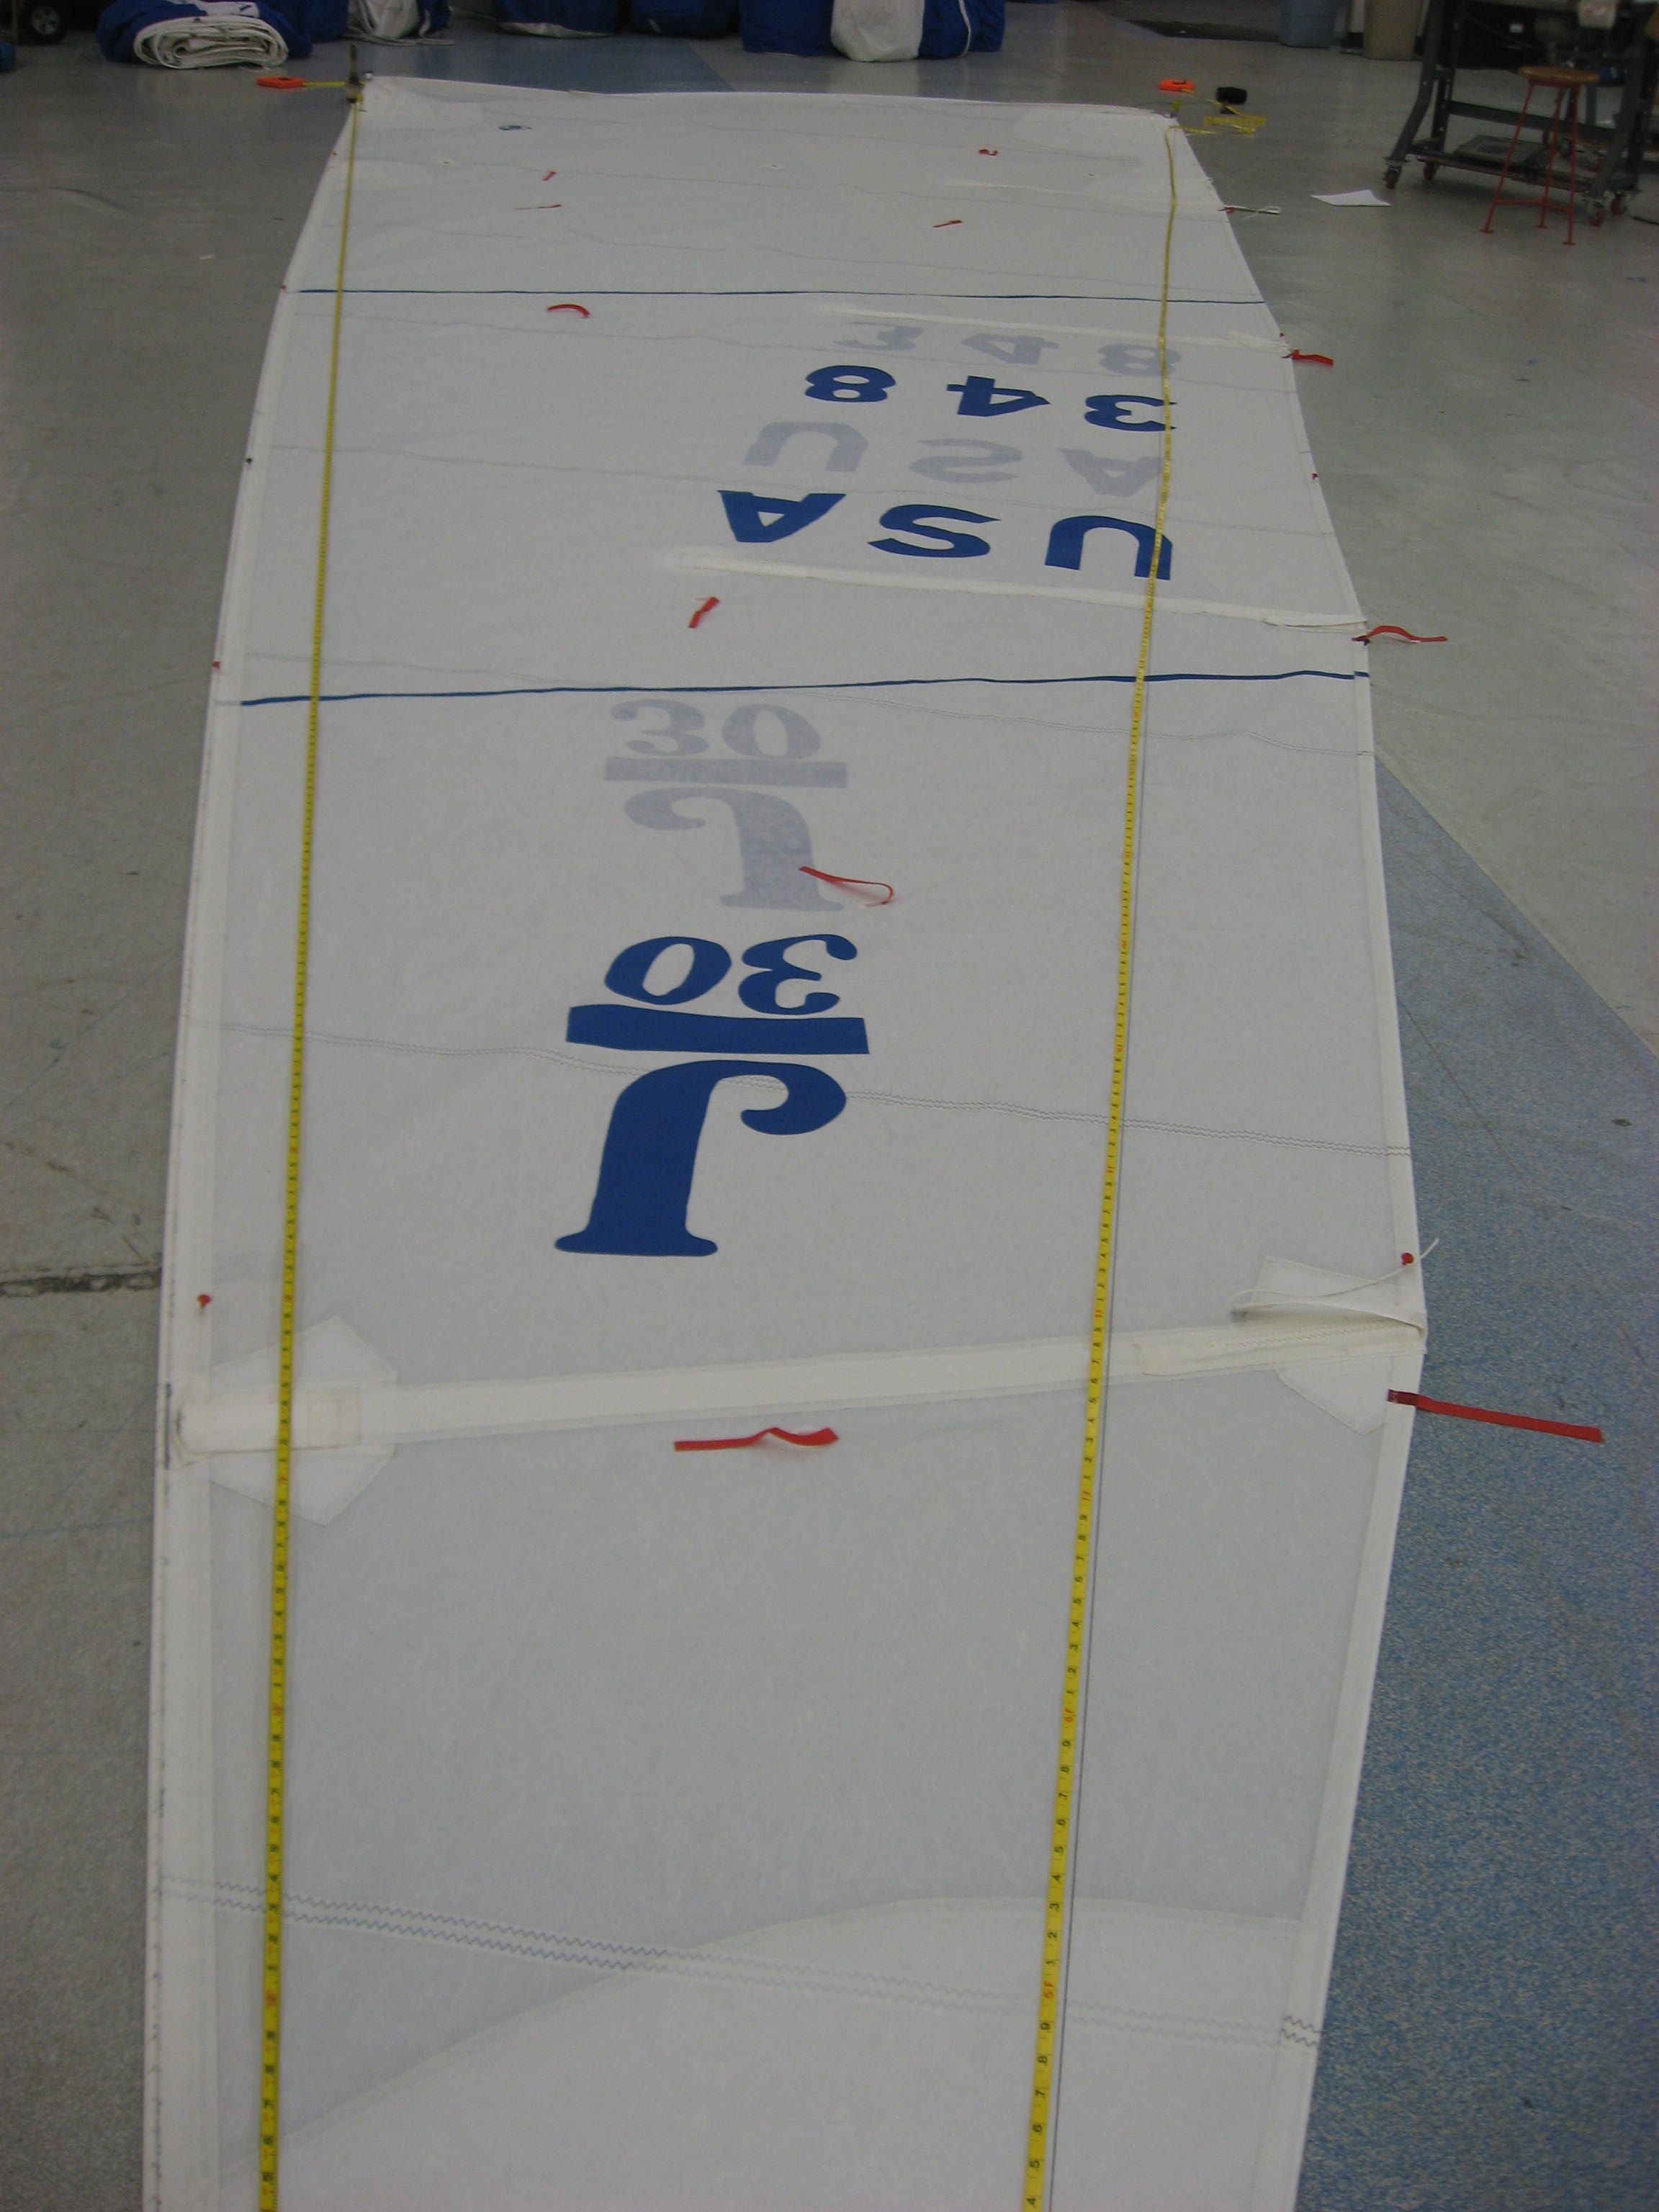
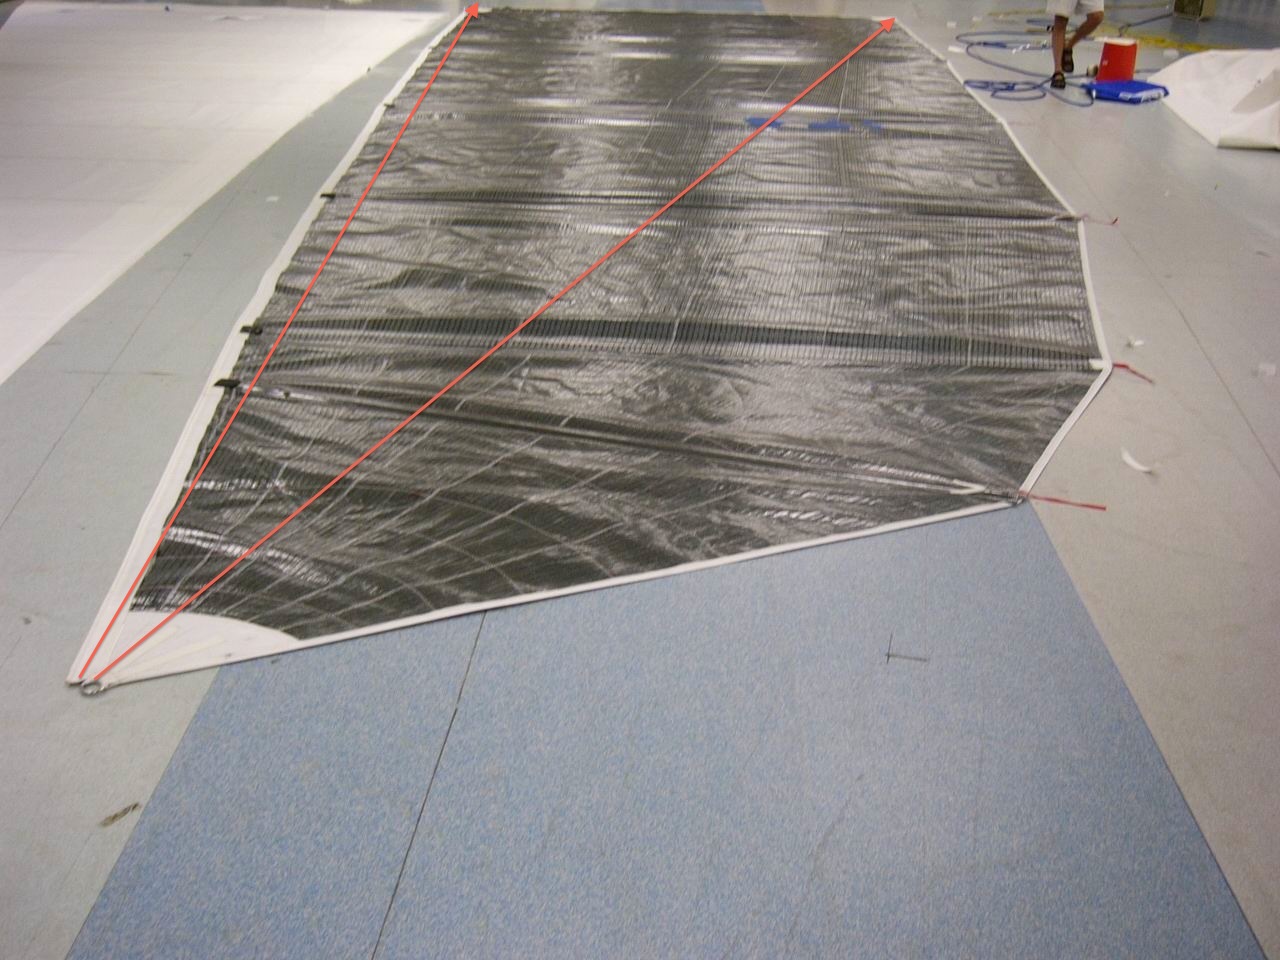
On this J-30 main, the area of the sail to the left of the left hand tape is called luff round. There is a lot of it on a J-30 because they have relatively bendy masts, especially above the hounds.
Luff round and mast bend are intimately connected. If the luff curve and the mast bend “match” is correct, you have a 6-speed stick shift gearbox. If the mainsail luff curve and the mast bend are not mated, pretty closely, then you have a 1953 shift on the column three speed with no fluid in the transmission, as it were. It is really critical and the more performance oriented the boat the more critical it becomes. AND this is why having a back stay adjuster (and knowing how and when to use it) is a great thing to know, if you like sailing your boat, as opposed to being on while it is sailing.
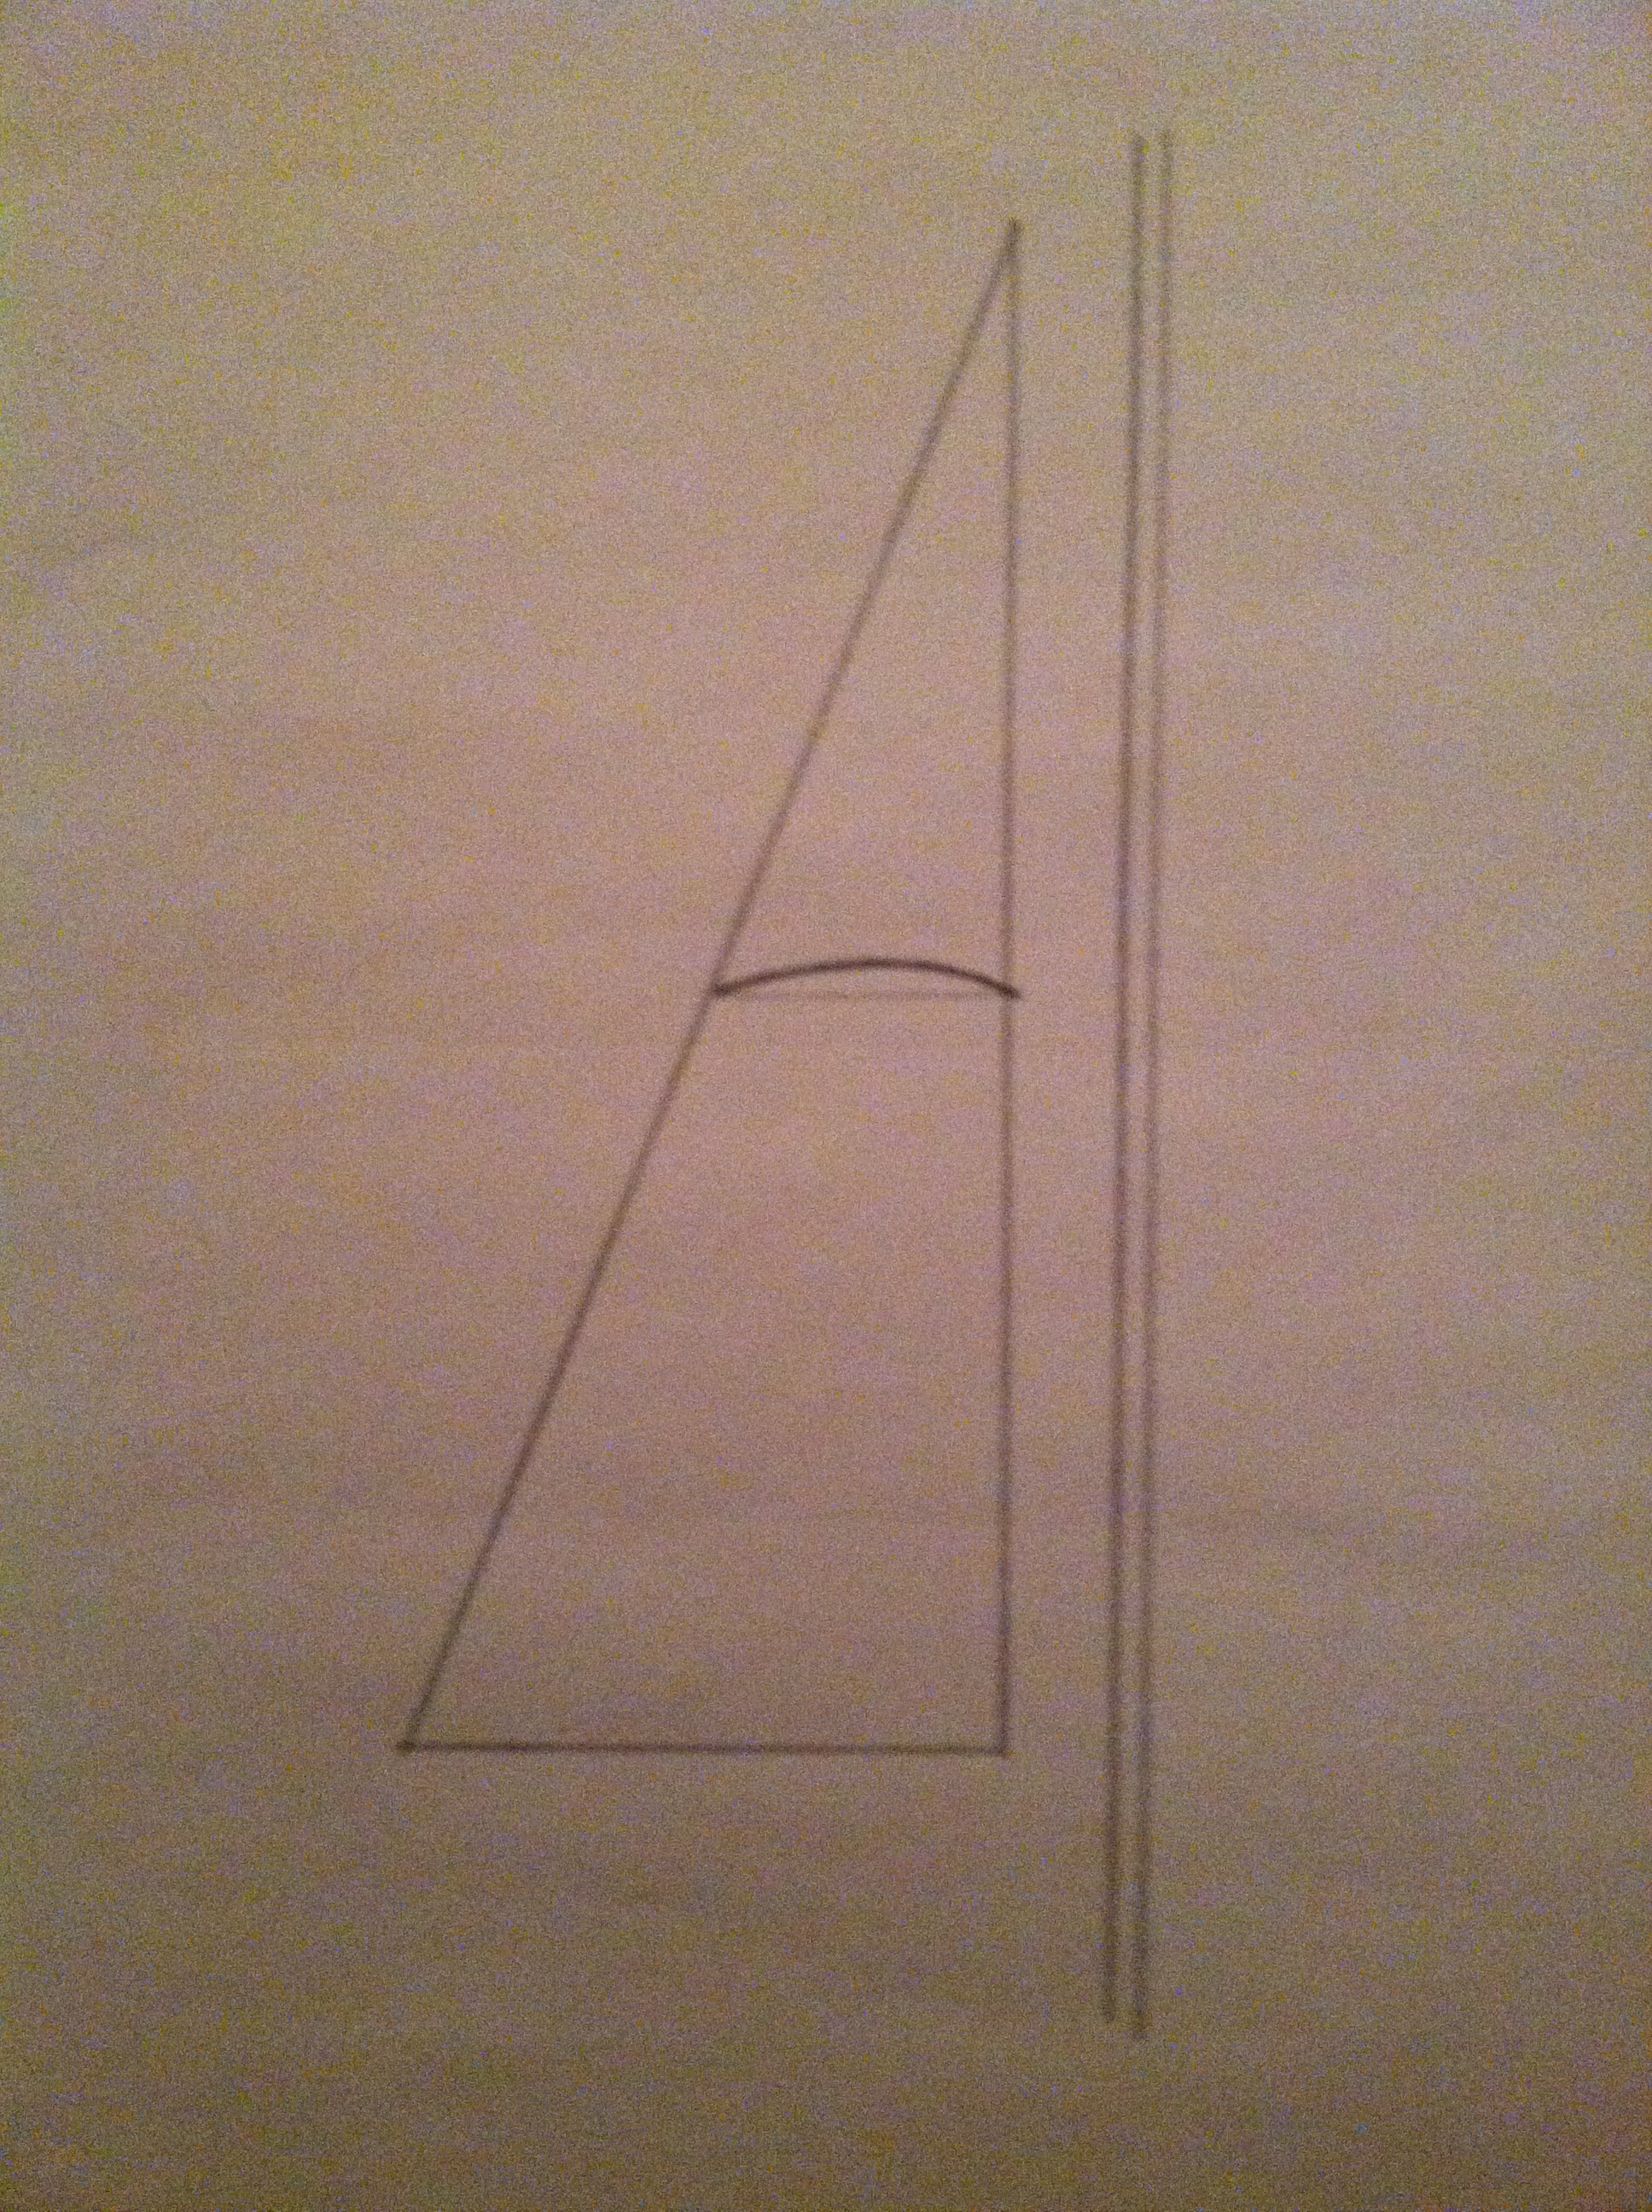
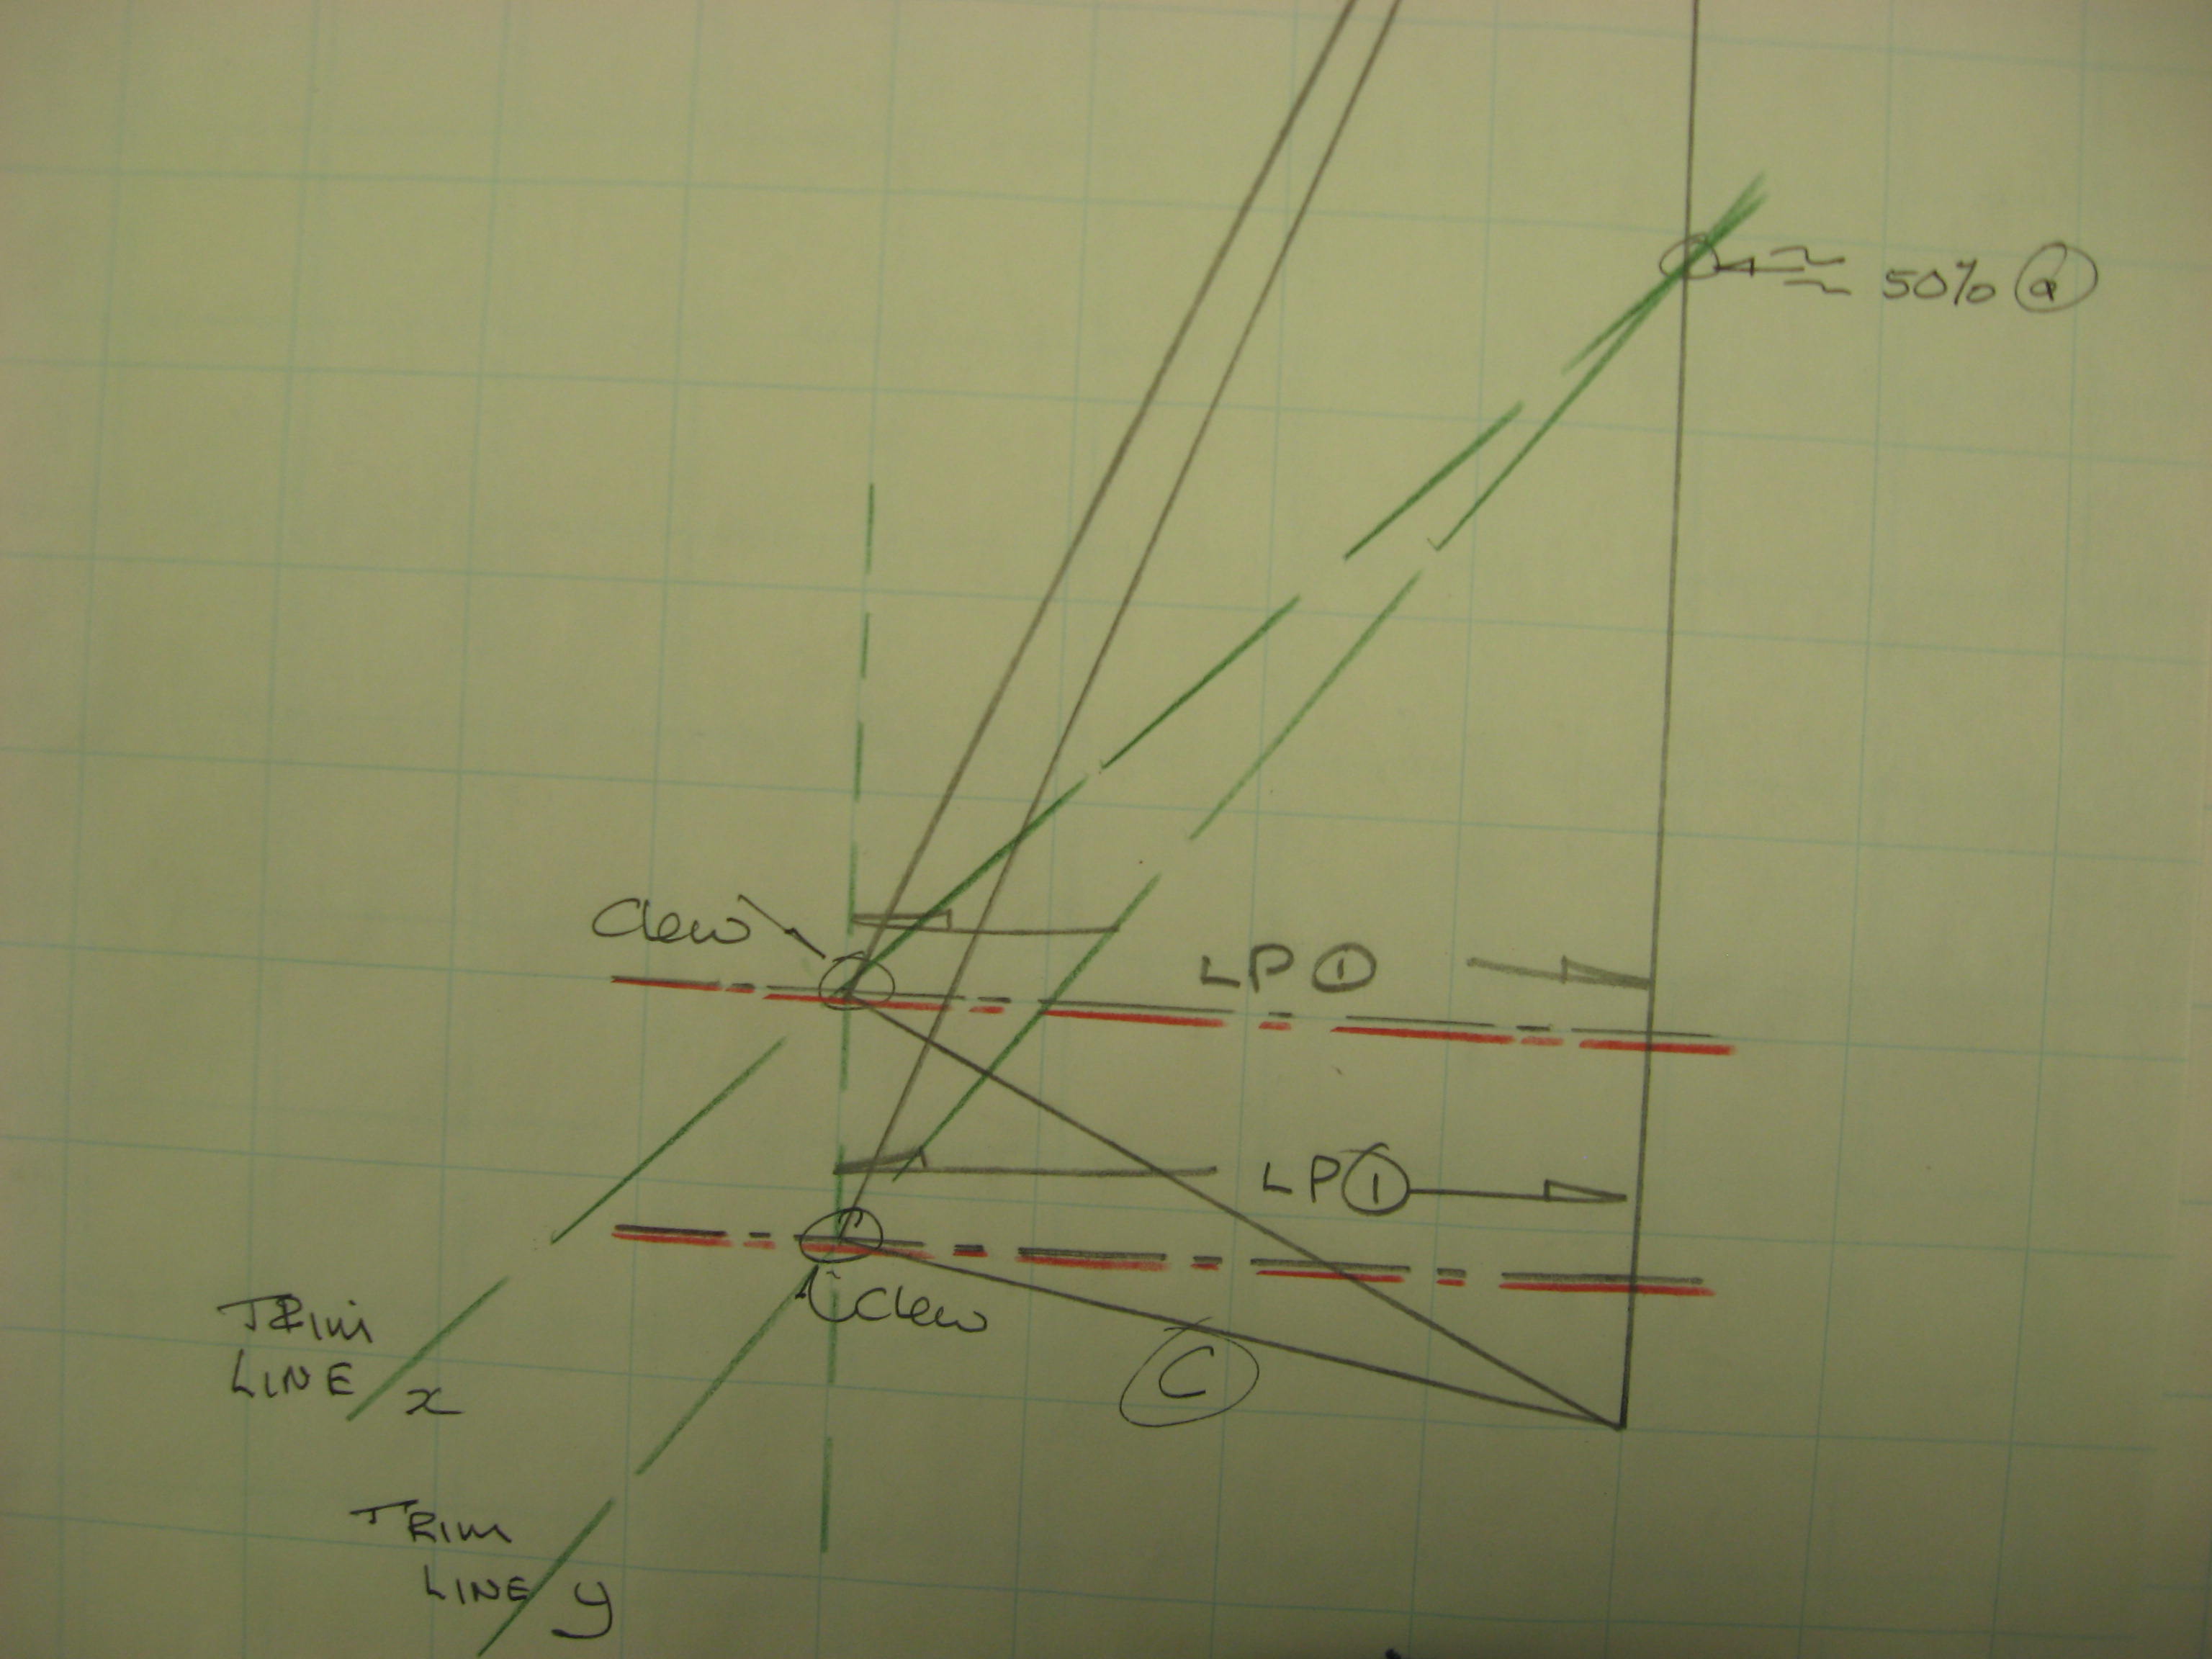
Sketch of a mainsail set on a straight mast
Briefly stated, when you bend the mast, you can flatten the mainsail. A flatter sail is to be preferred in more wind. Flatter sails reduce power in the sail, that is reducing load on the tiller/wheel. When you bend the mast, in windier conditions you will feel the helm go lighter, all other things being equal.

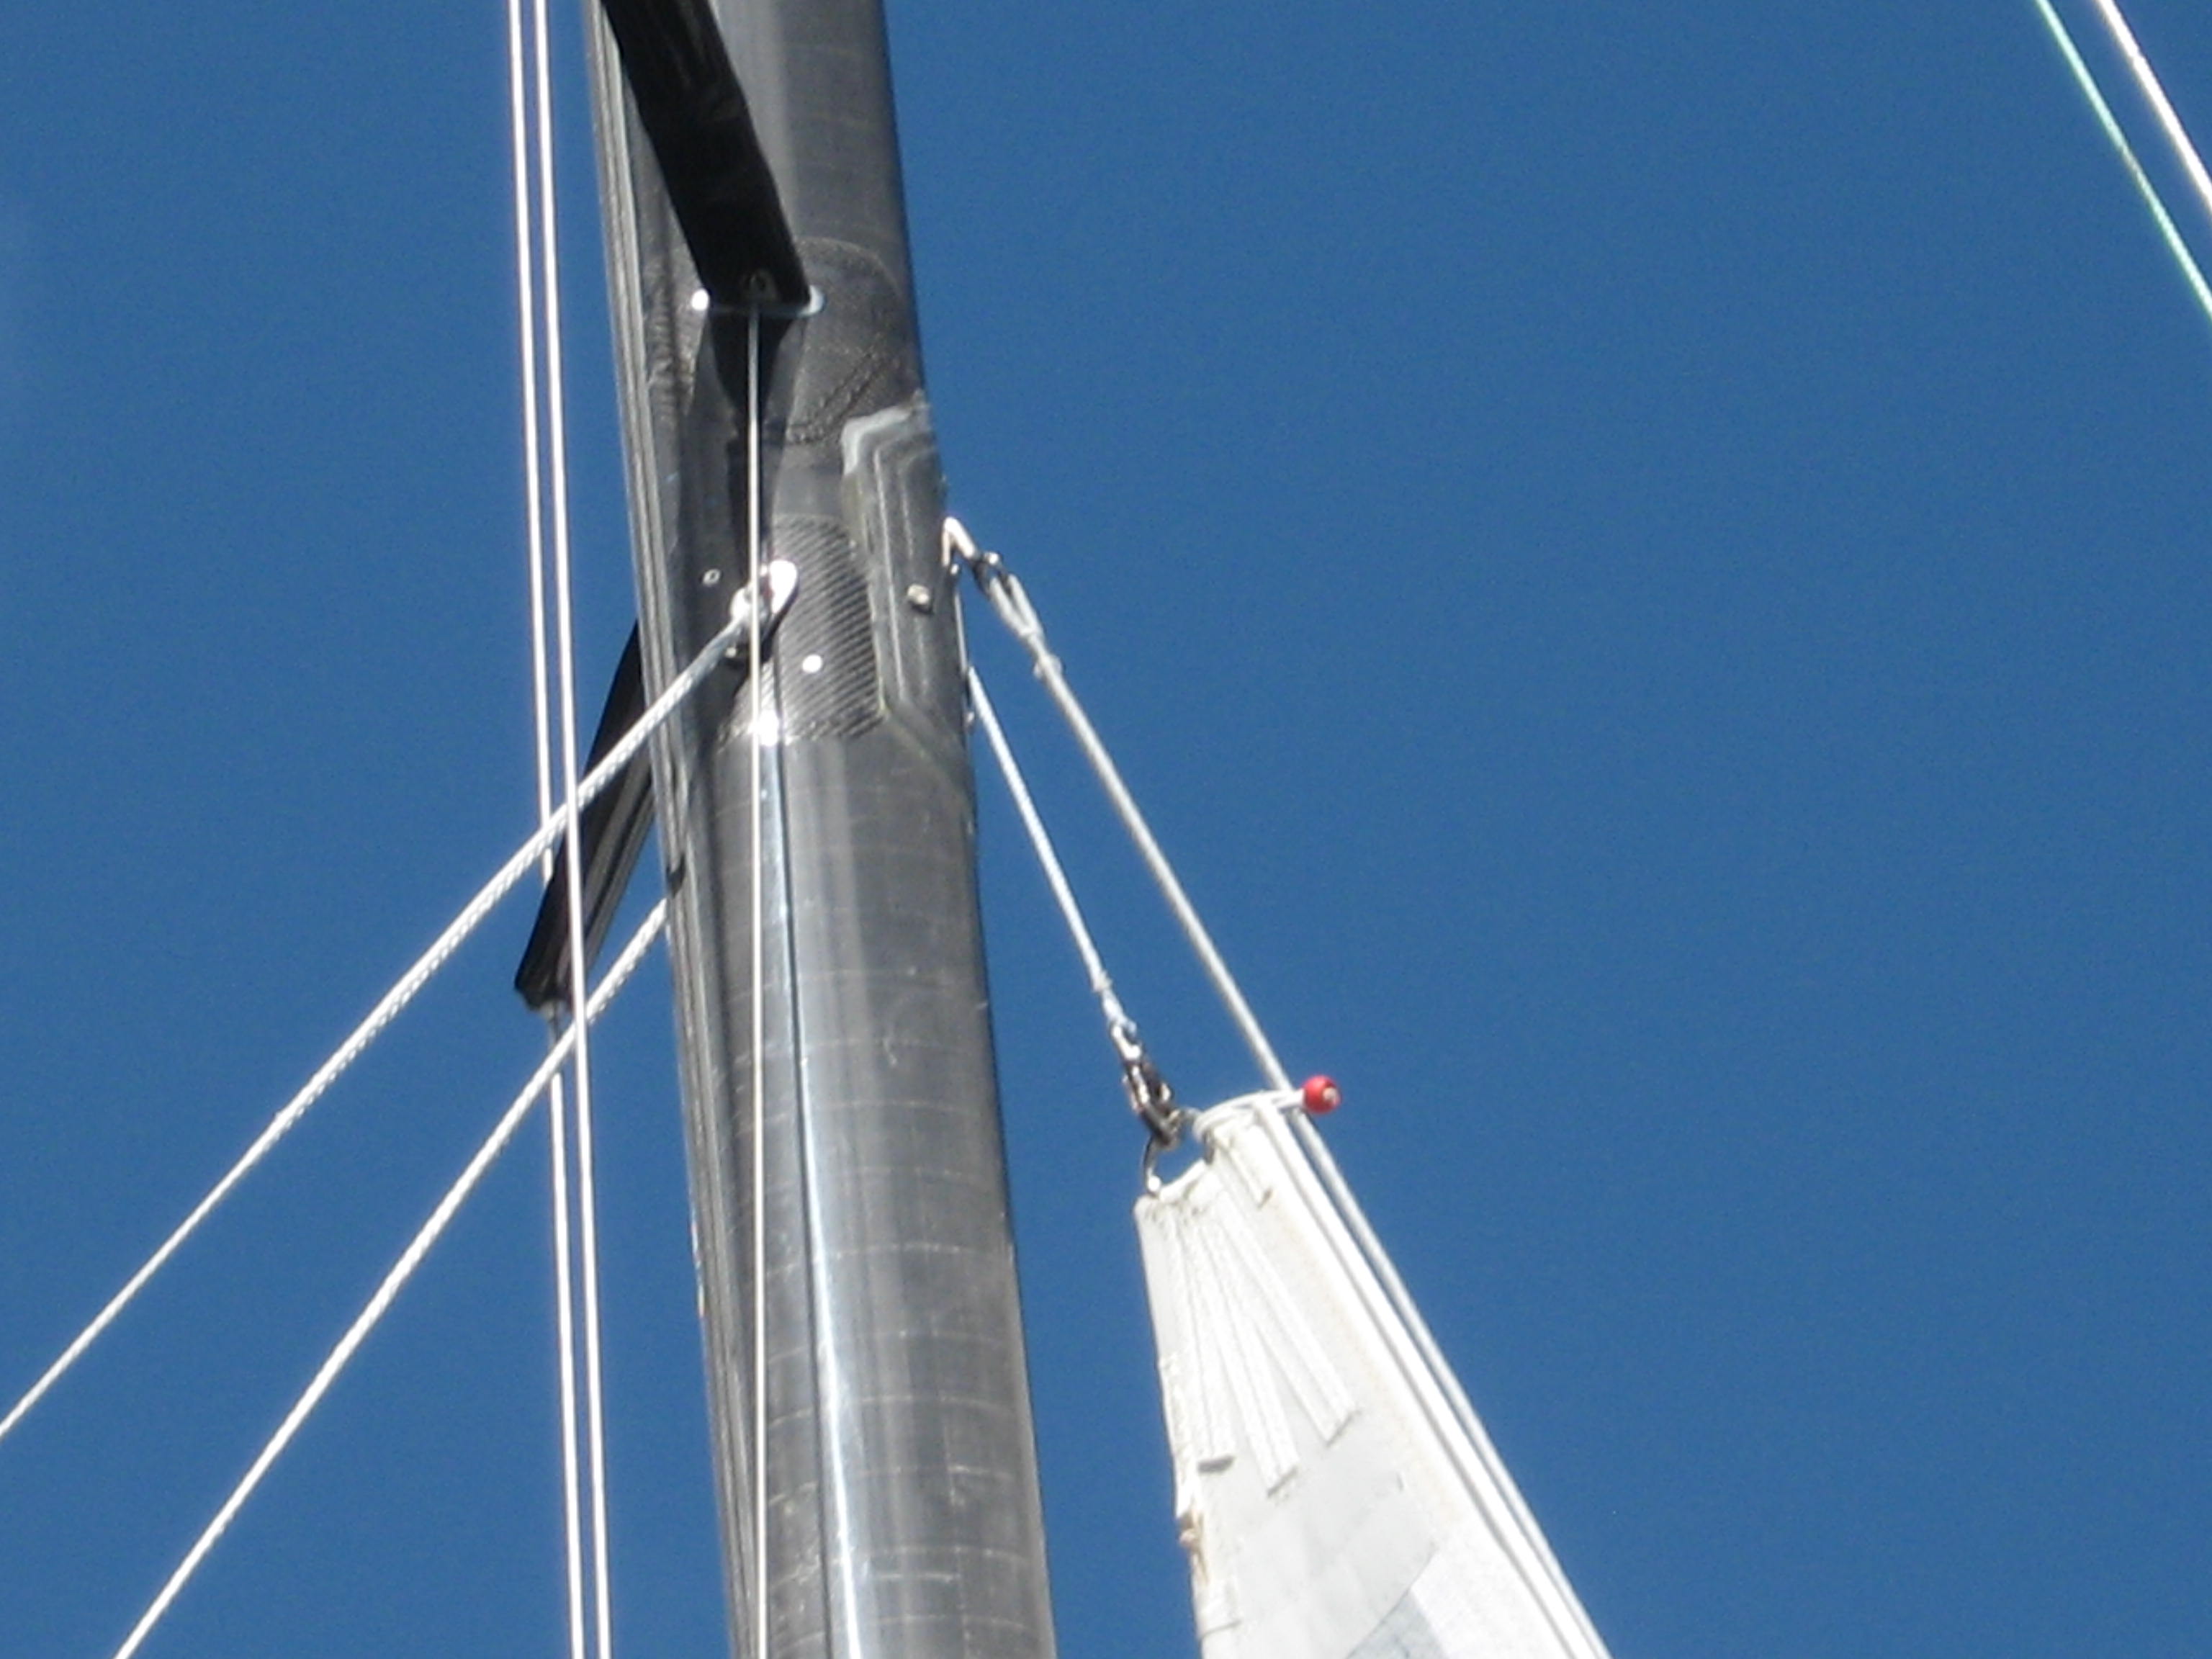
Mast bend flattens the mainsail. When the mast is straight …”straight mast” the sail is fuller. When the mast is bent, as at point “a”, the luff curve gets pulled forward and so flattens the sail.
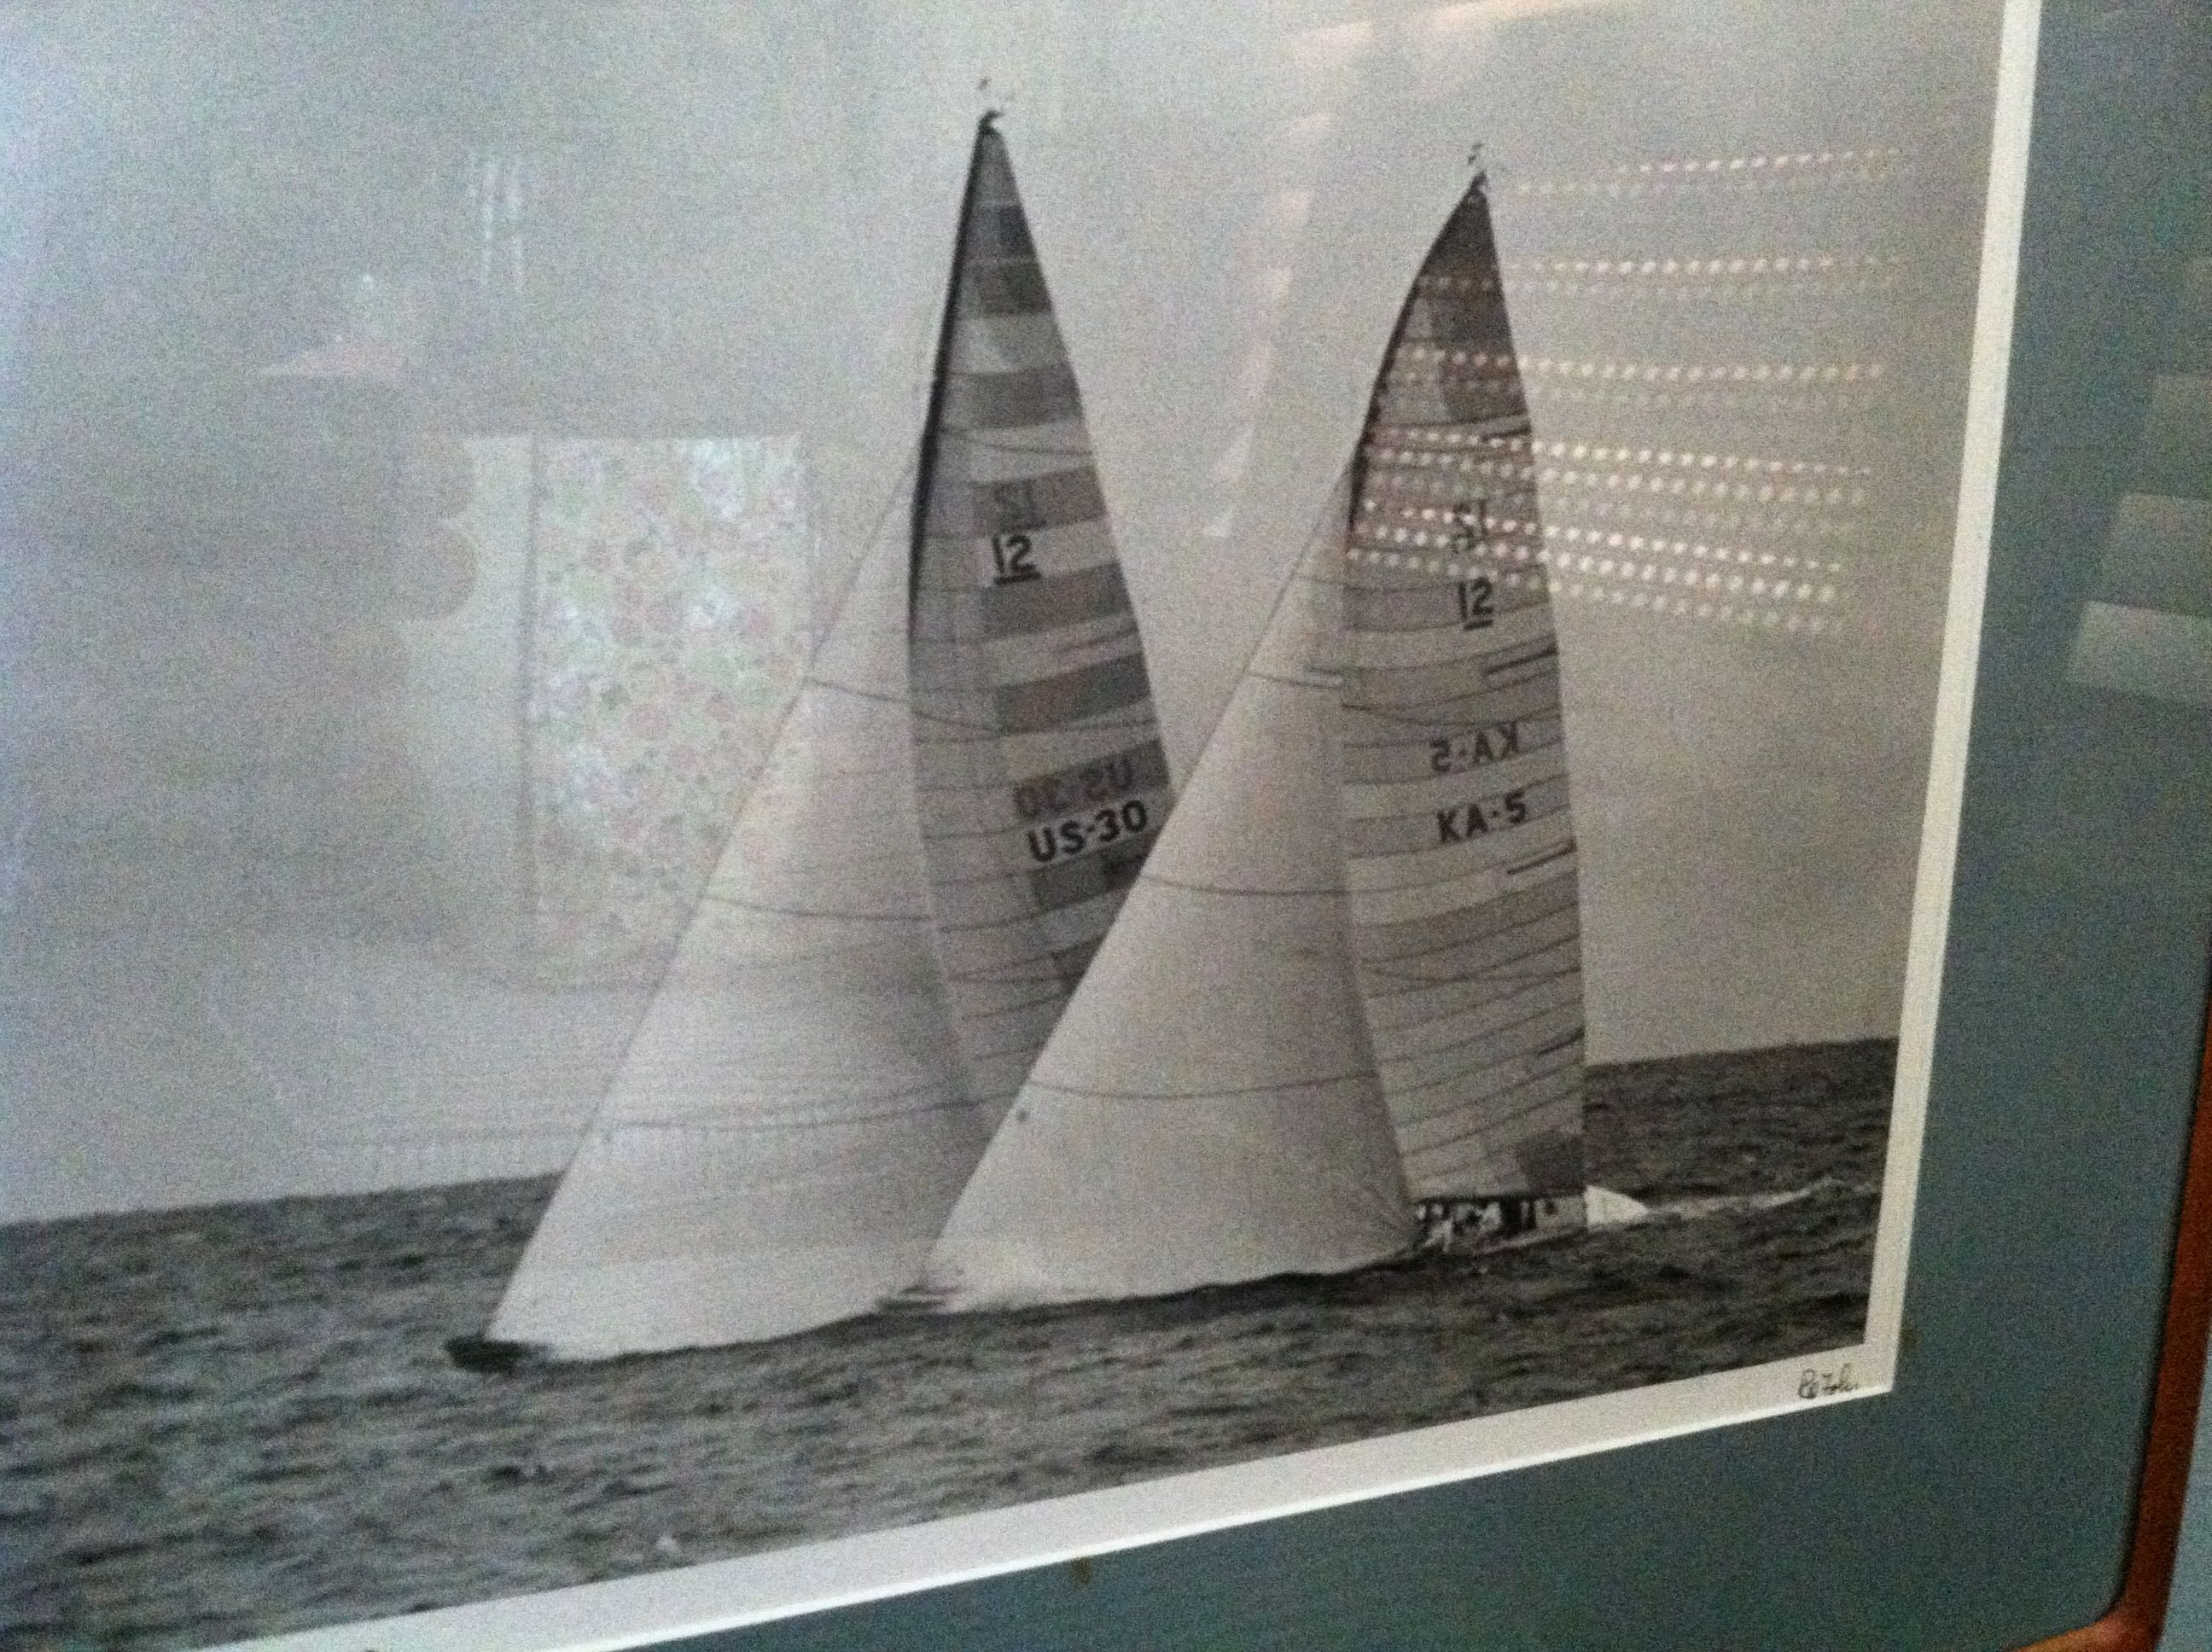
Mast bend on the 12 meter Australlia in 1980. The defender, Freedom is to weather.
The picture above shows the 12 meters Australia and Freedom coming off the starting line in one of the 1980 races for the America’s Cup. The Australians had fabricated a fiberglass top to one of their spars that would bend much more dramatically than an aluminium one. The top of the mast was controllable, apart from the regular topmast backstay, by “jumpers” and “diamonds” all controlled by hydraulics in the mainsheet trimmers cockpit. It gave the boat the abiity to have more mainsail and the rounder shape to the top of the mast was more efficient. In under about 9 kts of wind we were faster than Freedom. We won one race and were in front by 20 minutes when the time limit expired.
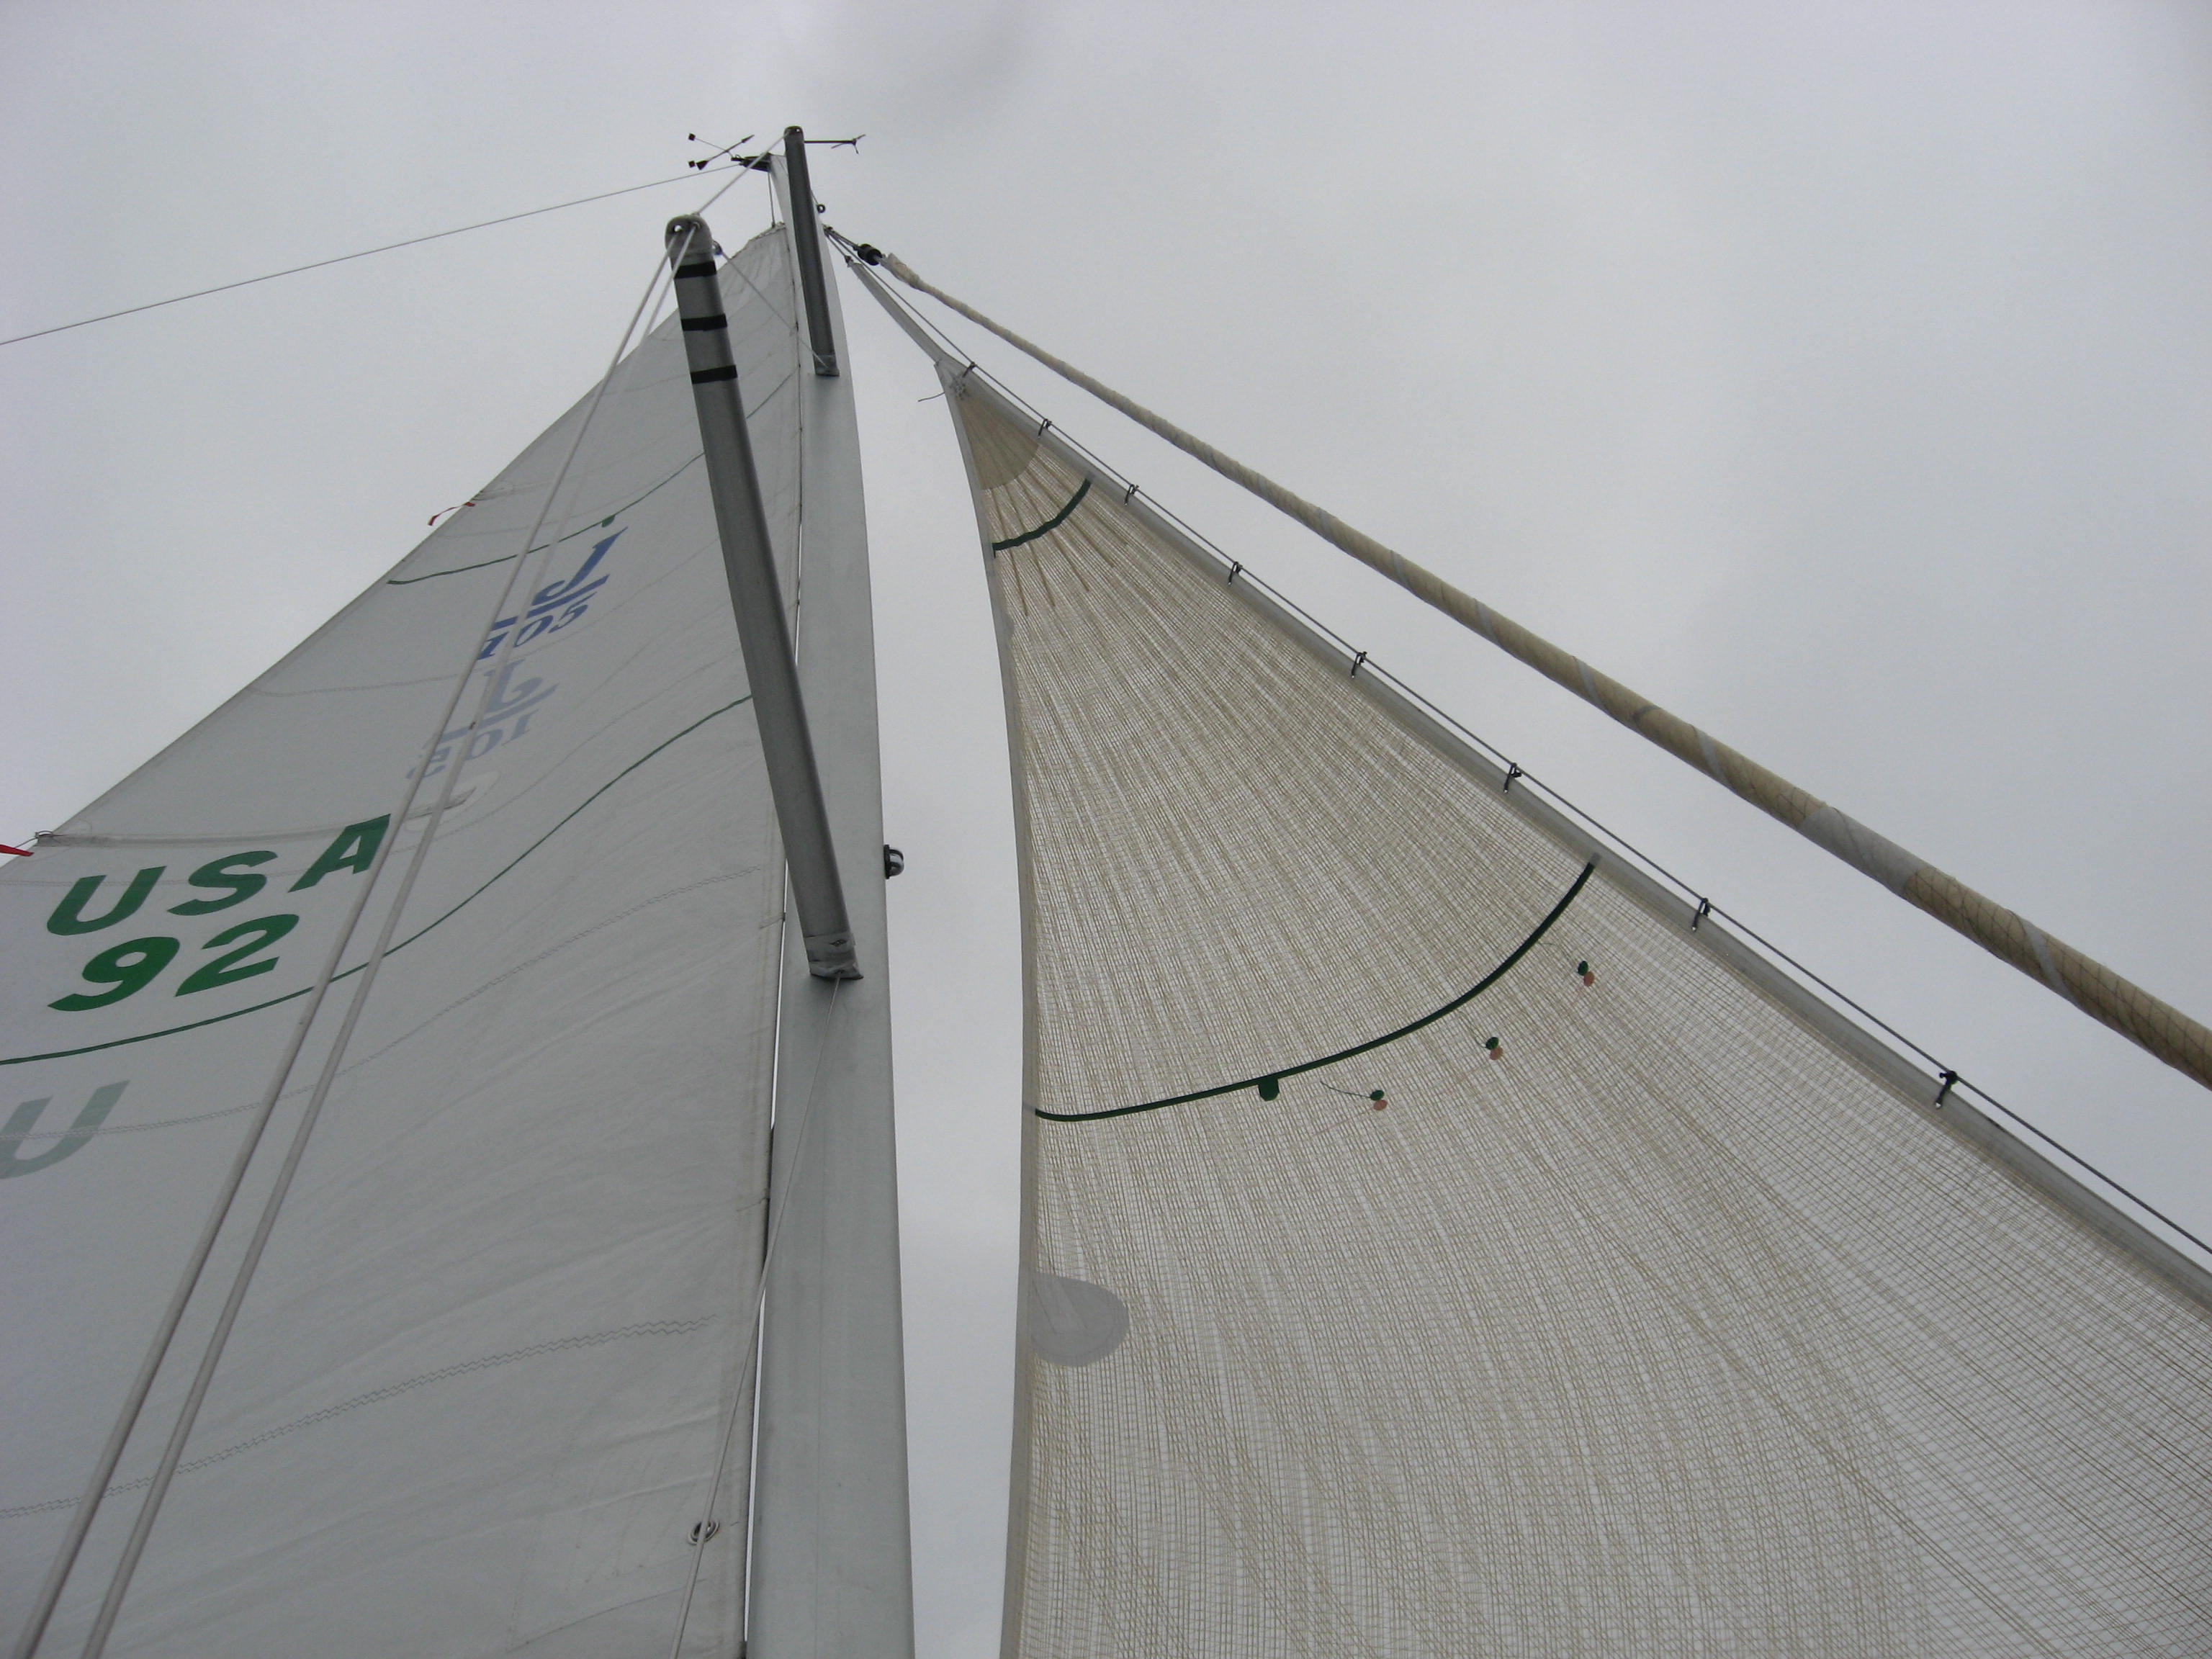
The large roach not withstanding, study the luff on the left. It has a degree of “luff curve” about 6 inches to my eye. This will match the mast bend on the boat and so be used to de-power the sail.
If you do not have any mechanism to bend the mast, consider adding a way to do so. For almost all boats there are a variety of pretty simple solutions. If you cannot find one or need help, contact me….It is not impossible that the money spent on such a set up will be good value with respect to making the boat more agreeable to sail in breeze and so less uncomfortable for all hands.