Sails for offshore and the Newport to Bermuda Race:
The Newport to Bermuda Race, sailed in even numbered years and it’s counterparts that are sailed in odd numbered years, The Marion to Bermuda Race and The Bermuda 1-2 are something of a right of passage for many US sailors, especially those in the north east. While not particularly long in terms of famous ocean races, the weather across the track can make for some pretty hard going, more so for the unprepared. The Bermuda race is roughly the same distance as the Sydney to Hobart race and the Fastnet race but as has been seen in both these races distance is not the only factor to contend with when preparing to race (sail) ‘only’ 650 or so miles.
The Newport to Bermuda Race committee is rightly proud of their safety record (only one loss of life in the race’s history) and so the organizers hunt and peck from a variety of sources and mandate a few of their own safety regulations in some cases.
The default regulations for offshore sailing, including things like required equipment, the boat’s structure and training are the Offshore Special Regulations, known as offshore regs.
Front cover of the World Sailing Offshore Special Regs, aka the ‘Offshore Regs.’
This booklet-sized document contains these regulations promulgated by International Sailing Federation, ISAF, now called World Sailing. It covers all manner of particulars to do with getting to the finish in the same boat you started with and all the same crew you started with. It is EXTREMELY hard won information and a very informative read for anyone thinking of going maybe anywhere in a sailing boat.
It is however somewhat Euro-centric in that everything is cross-referenced to an ISO number. For the layman it is a bureaucratic black hole. To make things a bit easier for US sailors US Sailing started a few years ago to develop their own prescriptions for requirement for races in the US. The result is a document a normal person can read and defines the gear required for the boat for three categories of racing, not six, called by USSailing: the Safety Equipment Regulations (SER’s) and the three categories are Ocean, Coastal & Nearshore.
Finally the Bermuda Race Organizing Committee list their own requirements based on their very extensive research, surveys after each race and the vast experience in some very un-hospitable areas of the worlds oceans of the members of the CCA.
In the view of some the safety requirements for much of the Offshore Regs. are becoming more and more complex. I have over the past few years been told by at least two people I can think of that they are stopping doing offshore races due to the rigmarole and cost of the safety kit.
Regardless, the requirements for sails have generally remained pretty stable for several years. There are really only two principal changes to sails lately: Storm Jibs and Storm trysails manufactured after 1 Jan. 2014 are required to be ALL high visibility, usually orange, in color. So, the sail requirements for the Newport to Bermuda race are as follows.
There are three required sails and an assumed fourth one, the mainsail.
REQUIRED SAILS
The three required sails are: a Storm Jib, a Storm Trysail and what is called a Heavy Weather Jib. These are very specifically defined in the safety equipment section of Bermudarace.com. The mainsail has only one requirement and that is:
3.33.1 Reefing: A yacht shall have mainsail reefs capable of reducing the area of the sail by an amount appropriate for the weather conditions possible on the racecourse.
This phraseology is intended to push back to the owners and the master, the responsibilities for going to sea. This is in fact embedded in the Racing Rules of Sailing and RRS Rule 4 is here:
DECISION TO RACE
The responsibility for a boat’s decision to participate in a race or to continue racing is hers alone.
From a practical and seamanship perspective, contemplating sailing across this course on a boat with only one reef, would be a risk, way riskier than the reward of a few pounds less weight in the mainsail.
The Heavy Weather Jib (HWJ) is from a sailmaker’s perspective and design and engineering wise, are ‘merely” small, flat and heavily constructed jibs. But they must meet the rules for HWJs though which are-for the Newport to Bermuda Race:
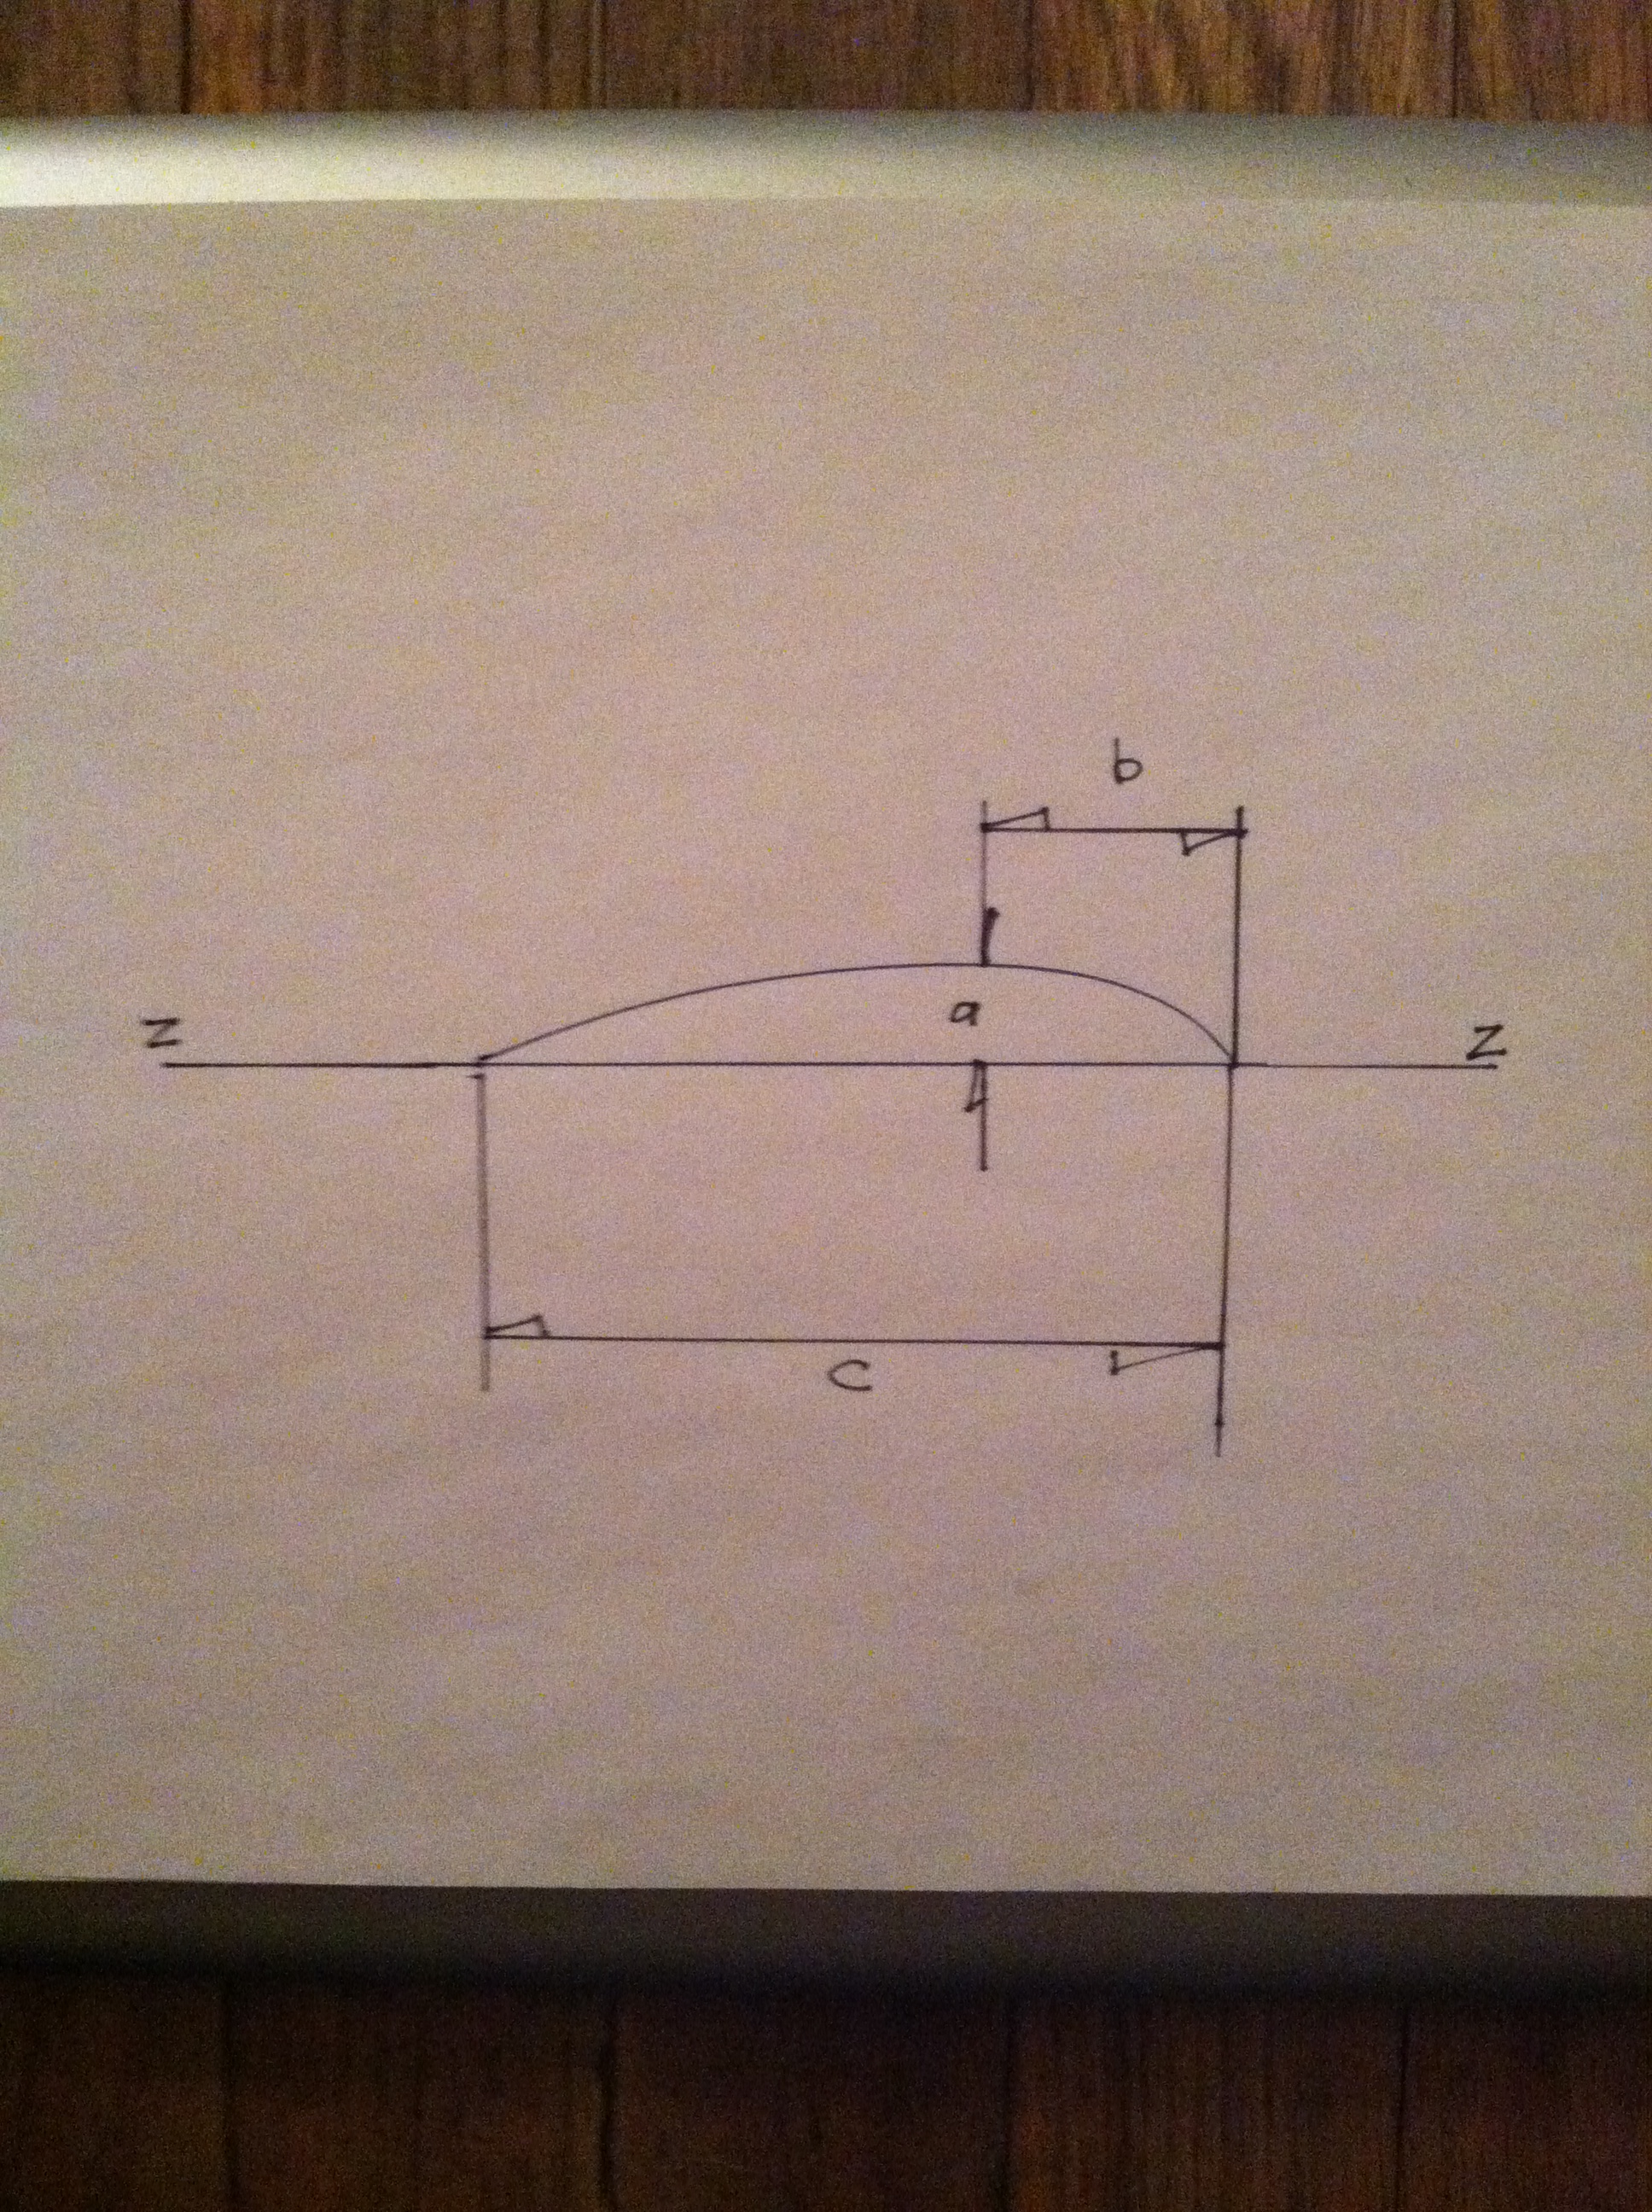
3.33.3 Heavy Weather Jib:
A yacht shall carry a heavy weather jib (or heavy weather sail in a yacht with no forestay) of area not greater than 13.5% height of the fore-triangle squared.
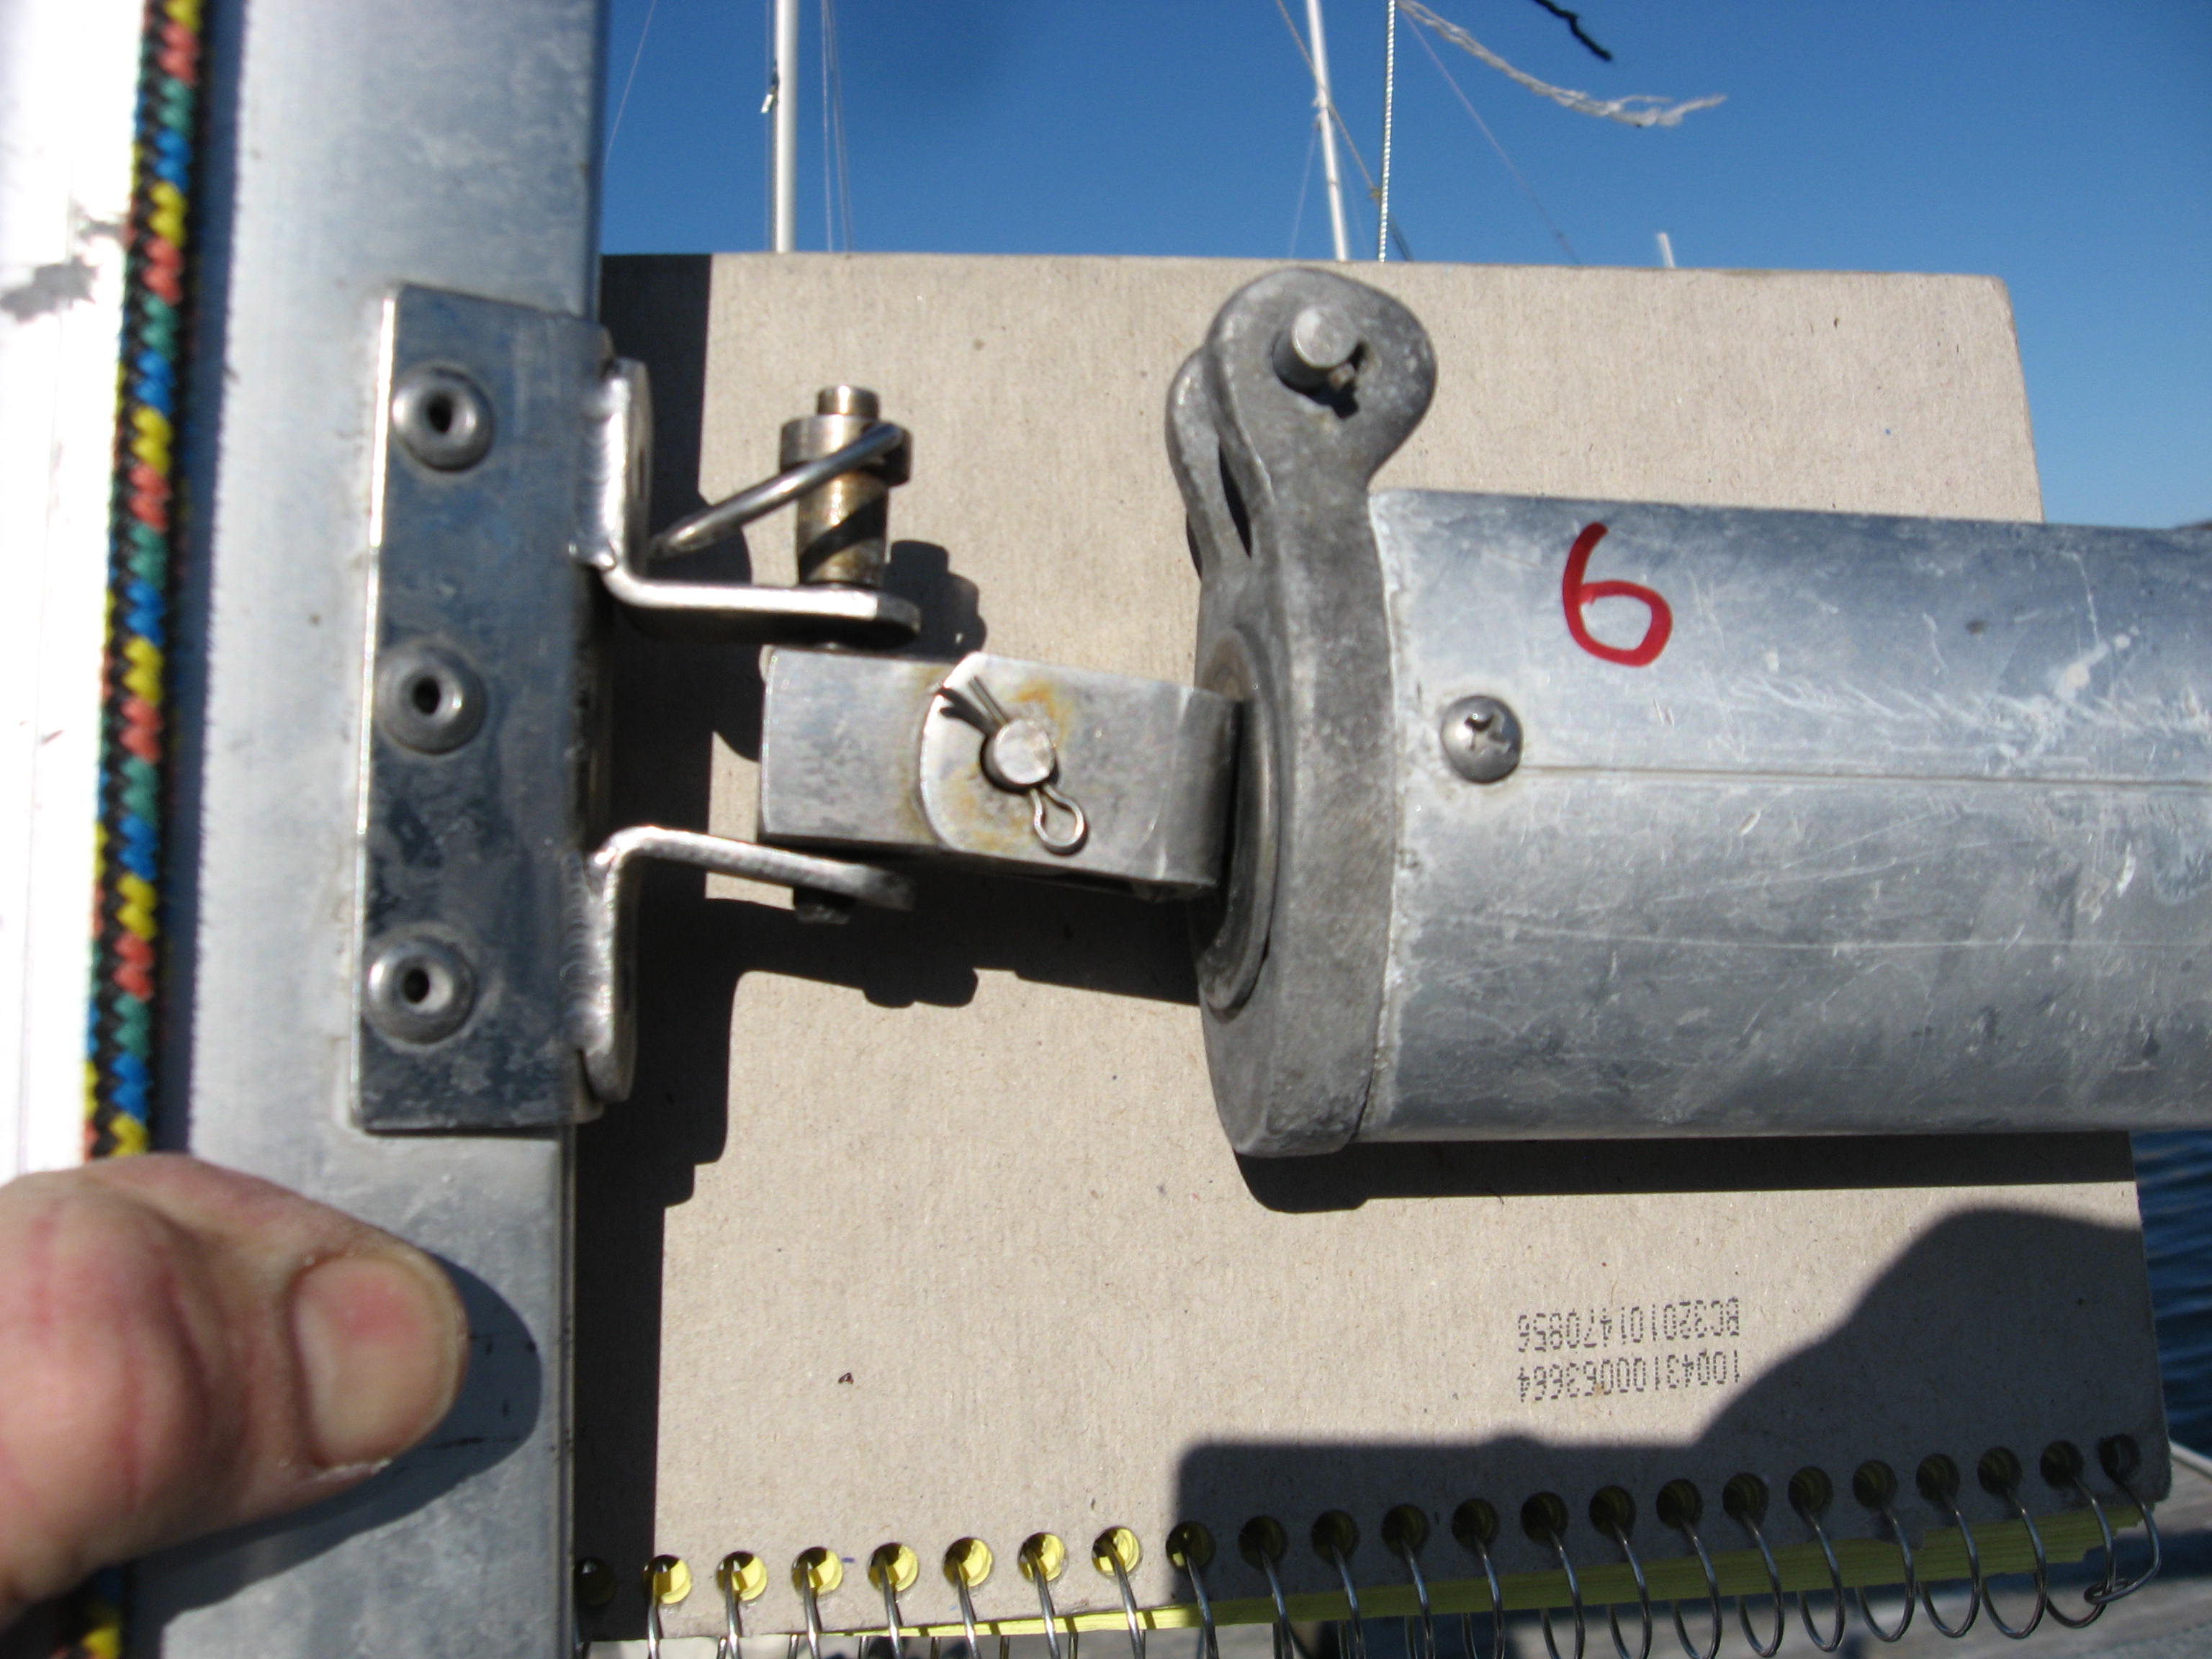
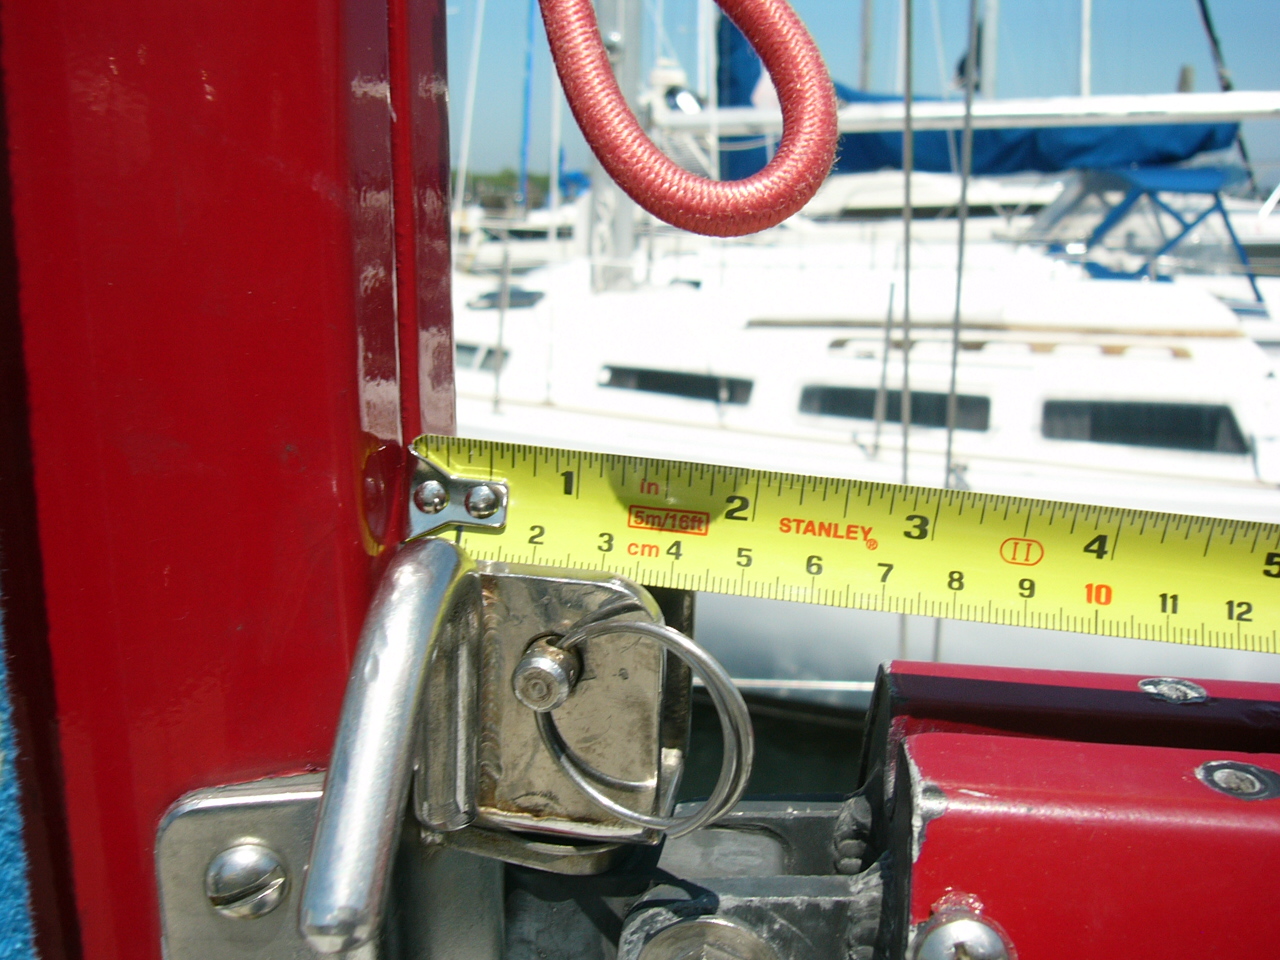
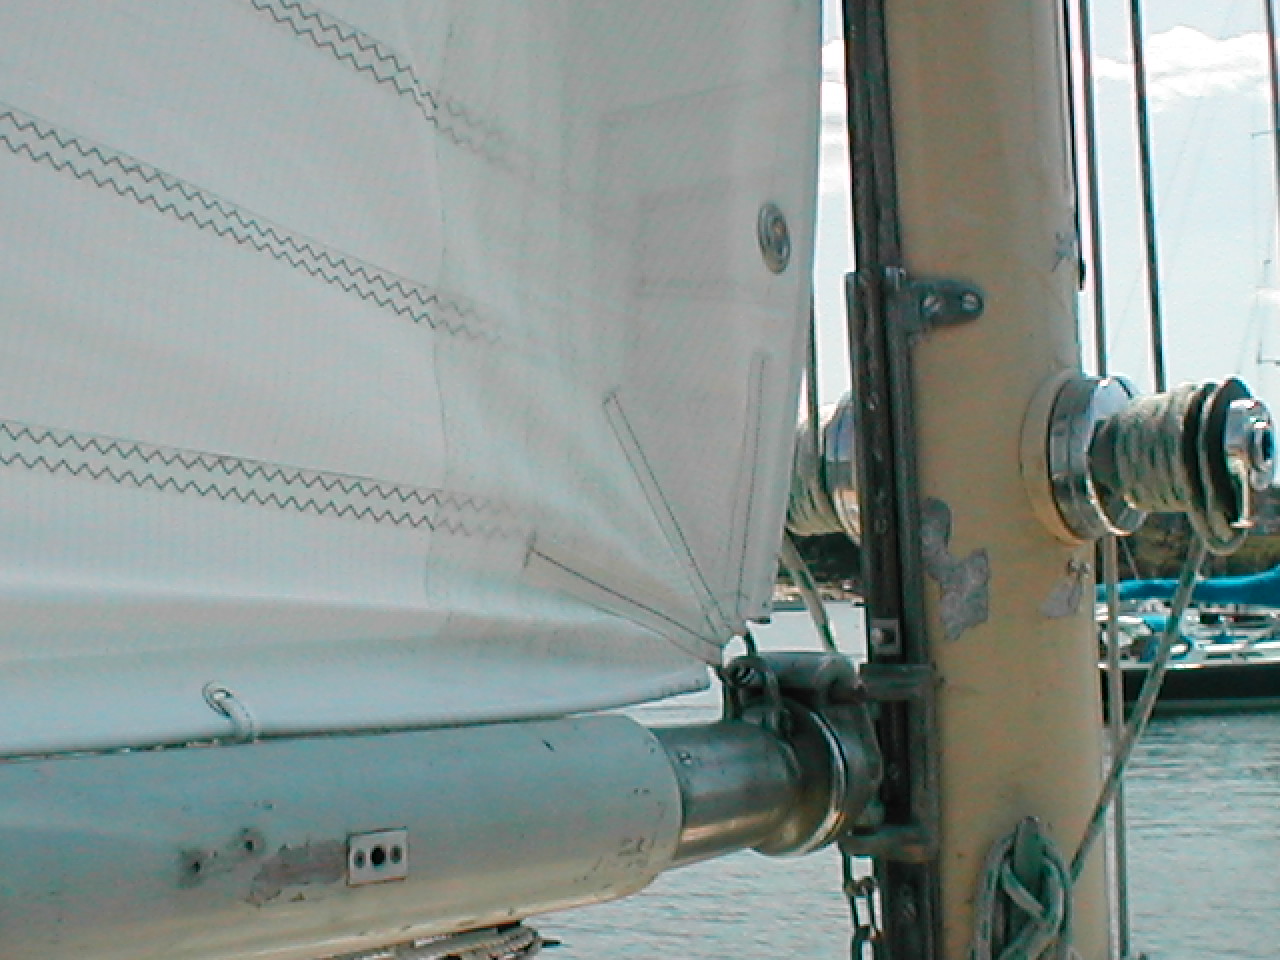
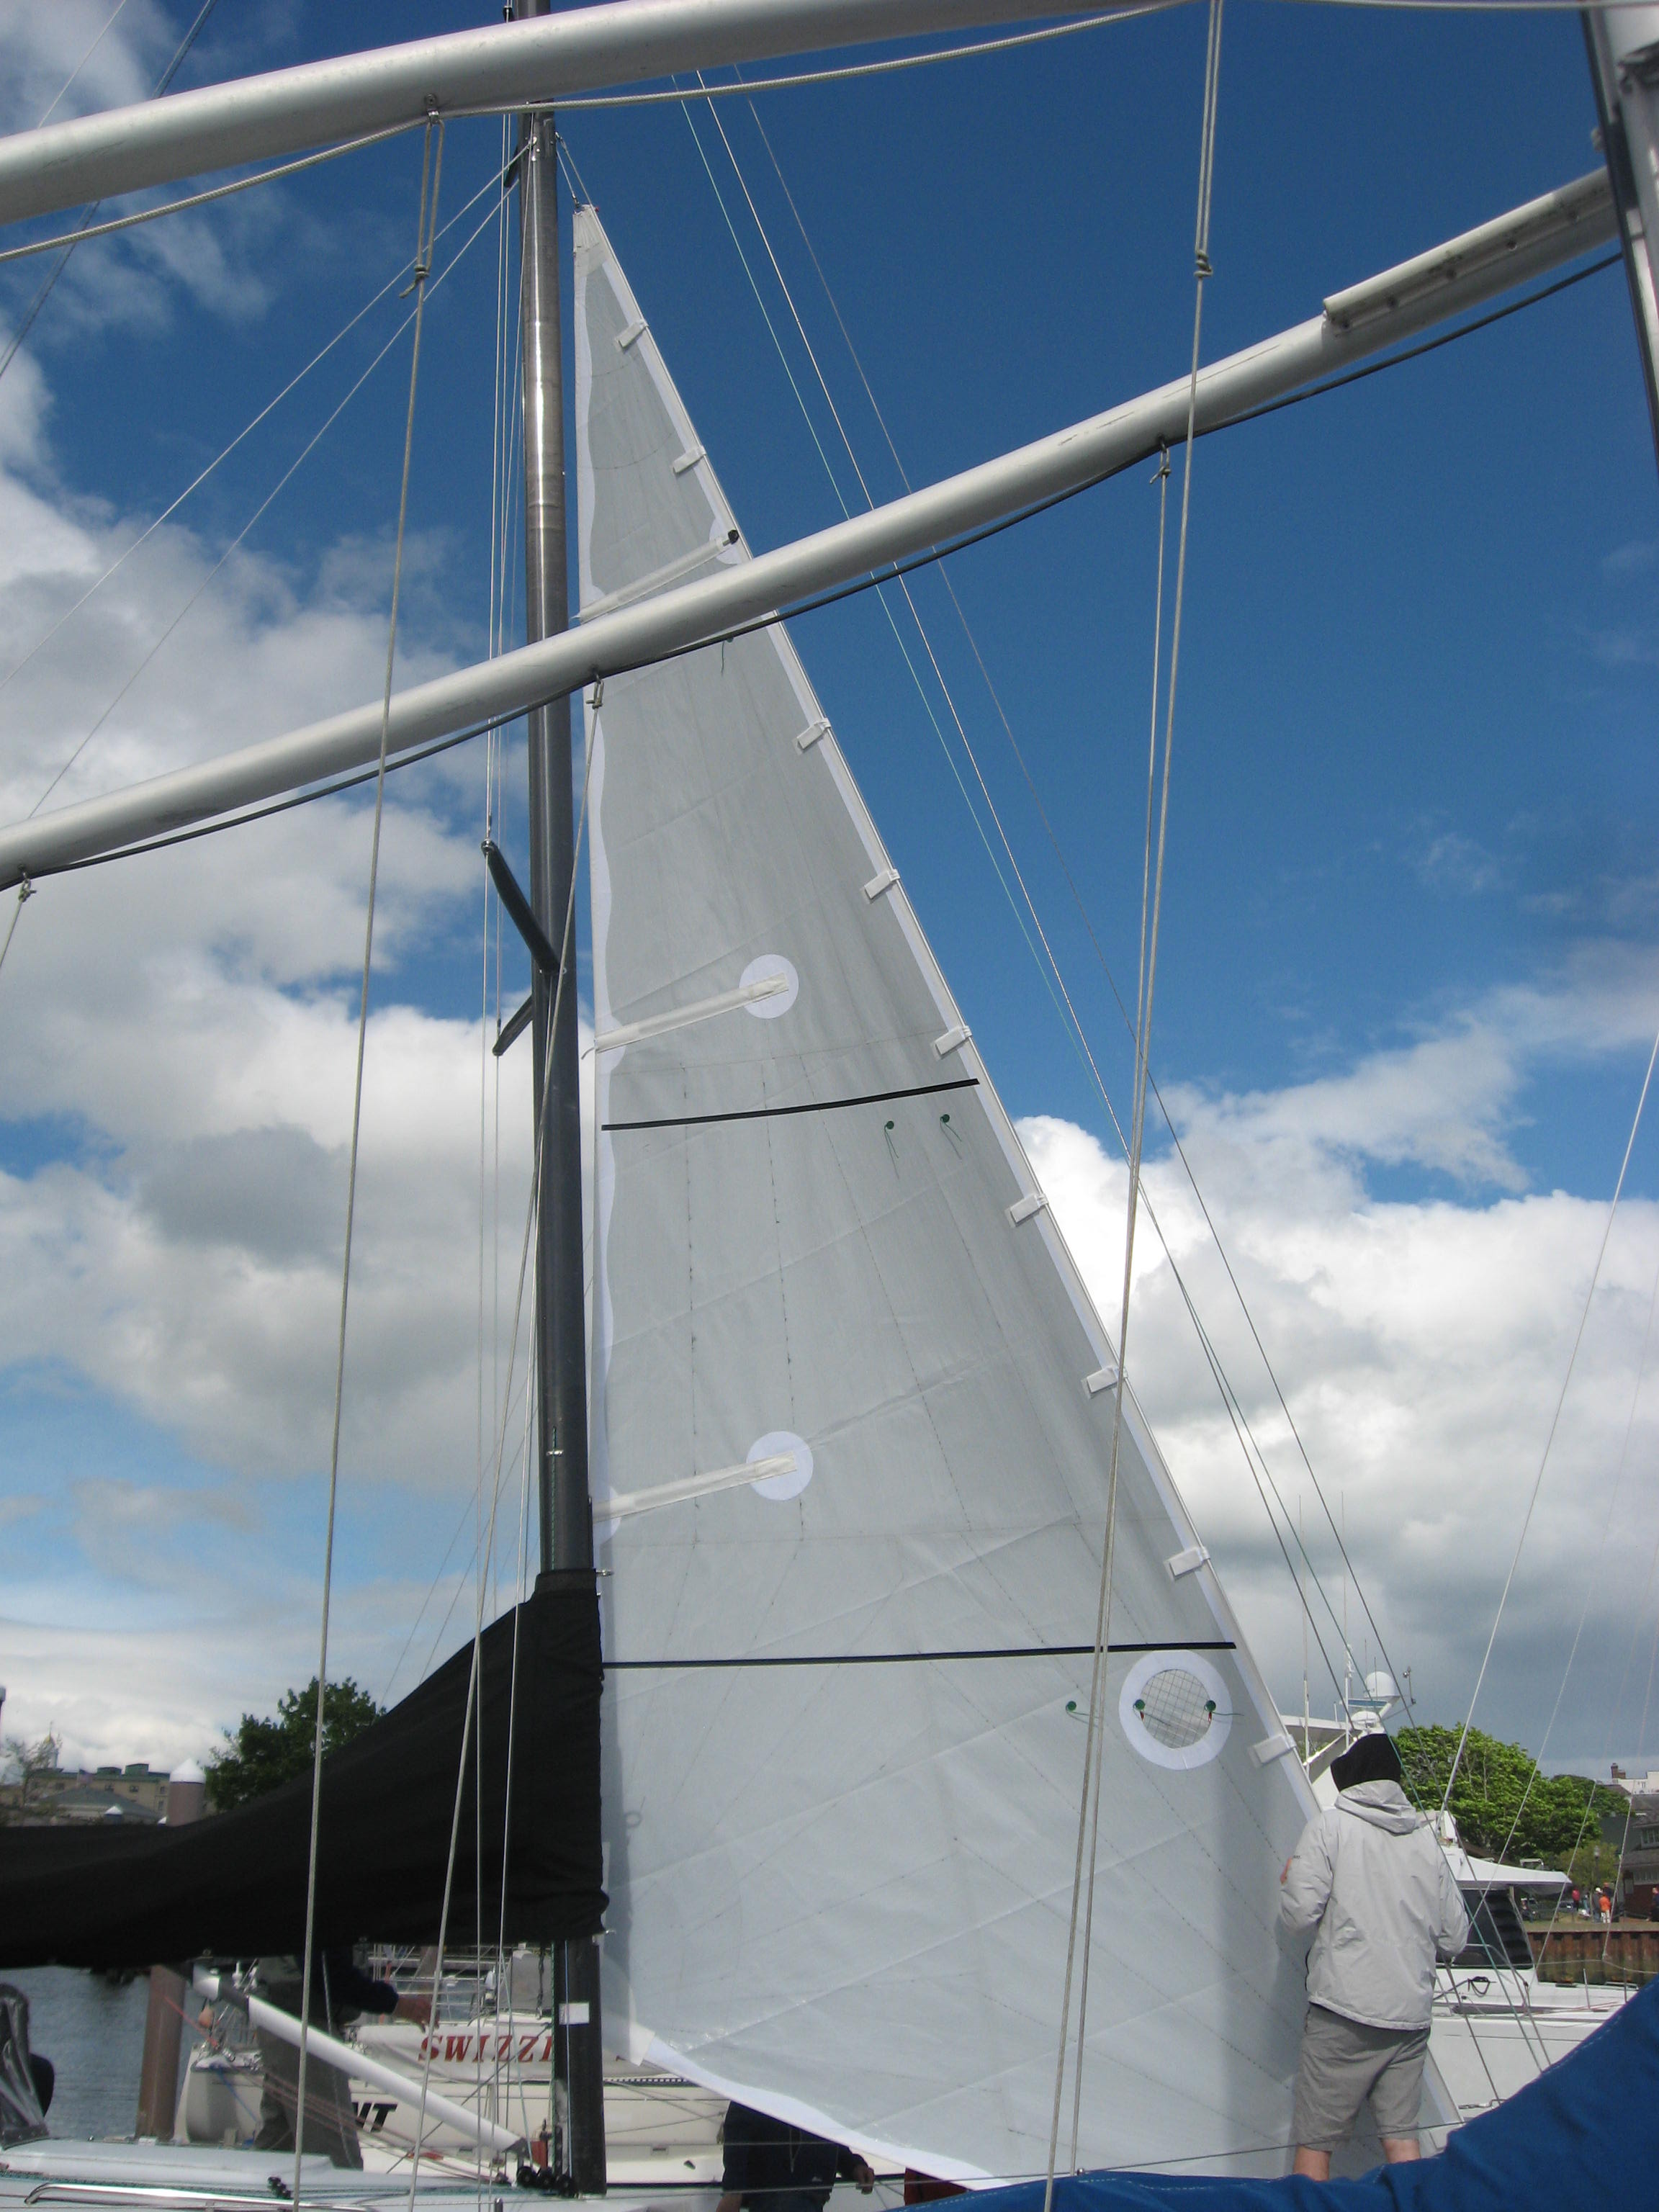
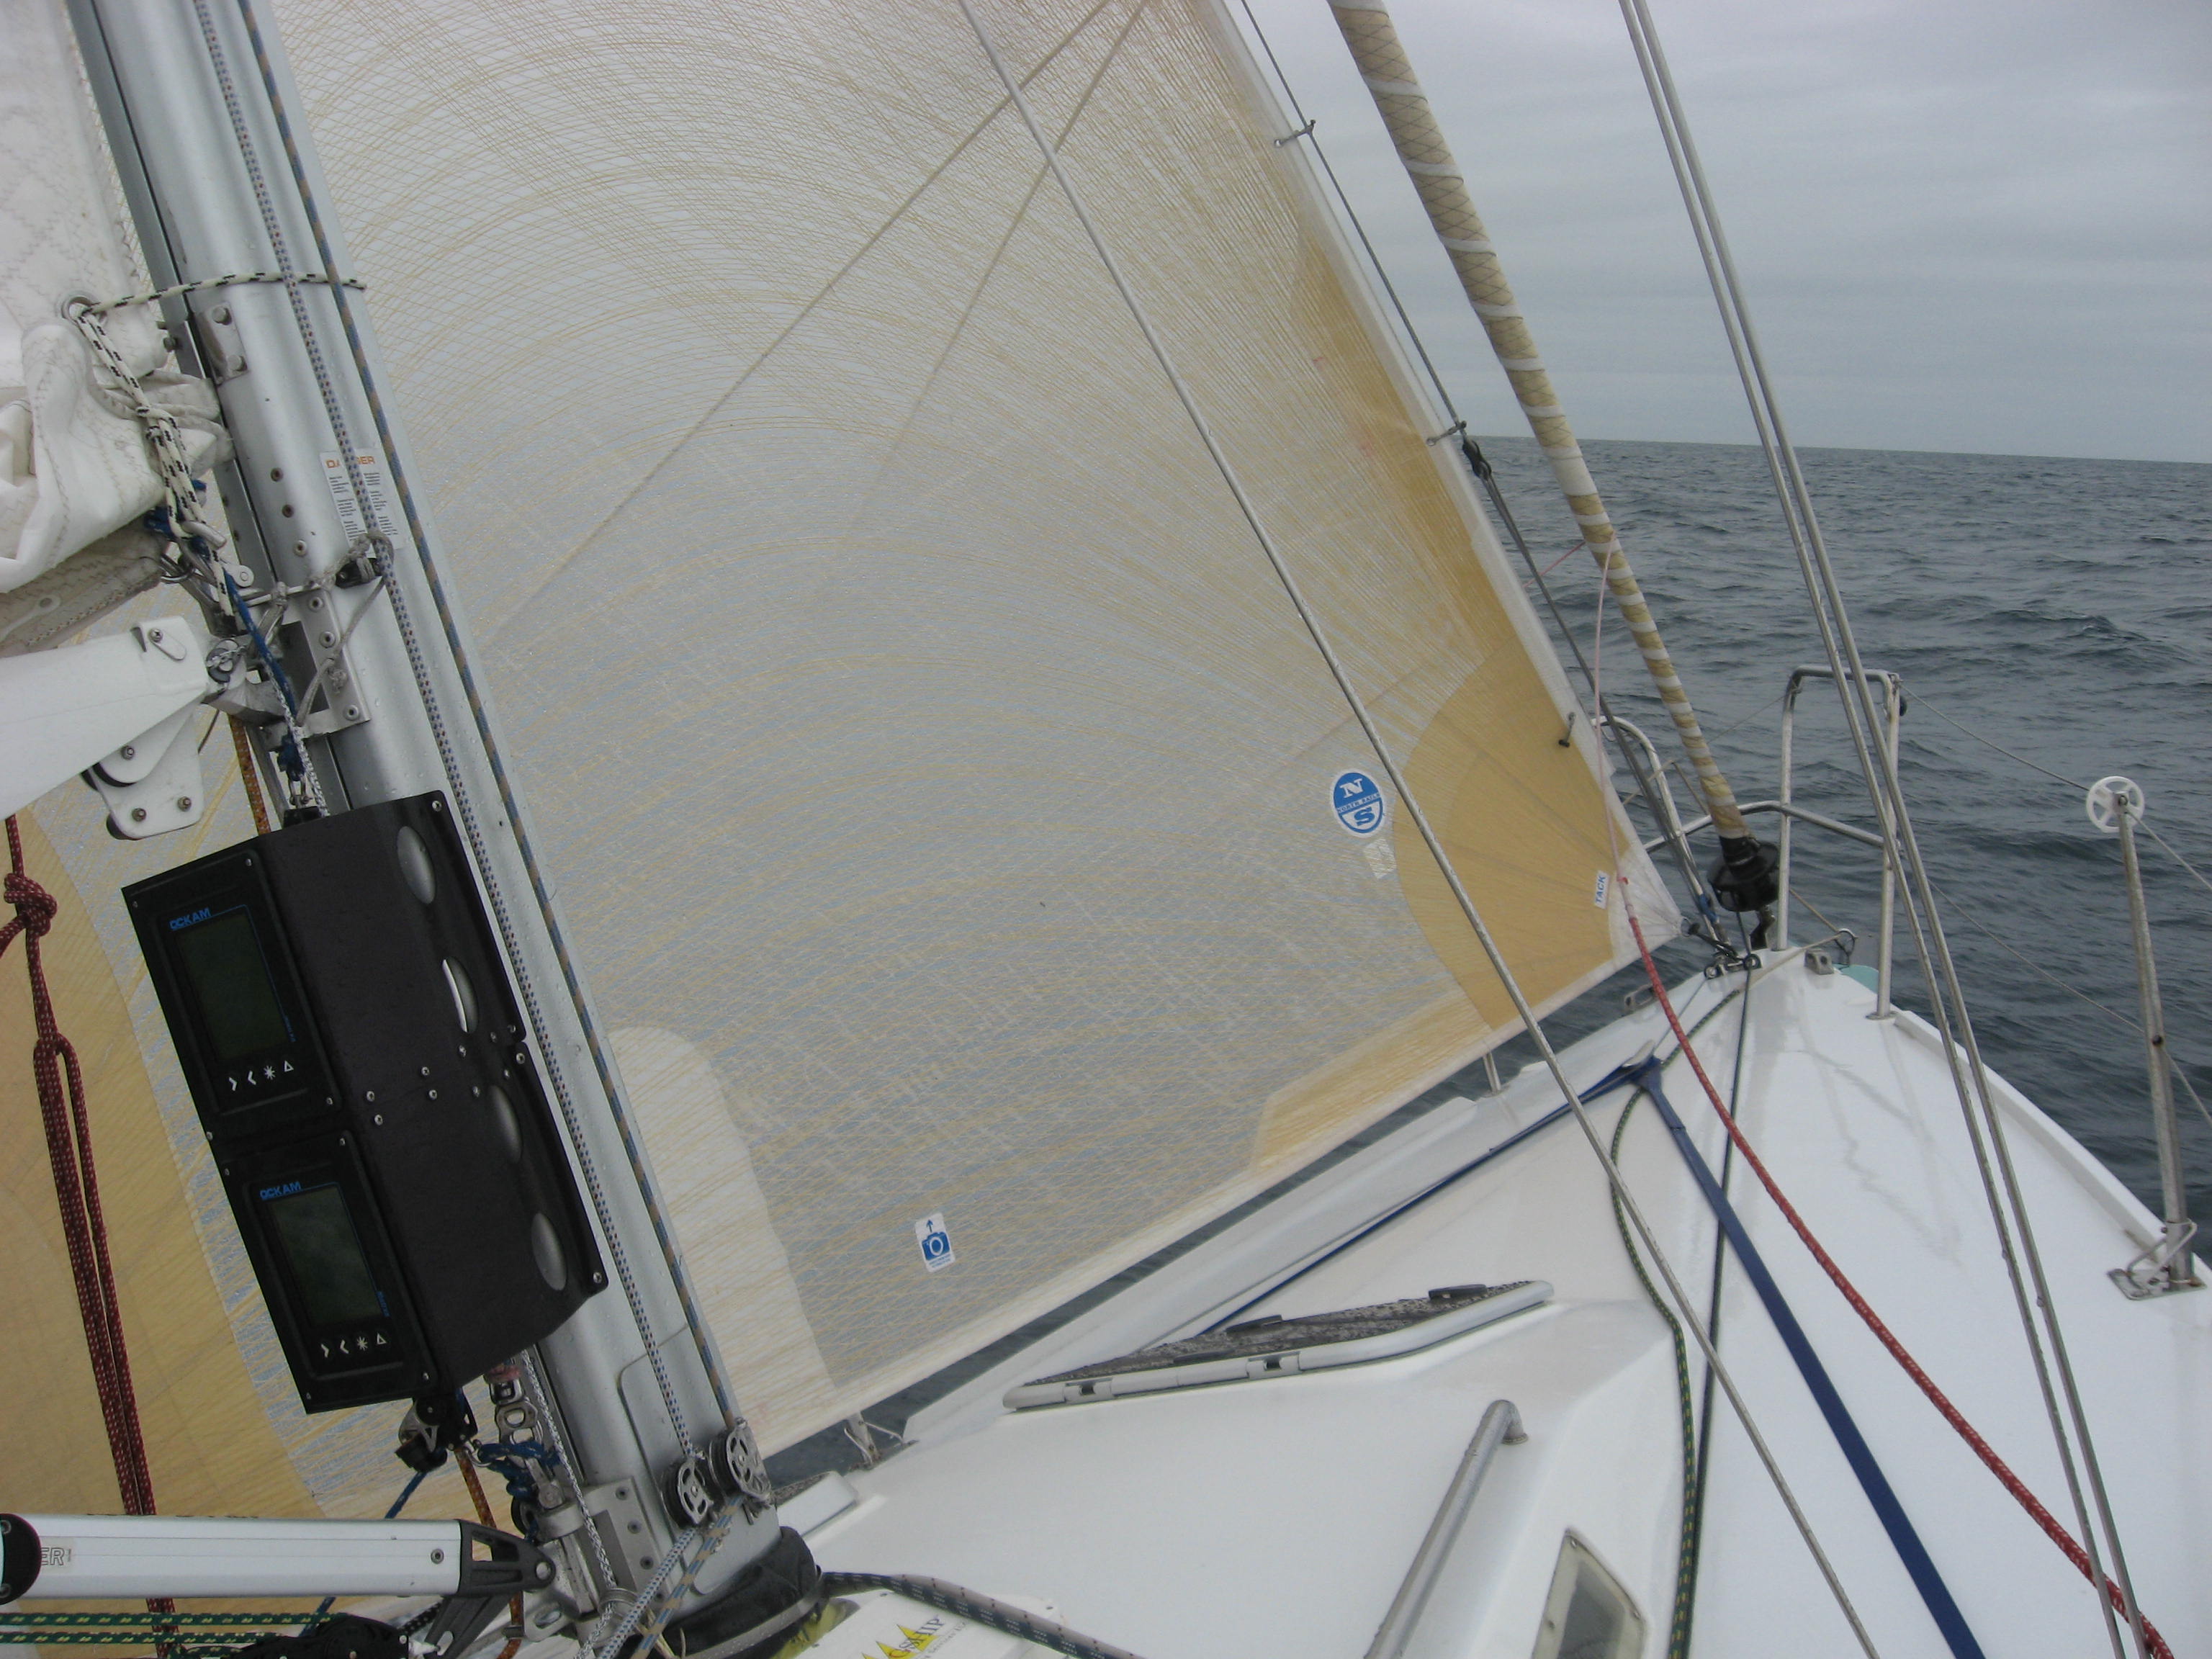
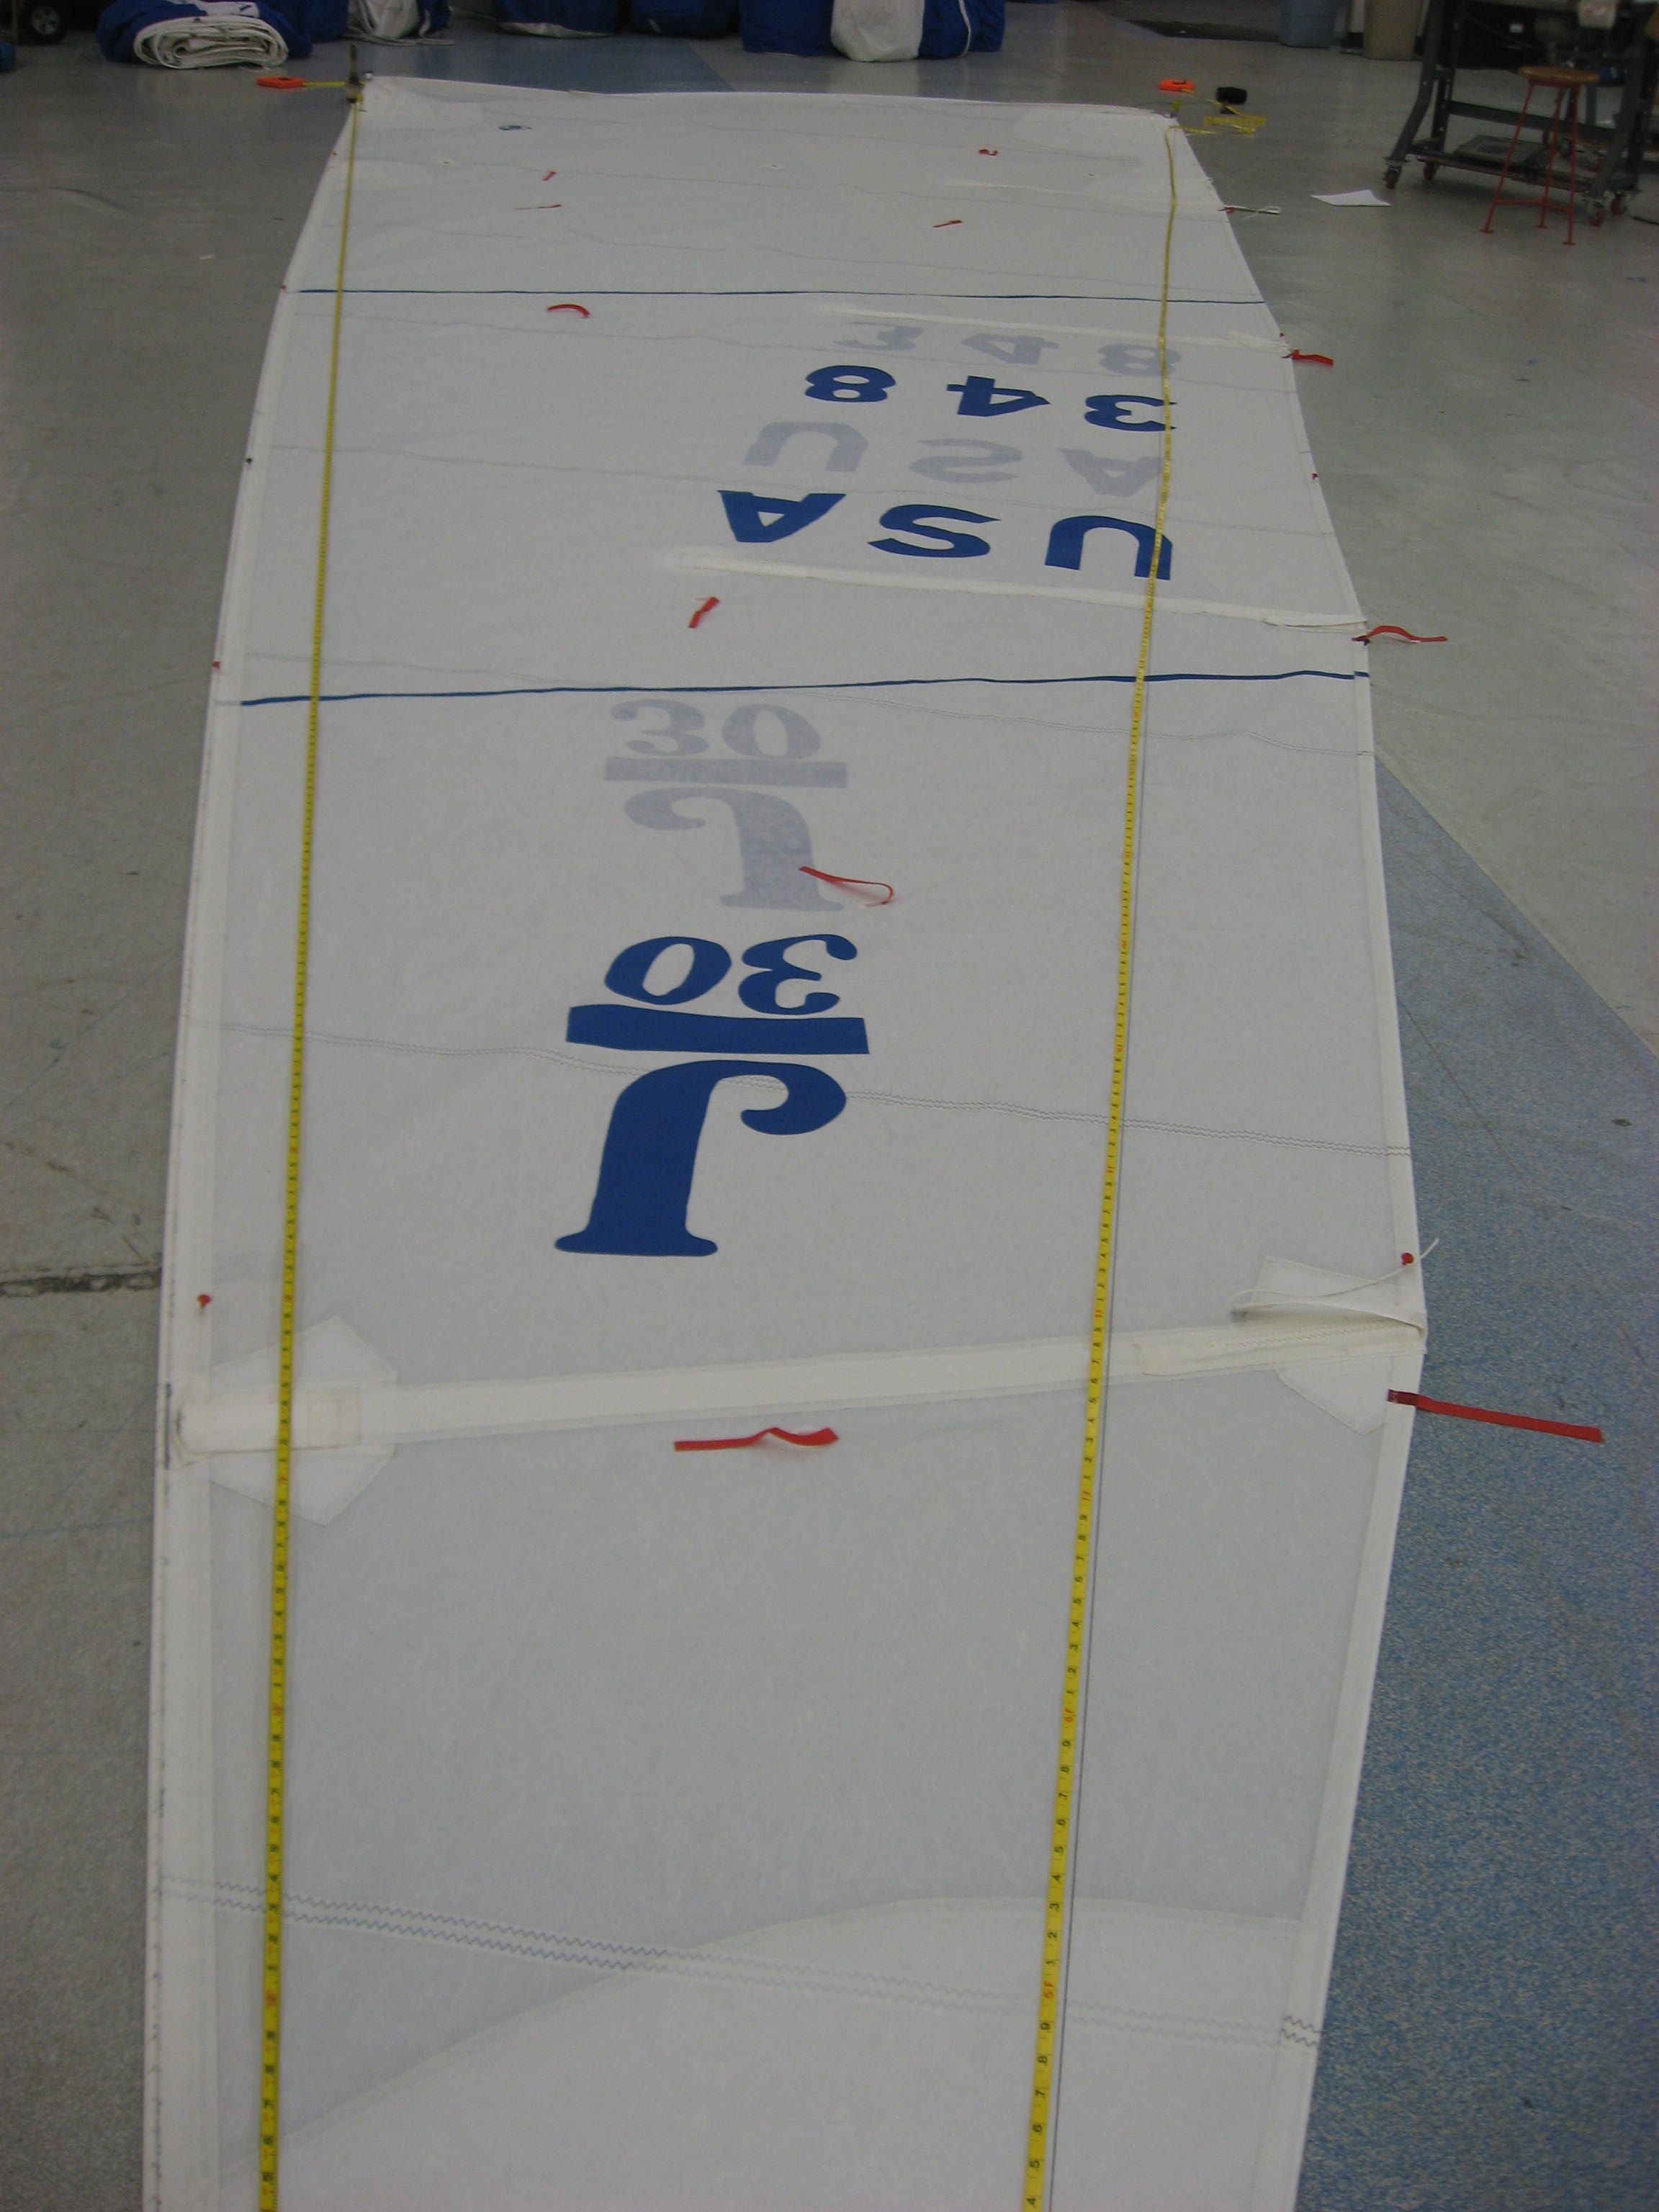
In practice it turns out that on many, if not most boats an forestay sail, like the one seen on this Bristol 41-1 suffice as the Heavy Weather Jib but you should do the calculations or have your sailmaker do them, ideally with you.
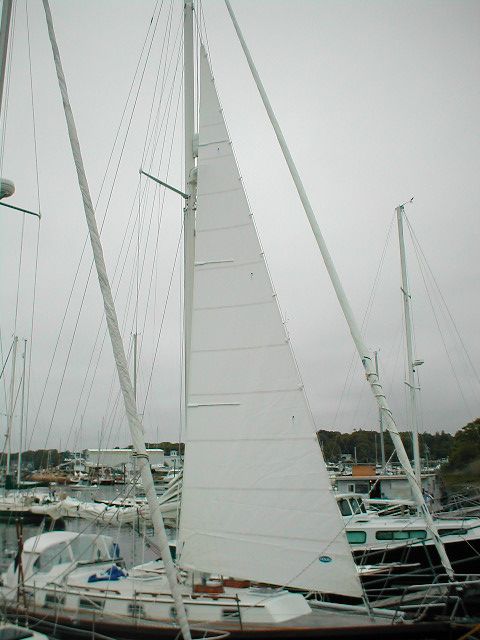
Forestaysails commonly qualify as Heavy Weather Jib
A line item in the HWJ definition from World Sailing Offshore Regs is:
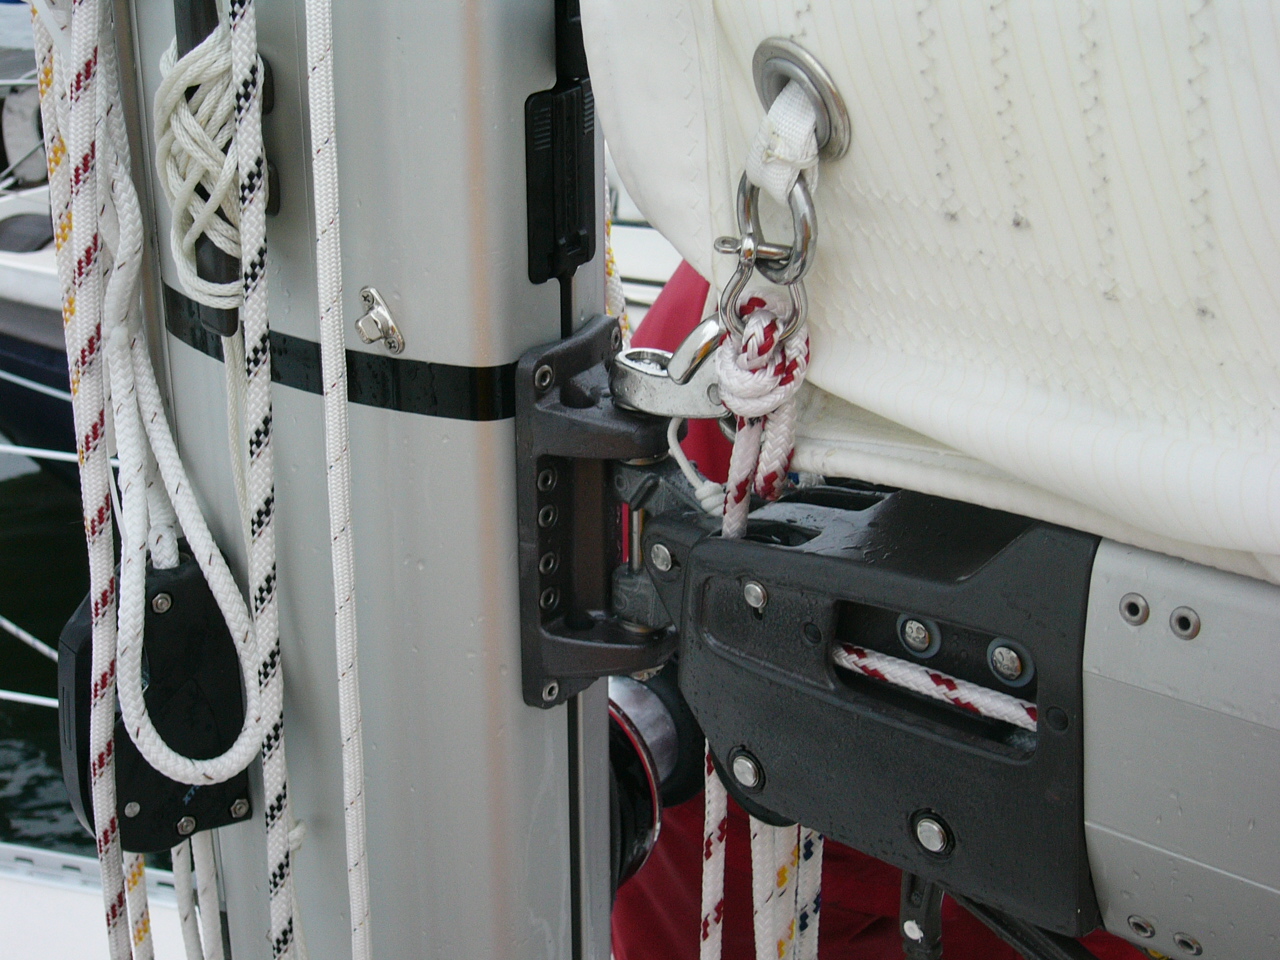
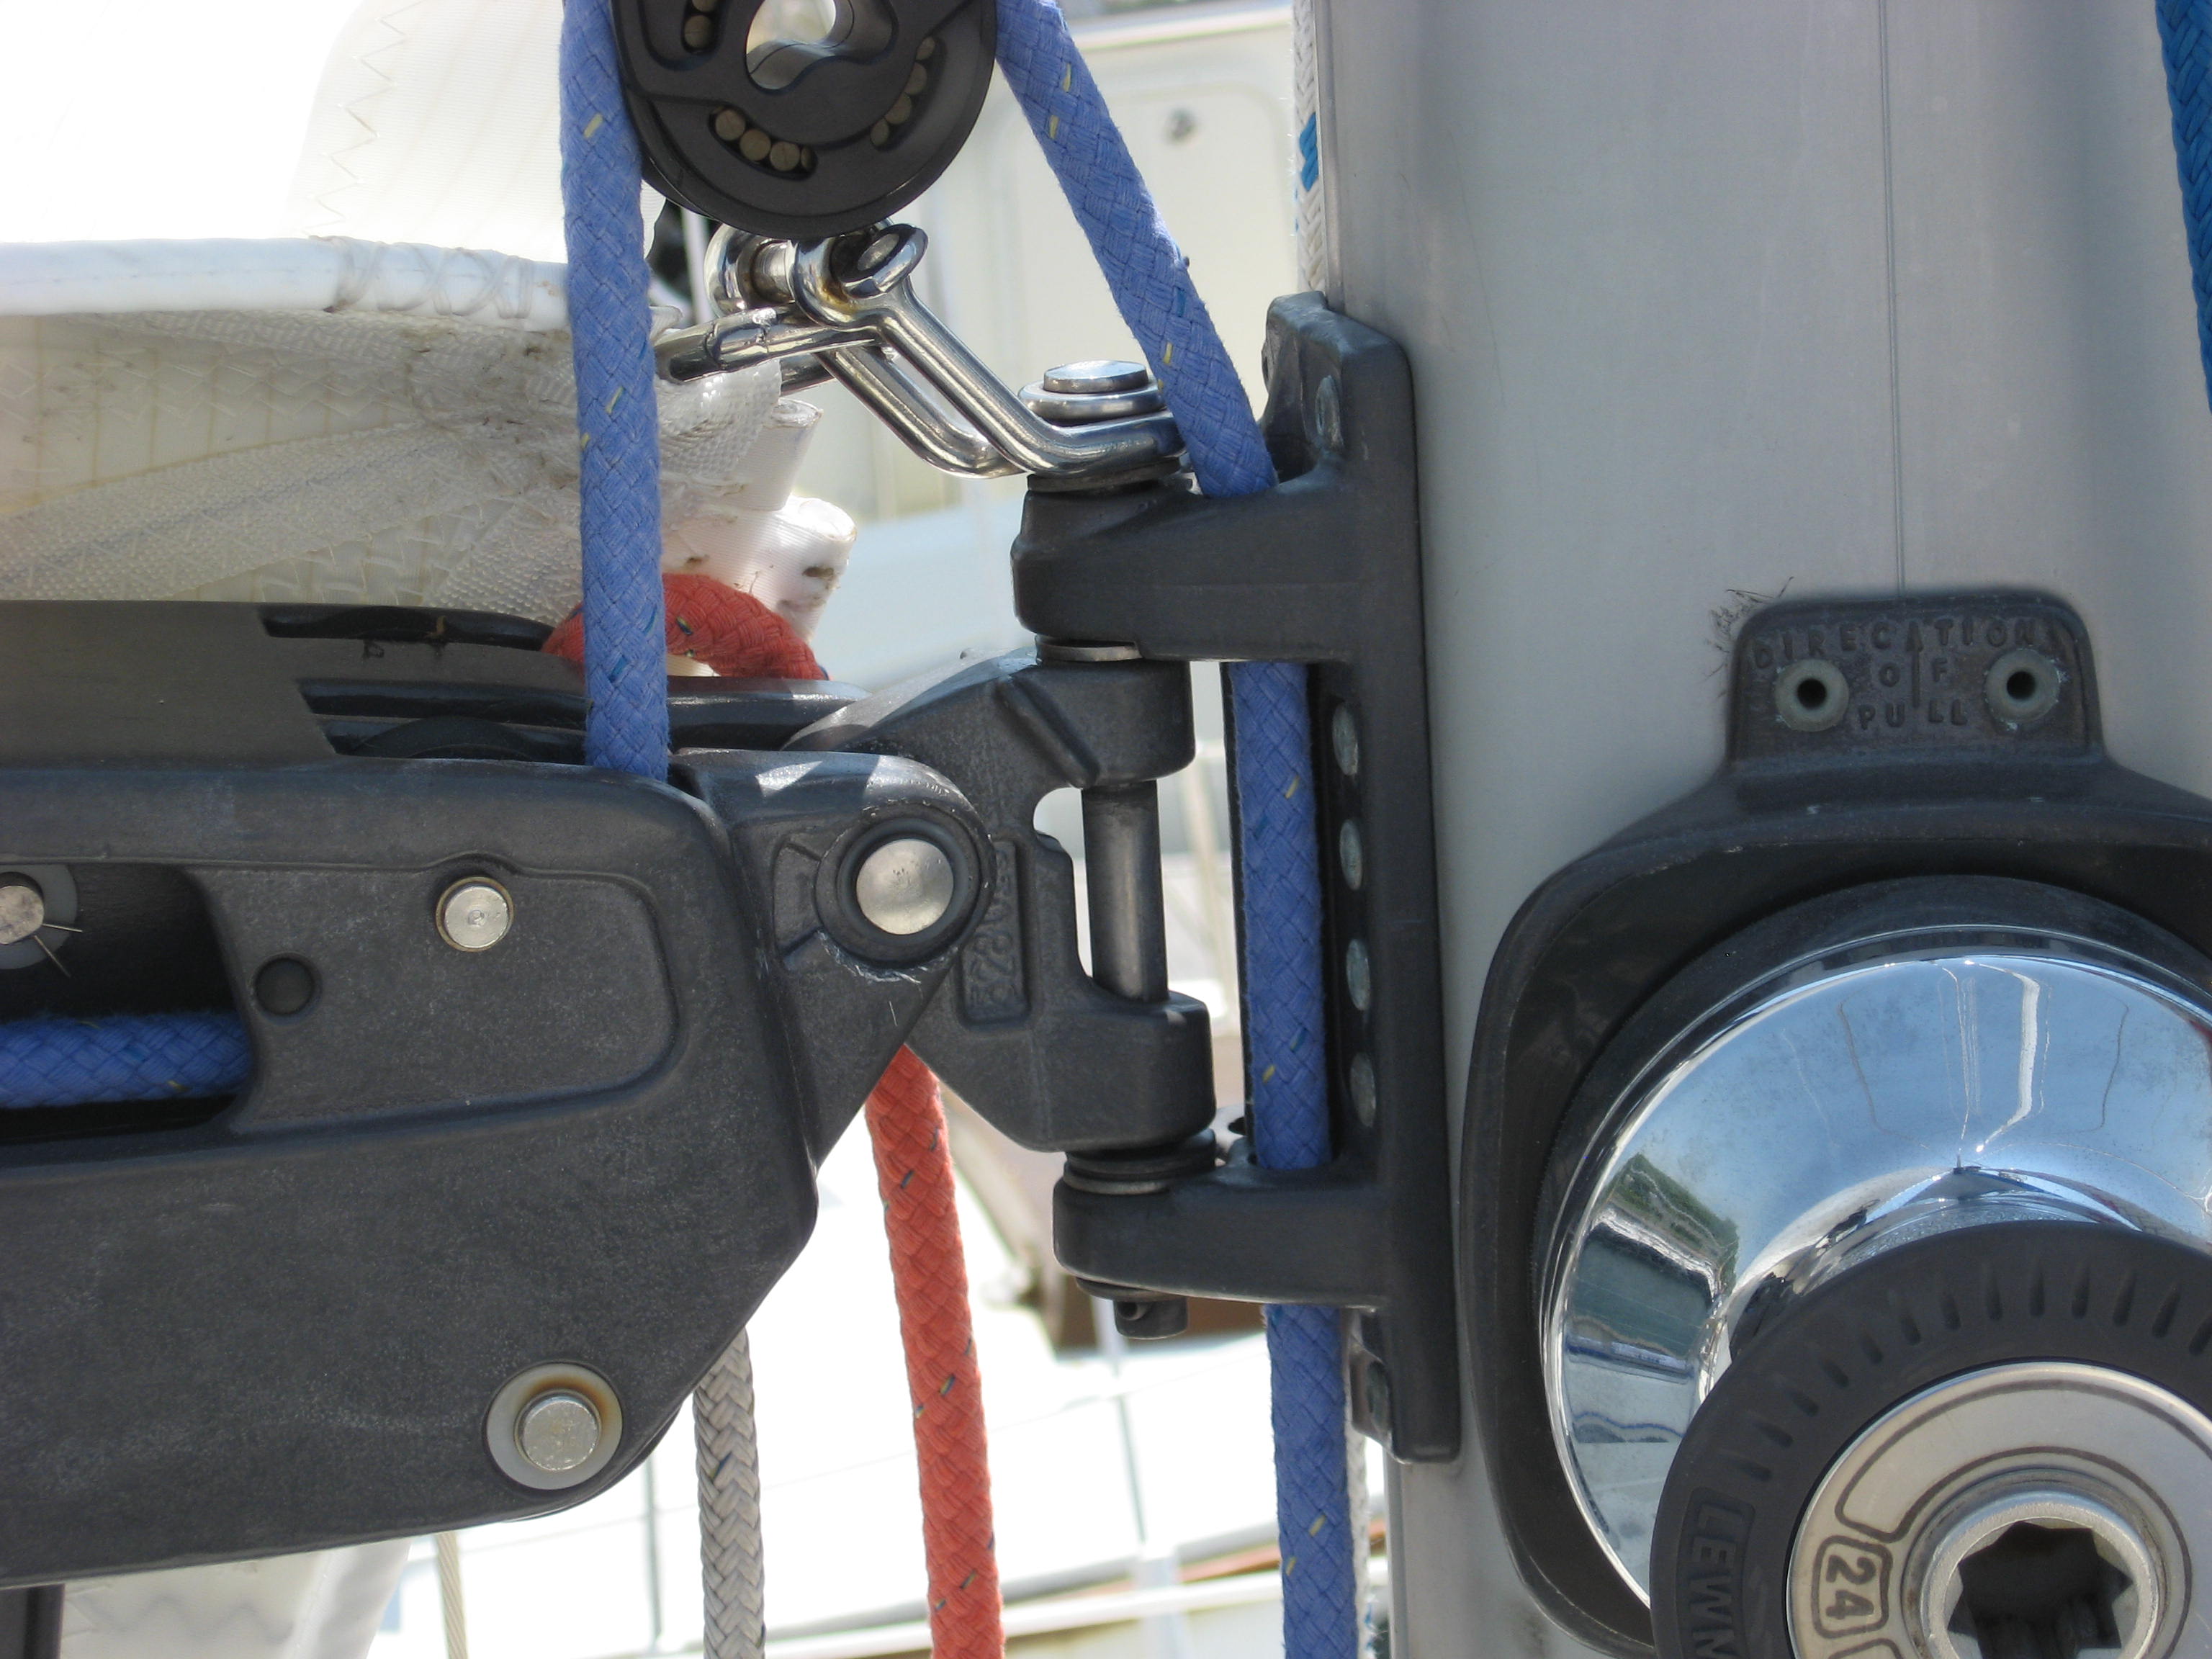
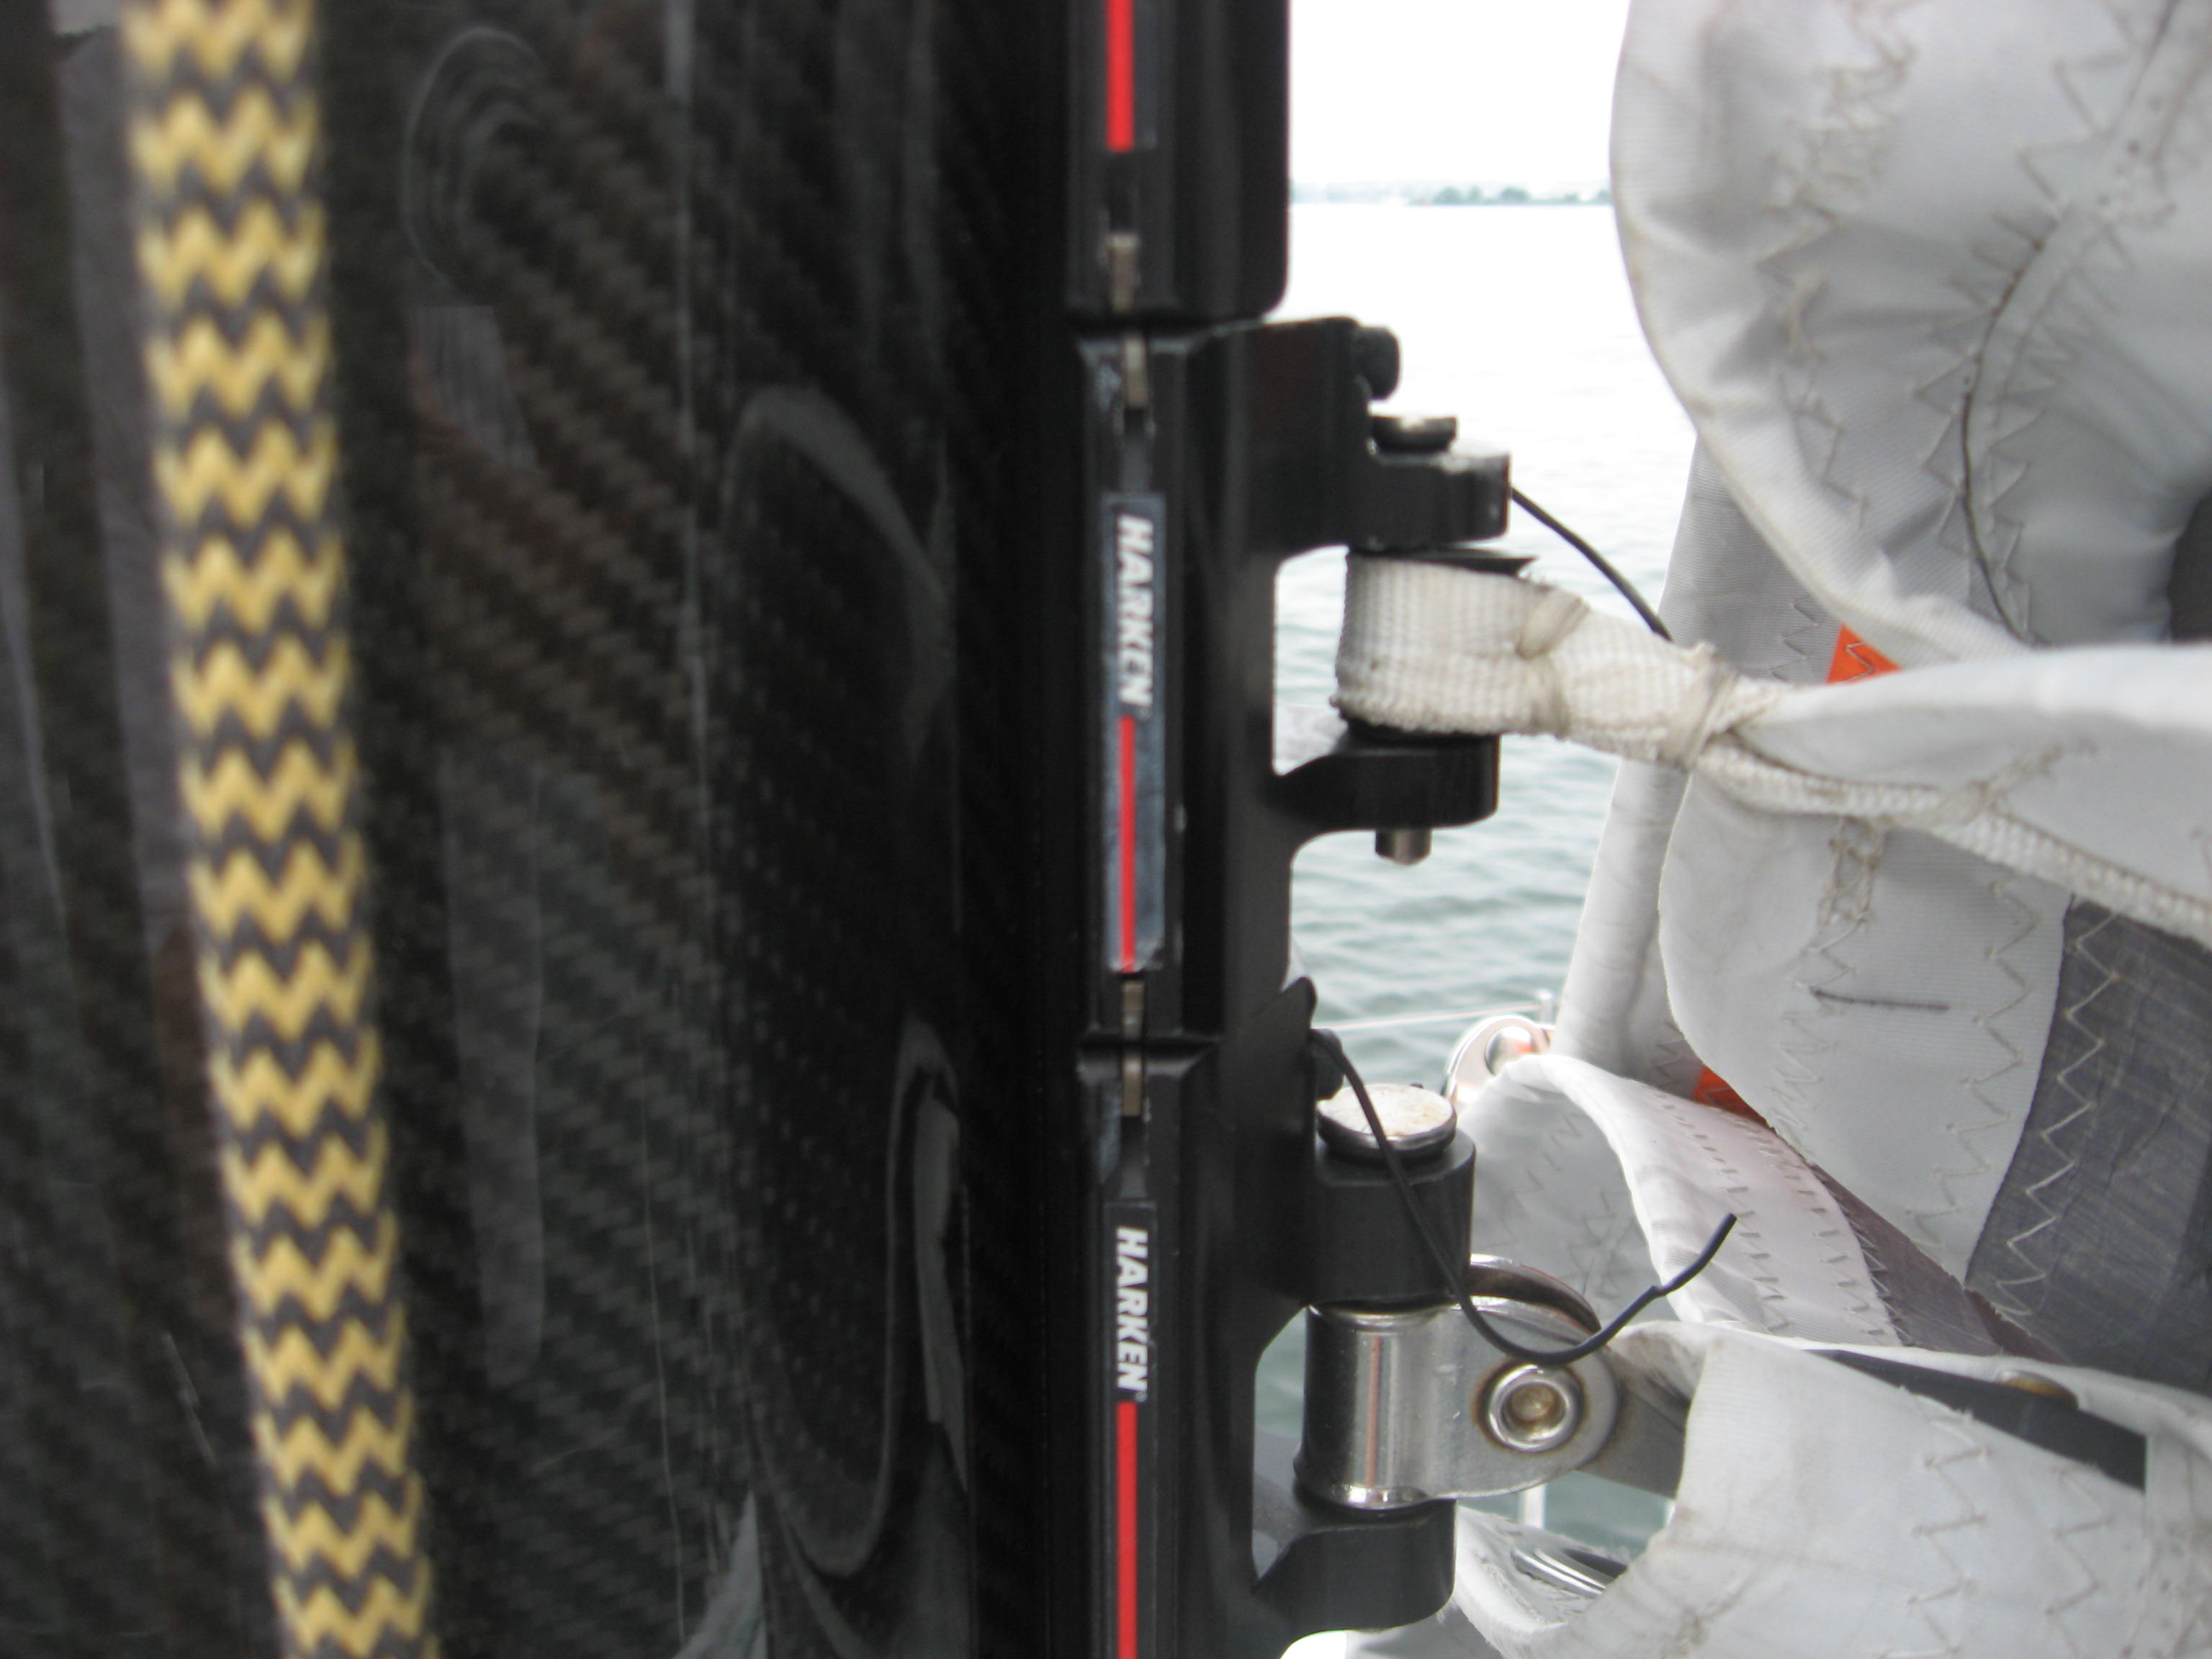
‘A heavy-weather jib (or heavy-weather sail in a boat with no forestay) with: area of 13.5% height of the foretriangle (IG) squared and a readily available means, independent of a luff groove, to attach to the stay.’
In practice this means grommets installed at suitable intervals in the luff of the sail immediately aft of the luff rope that enters into the headfoil on the boat.Thru these grommets may be passed lengths of line suitable for lashing the sail to the headstay in the event of damage to the foil.
The “alternative methods” of securing the sail to the stay has been edited out in the Bermuda race’s own rules. This now abandoned rule stems from the days of aluminum head foils being damaged by spinnaker poles bashing into them, rendering it impossible to get a sail up the foil. Today’s headfoils are made from plastic and spinnakers much less likely to be set on poles but at sea if something can fail, and this is everything, there must be a Plan B.
In the case of the HWJ, having your sailmaker install grommets up the luff so the sail can be secured to the foil (by short lengths of line premade for the purpose and stored in the emergency took kit, right?) is a very good idea. You can also leave the lines in the sail permanently because IF the foil fails AND you need to set this HWJ, having the lines already installed will be a lot easier than having a couple of crew sitting in the bow lacing the lines they the grommets for 30 minutes or so. And as a practical matter their presence will have zero impact on the performance of the sail for those thinking abut windage
Here is another Cooper TIP too. Backup grommets are something to think about for all headsails. Apart from the fact the head foil will not get un-busted when the breeze abates and having a way to set headsails is generally a good idea in an ocean race there is another utility made available by such grommets in the luff.
During the headsail changing process sails so equipped can have a length of light line woven back and forth, Dutchman like, through these grommets. The bottom end is made off with a figure eight knot so the line does not pass thru the grommets. All of this does a couple of things. It helps keep the luff of the sail forward in the flaking process. It offers a way to tie off the bulk of the forward end of the sail. This gives the crew at that end of the procedure a bit more freedom to wrestle the sail back into its turtle. If push comes to shove, a sail can be tied off to the boat at the forward end and it is perfectly possible for one man or woman to get a headsail into a turtle by themselves. Just ask anyone who did the sewer on a 12-meter, back in the day. Finally when changing back to this sail as the wind diminishes, the upper end of this line can be temporarily tied off until the sail is really ready to get hoisted. This makes it a bit harder for the (forward end of the) sail to go over the side.
STORM SAILS:
Sail offshore long enough (and or sail with no reefs in the mainsail) and you WILL meet conditions that will require all your seamanship skills, those of your crew AND small sails. The Newport to Bermuda Race requirements for the storm sails are:
3.33.2 Storm Trysail:
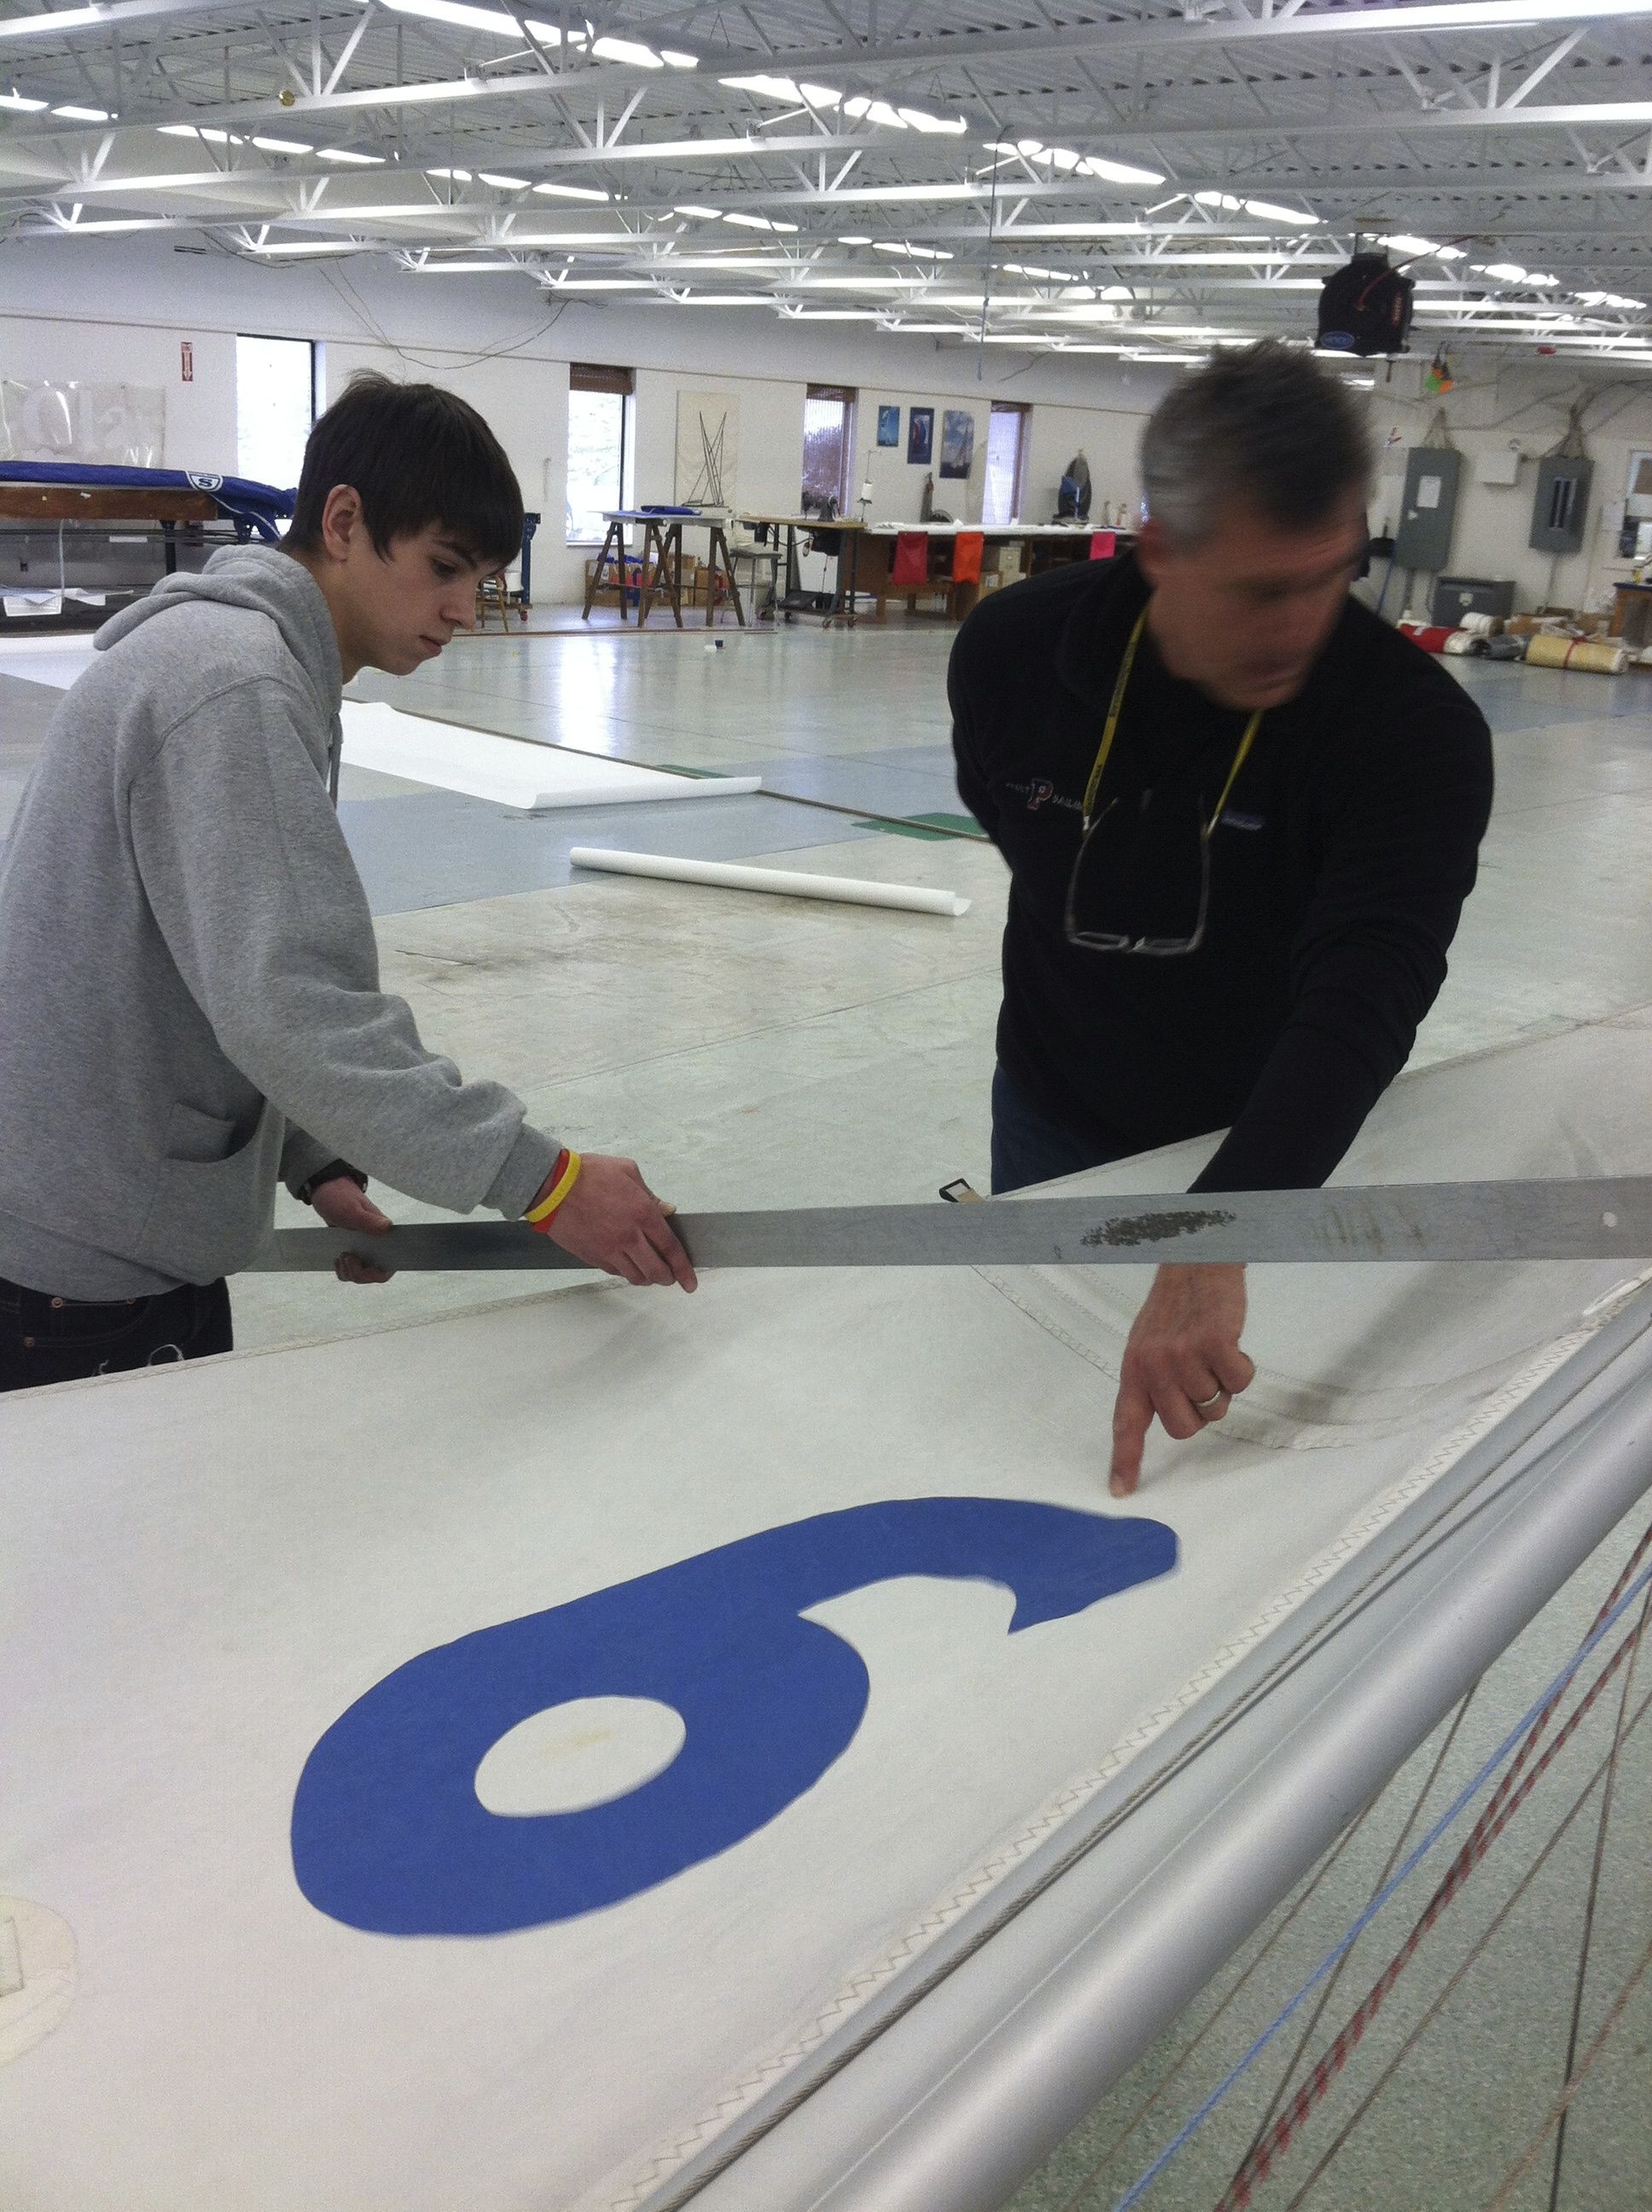
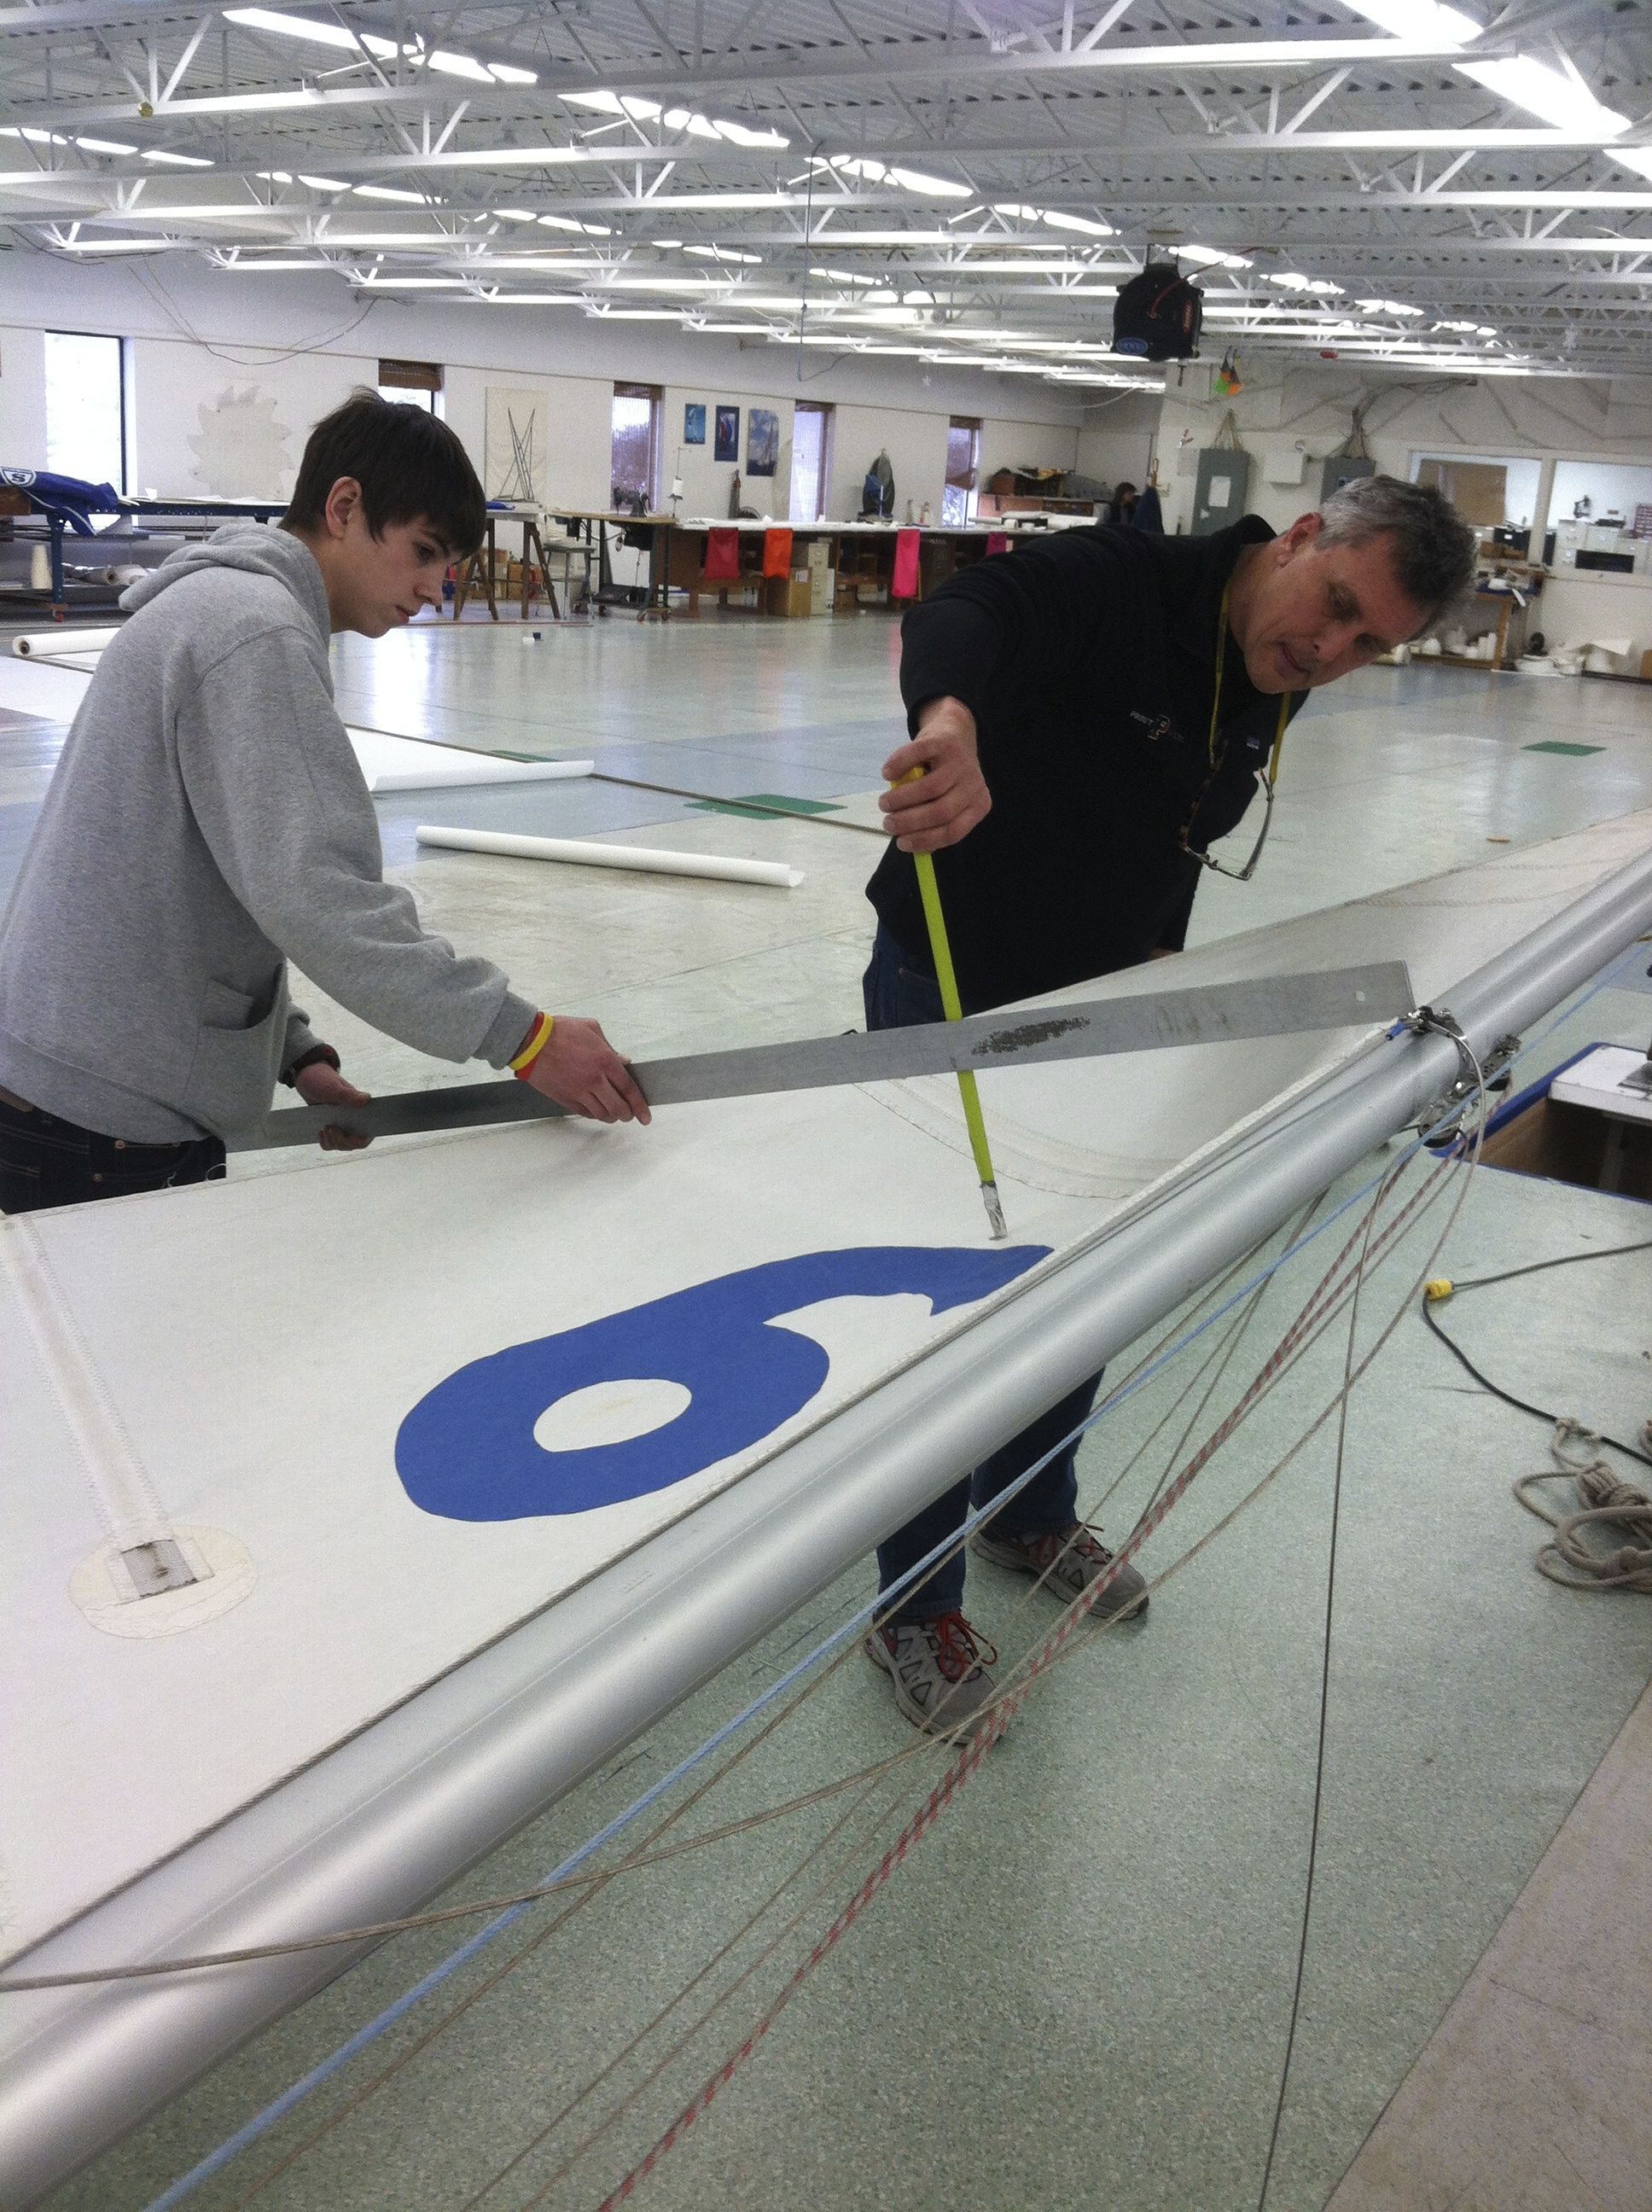
A yacht shall carry a storm trysail, with the yacht’s sail number displayed on both sides, that can be set independently of the main boom, has an area less than 17.5% of “E” x “P”, and which is capable of being attached to the mast. Storm sails manufactured after 1/1/2014 must be constructed from a highly visible material. Commonly this is an orange, yellow or pink material.

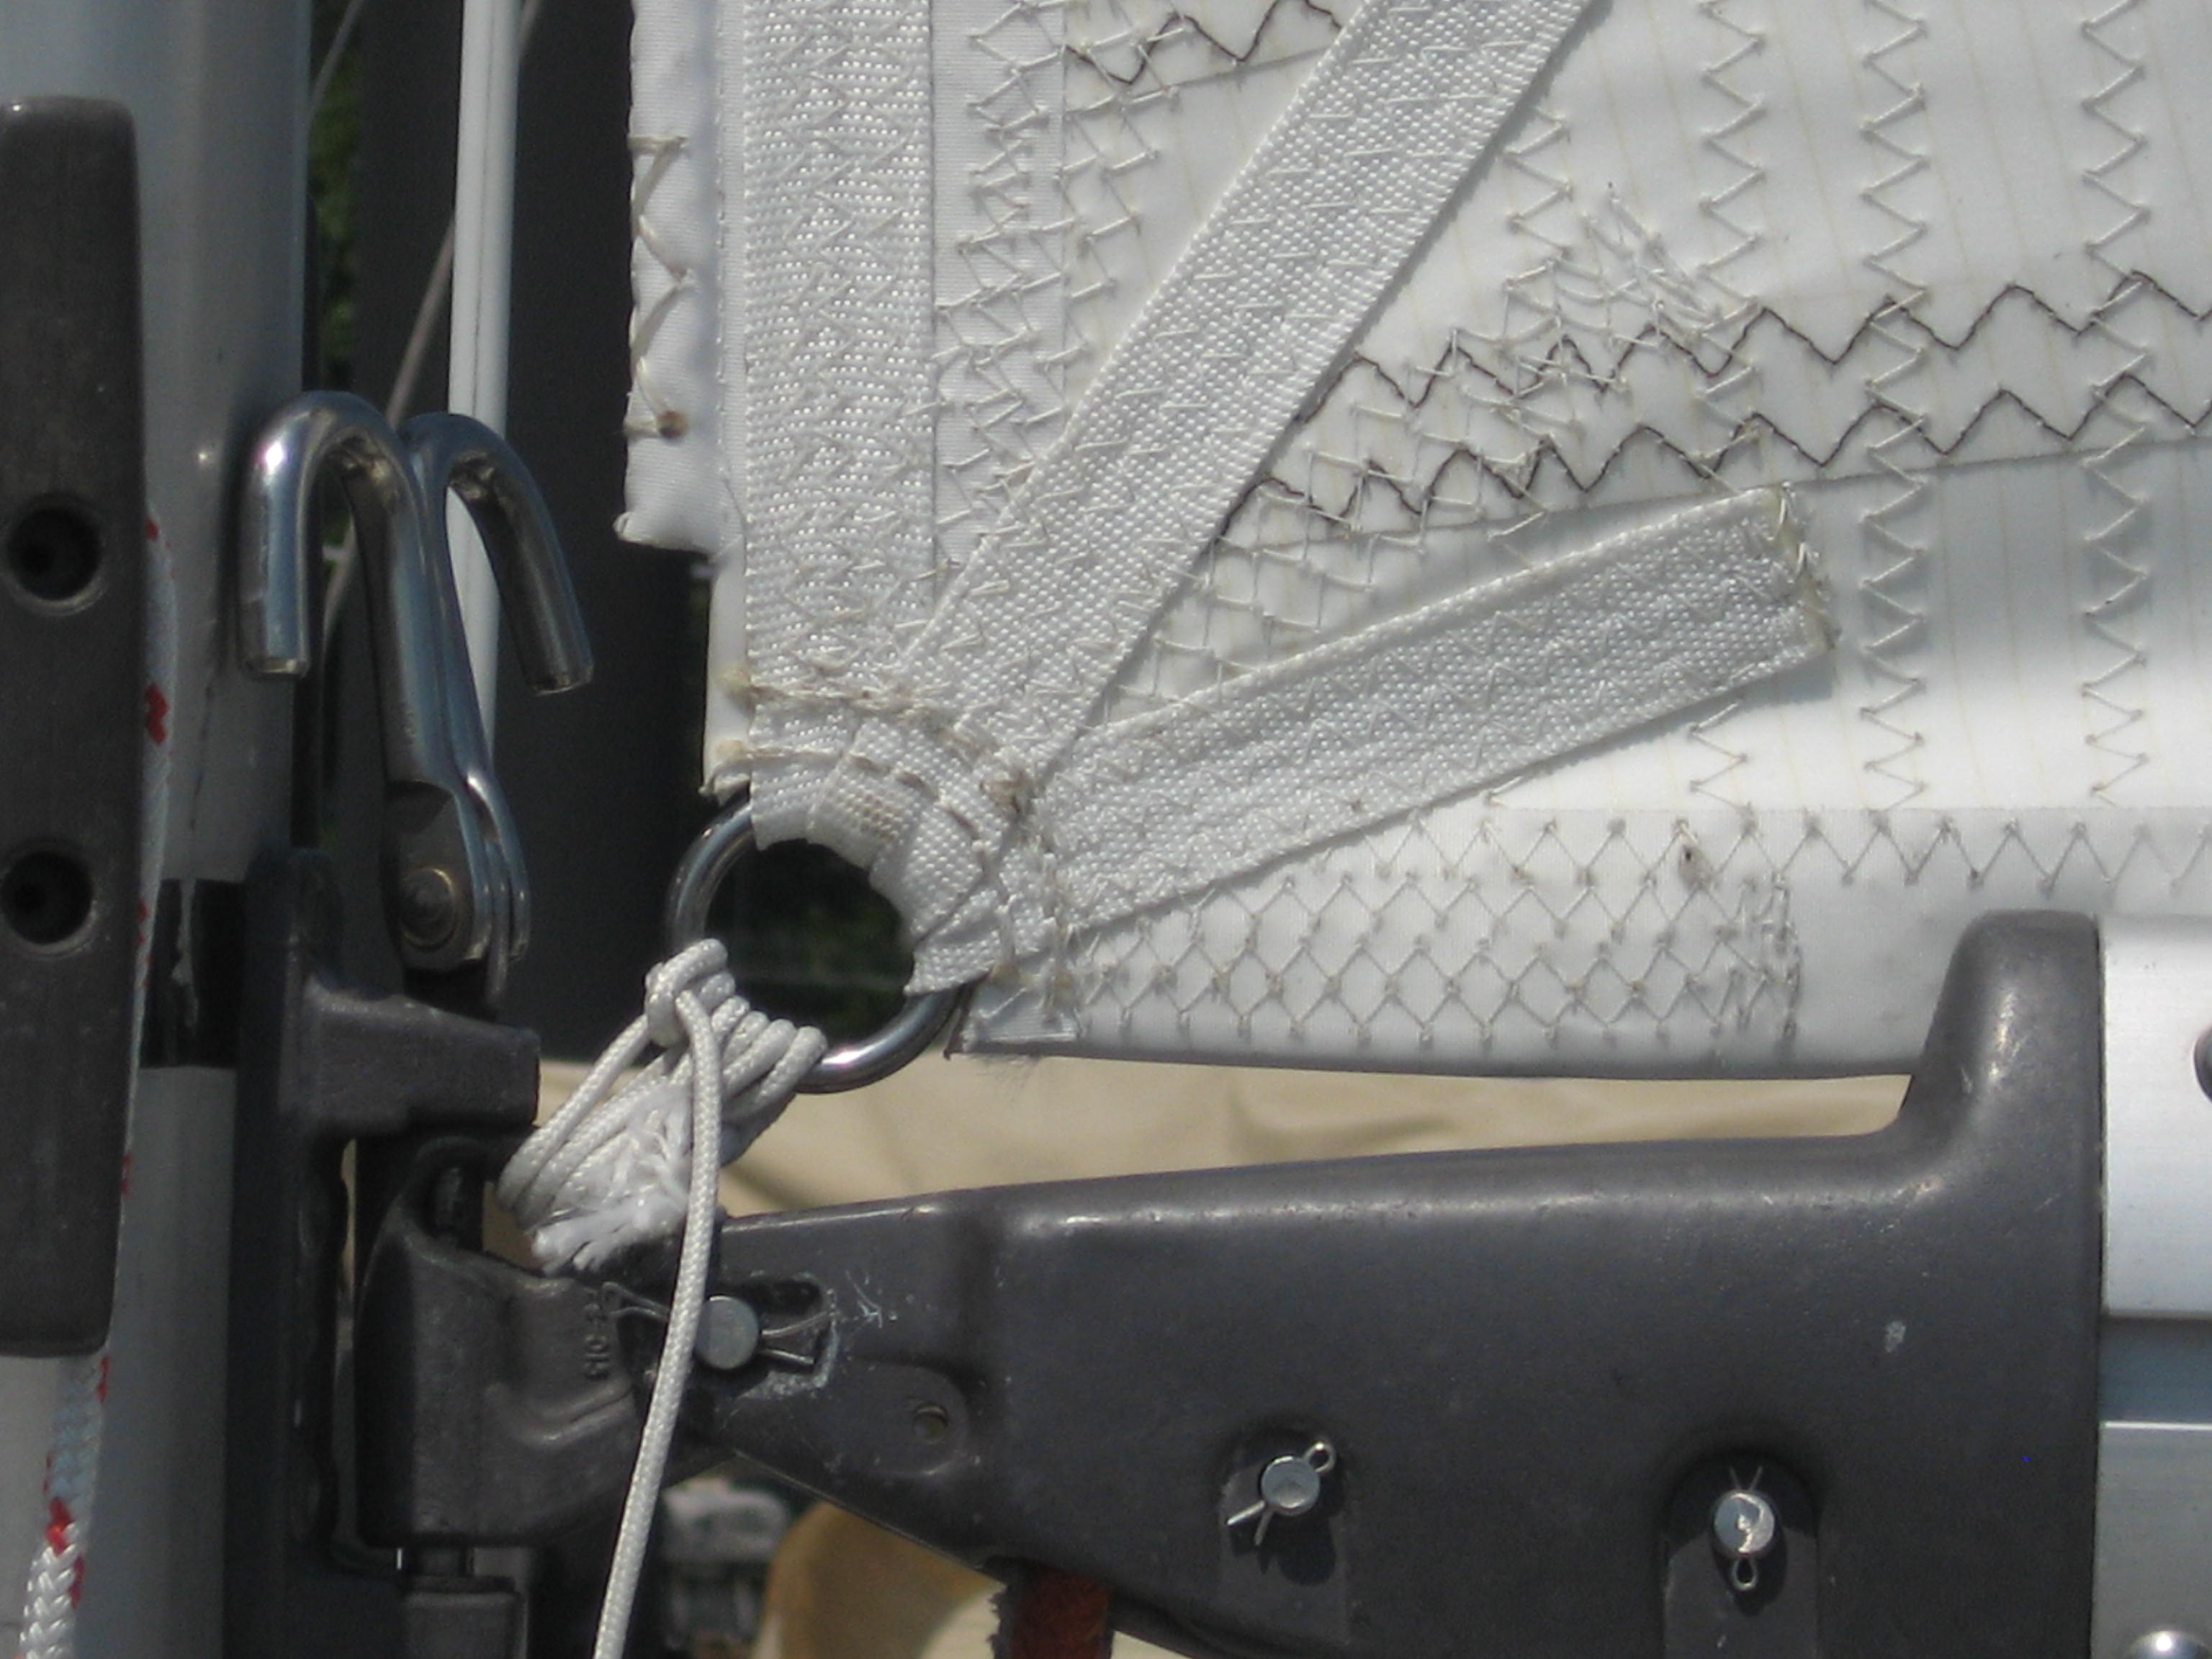
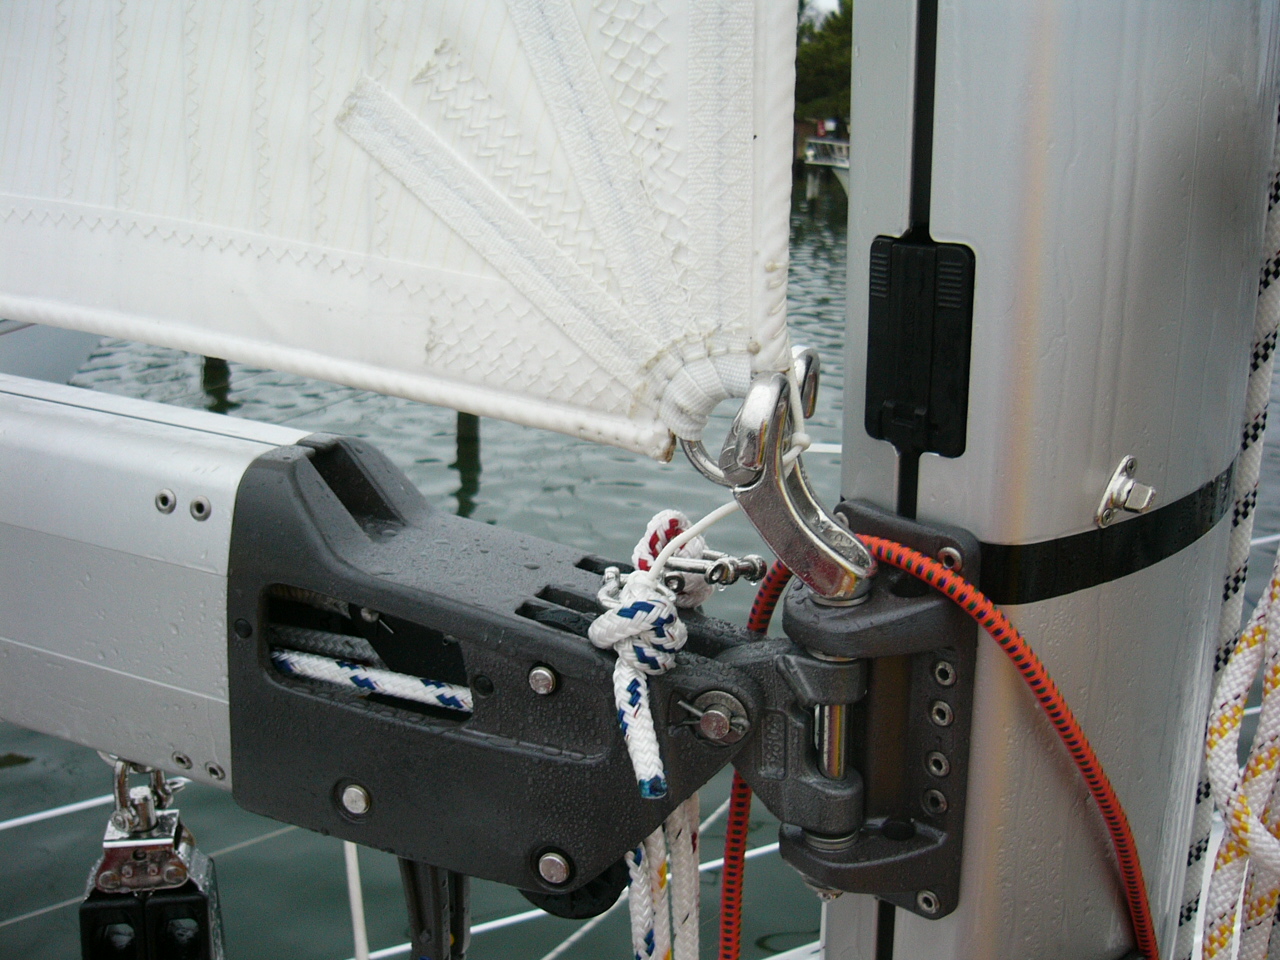
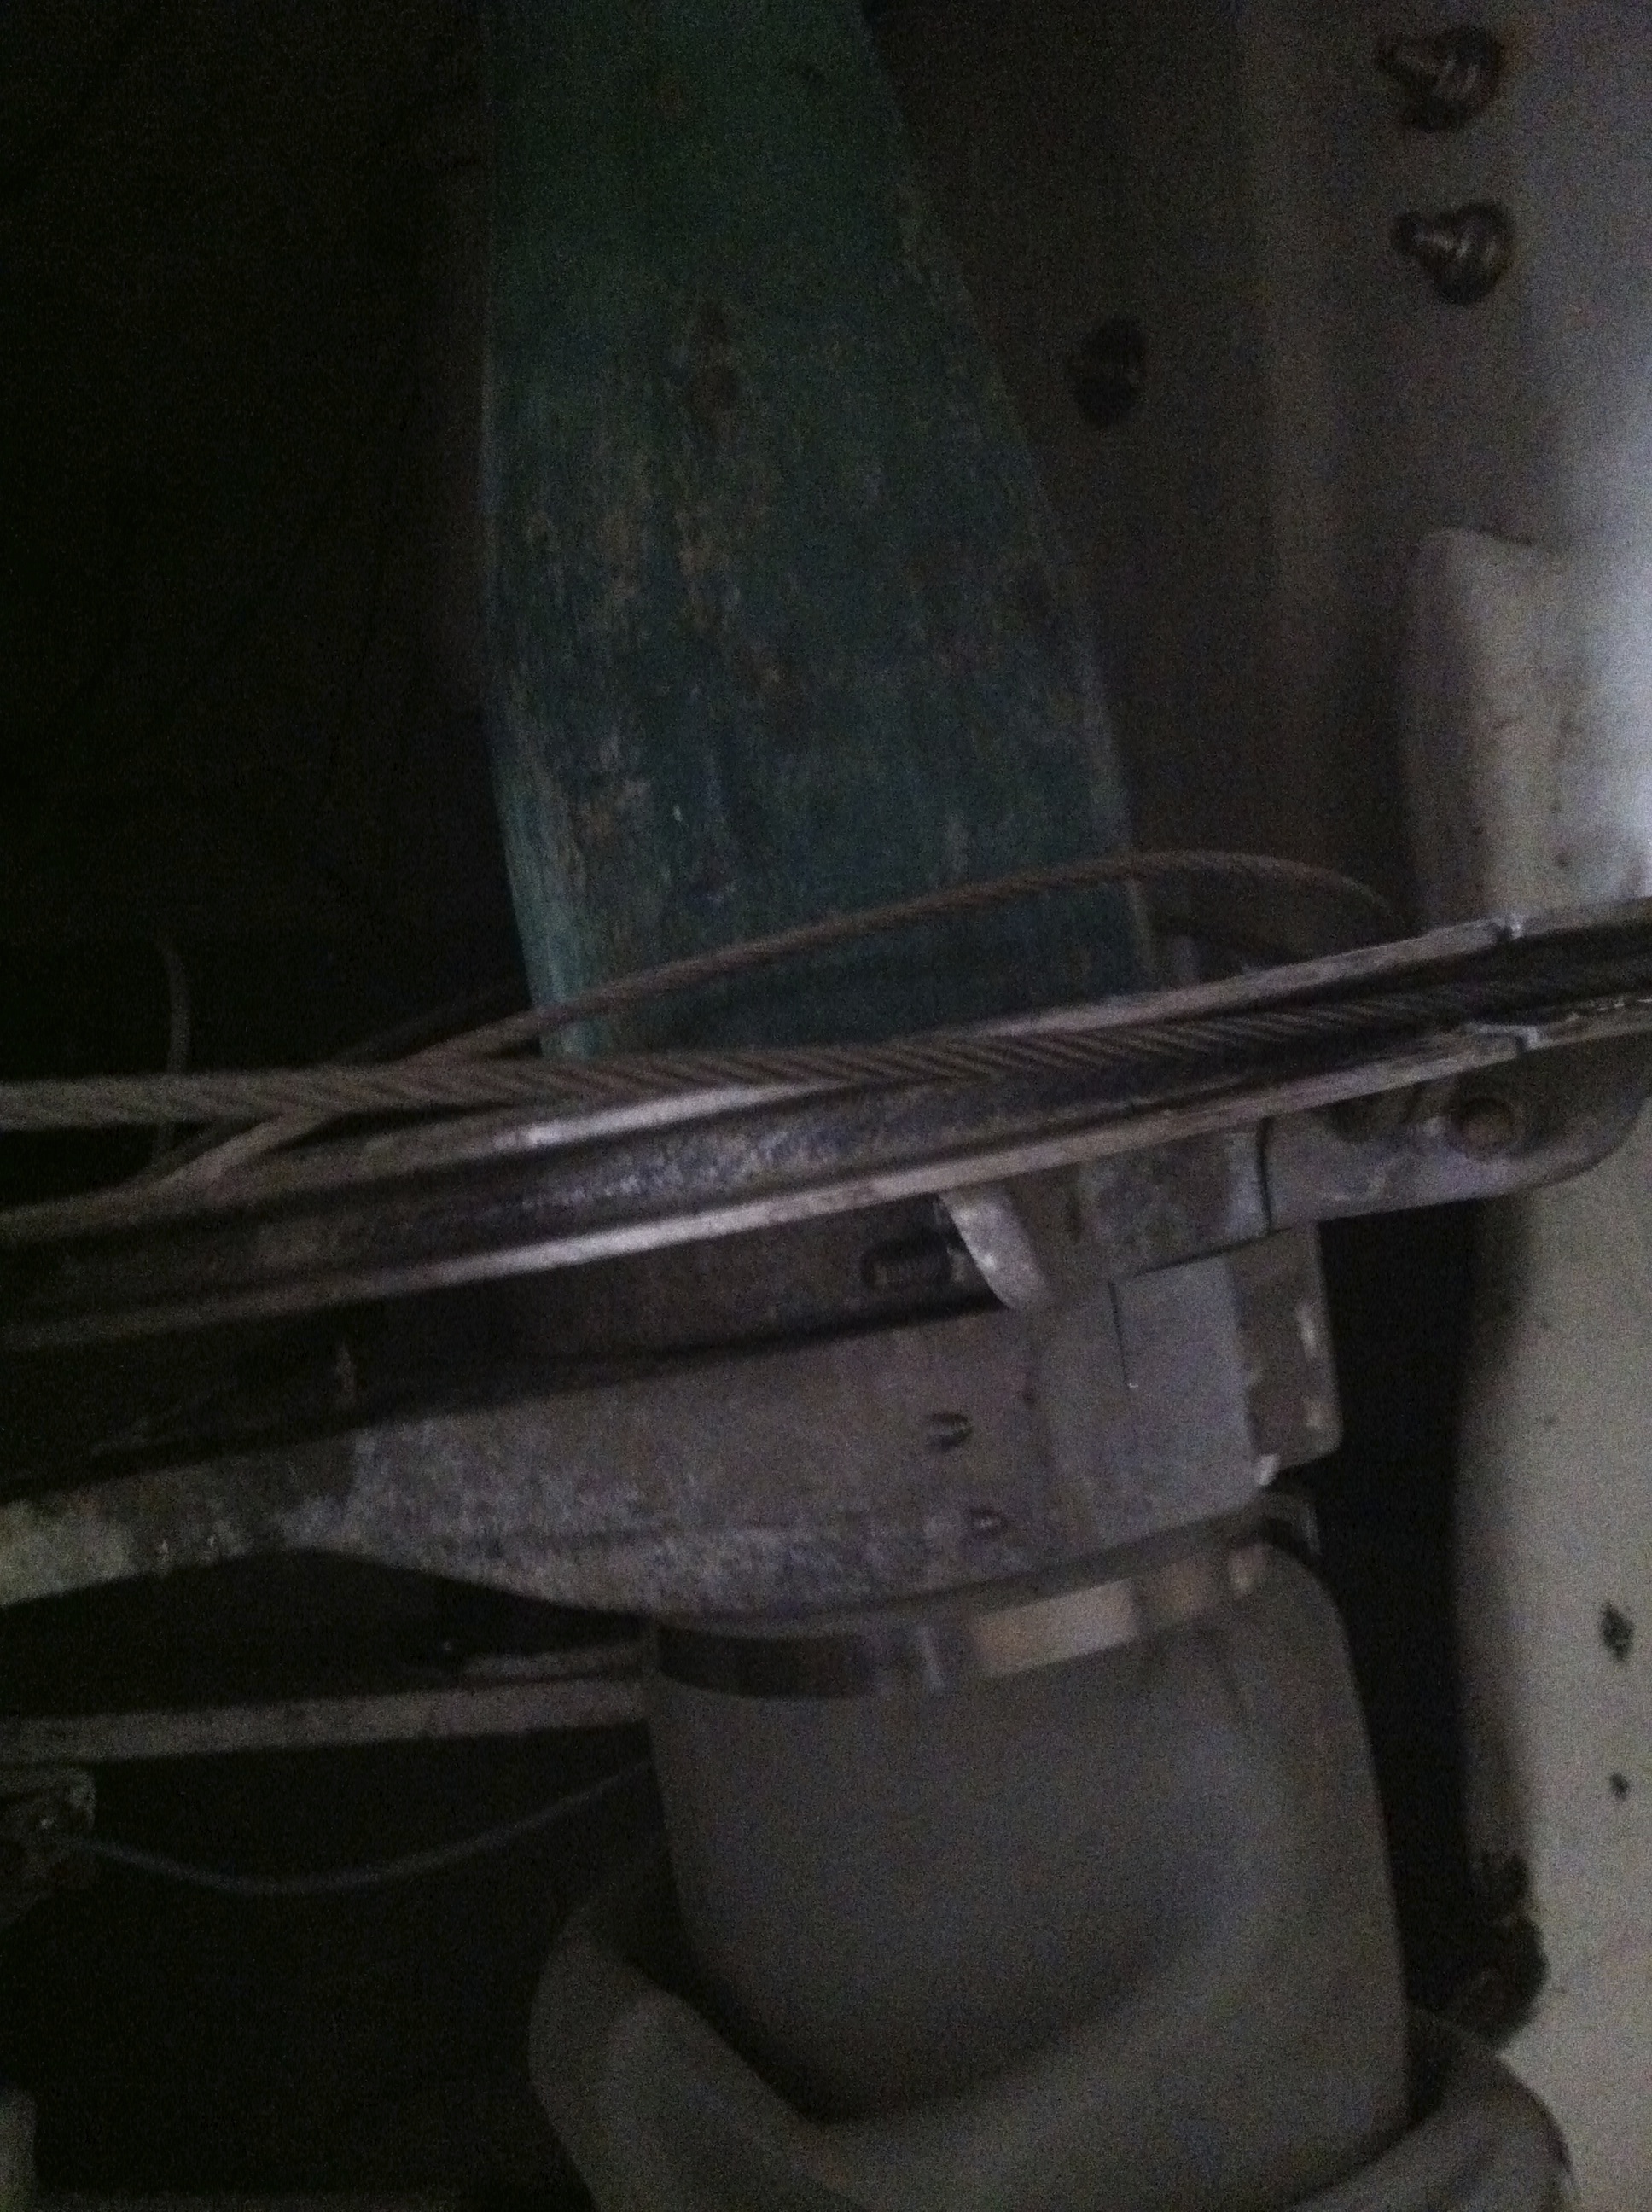
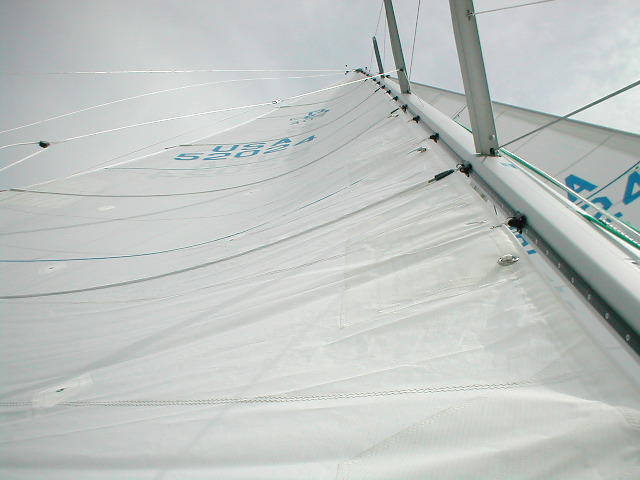
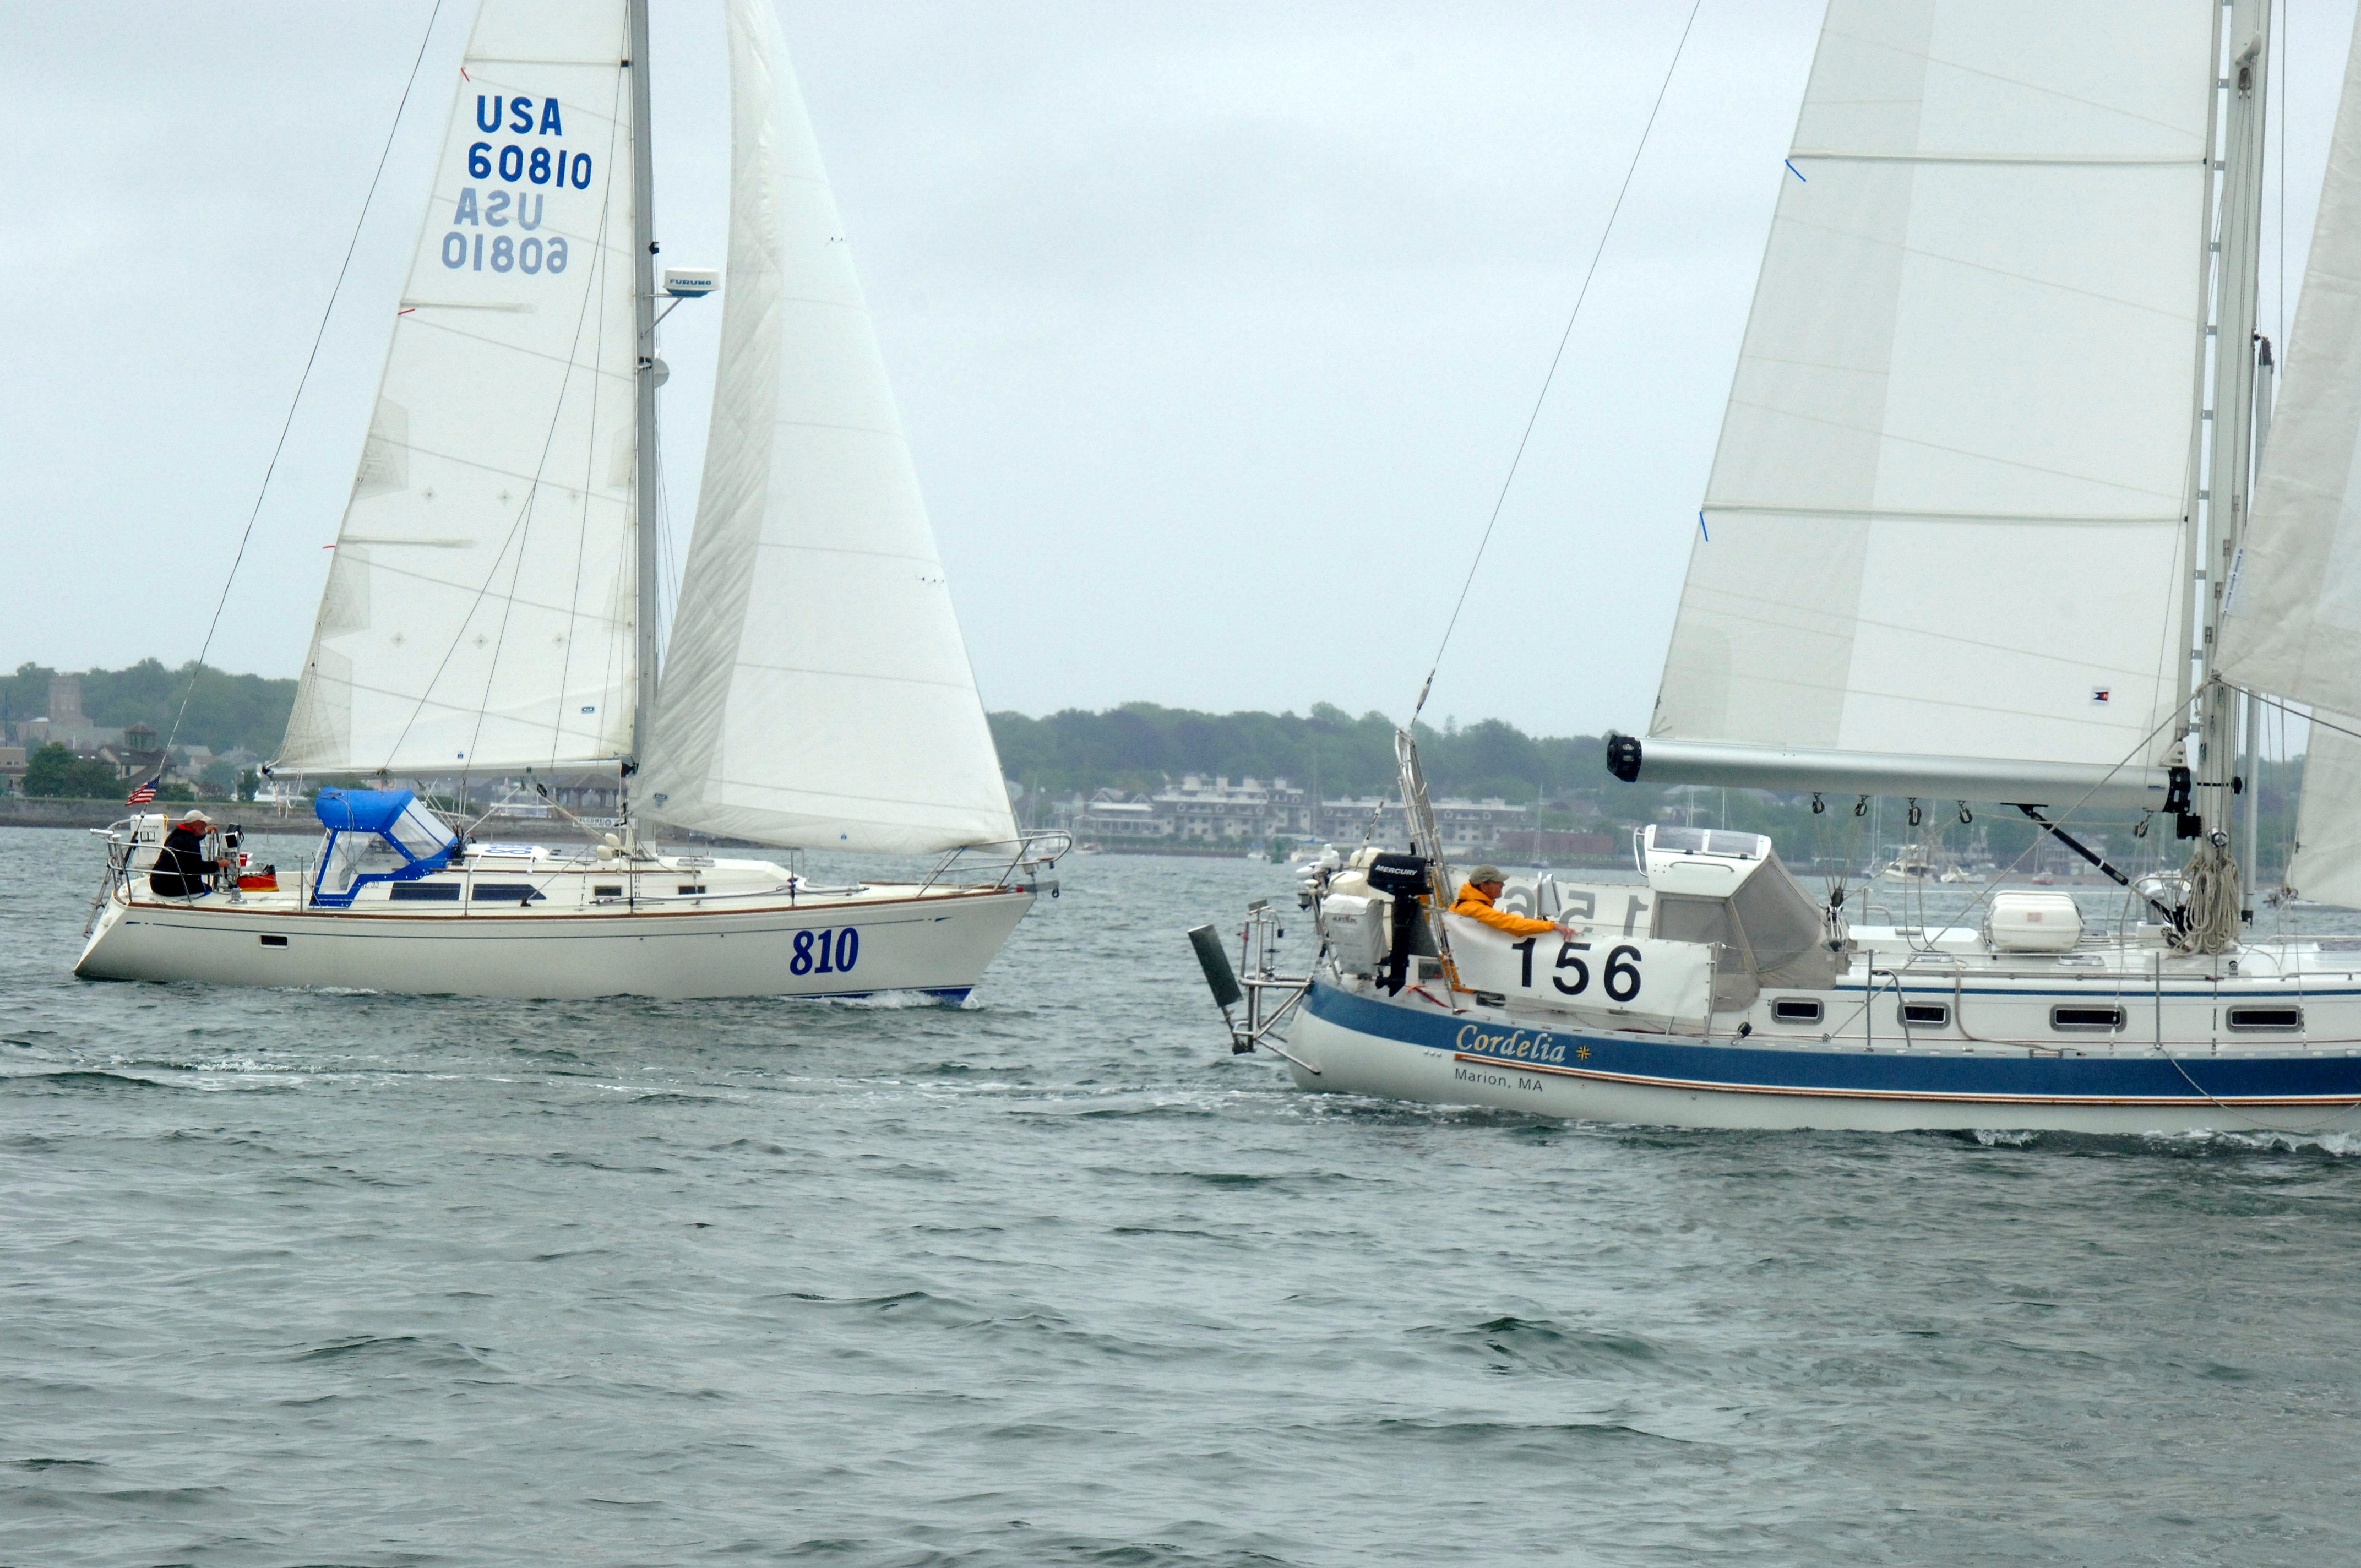
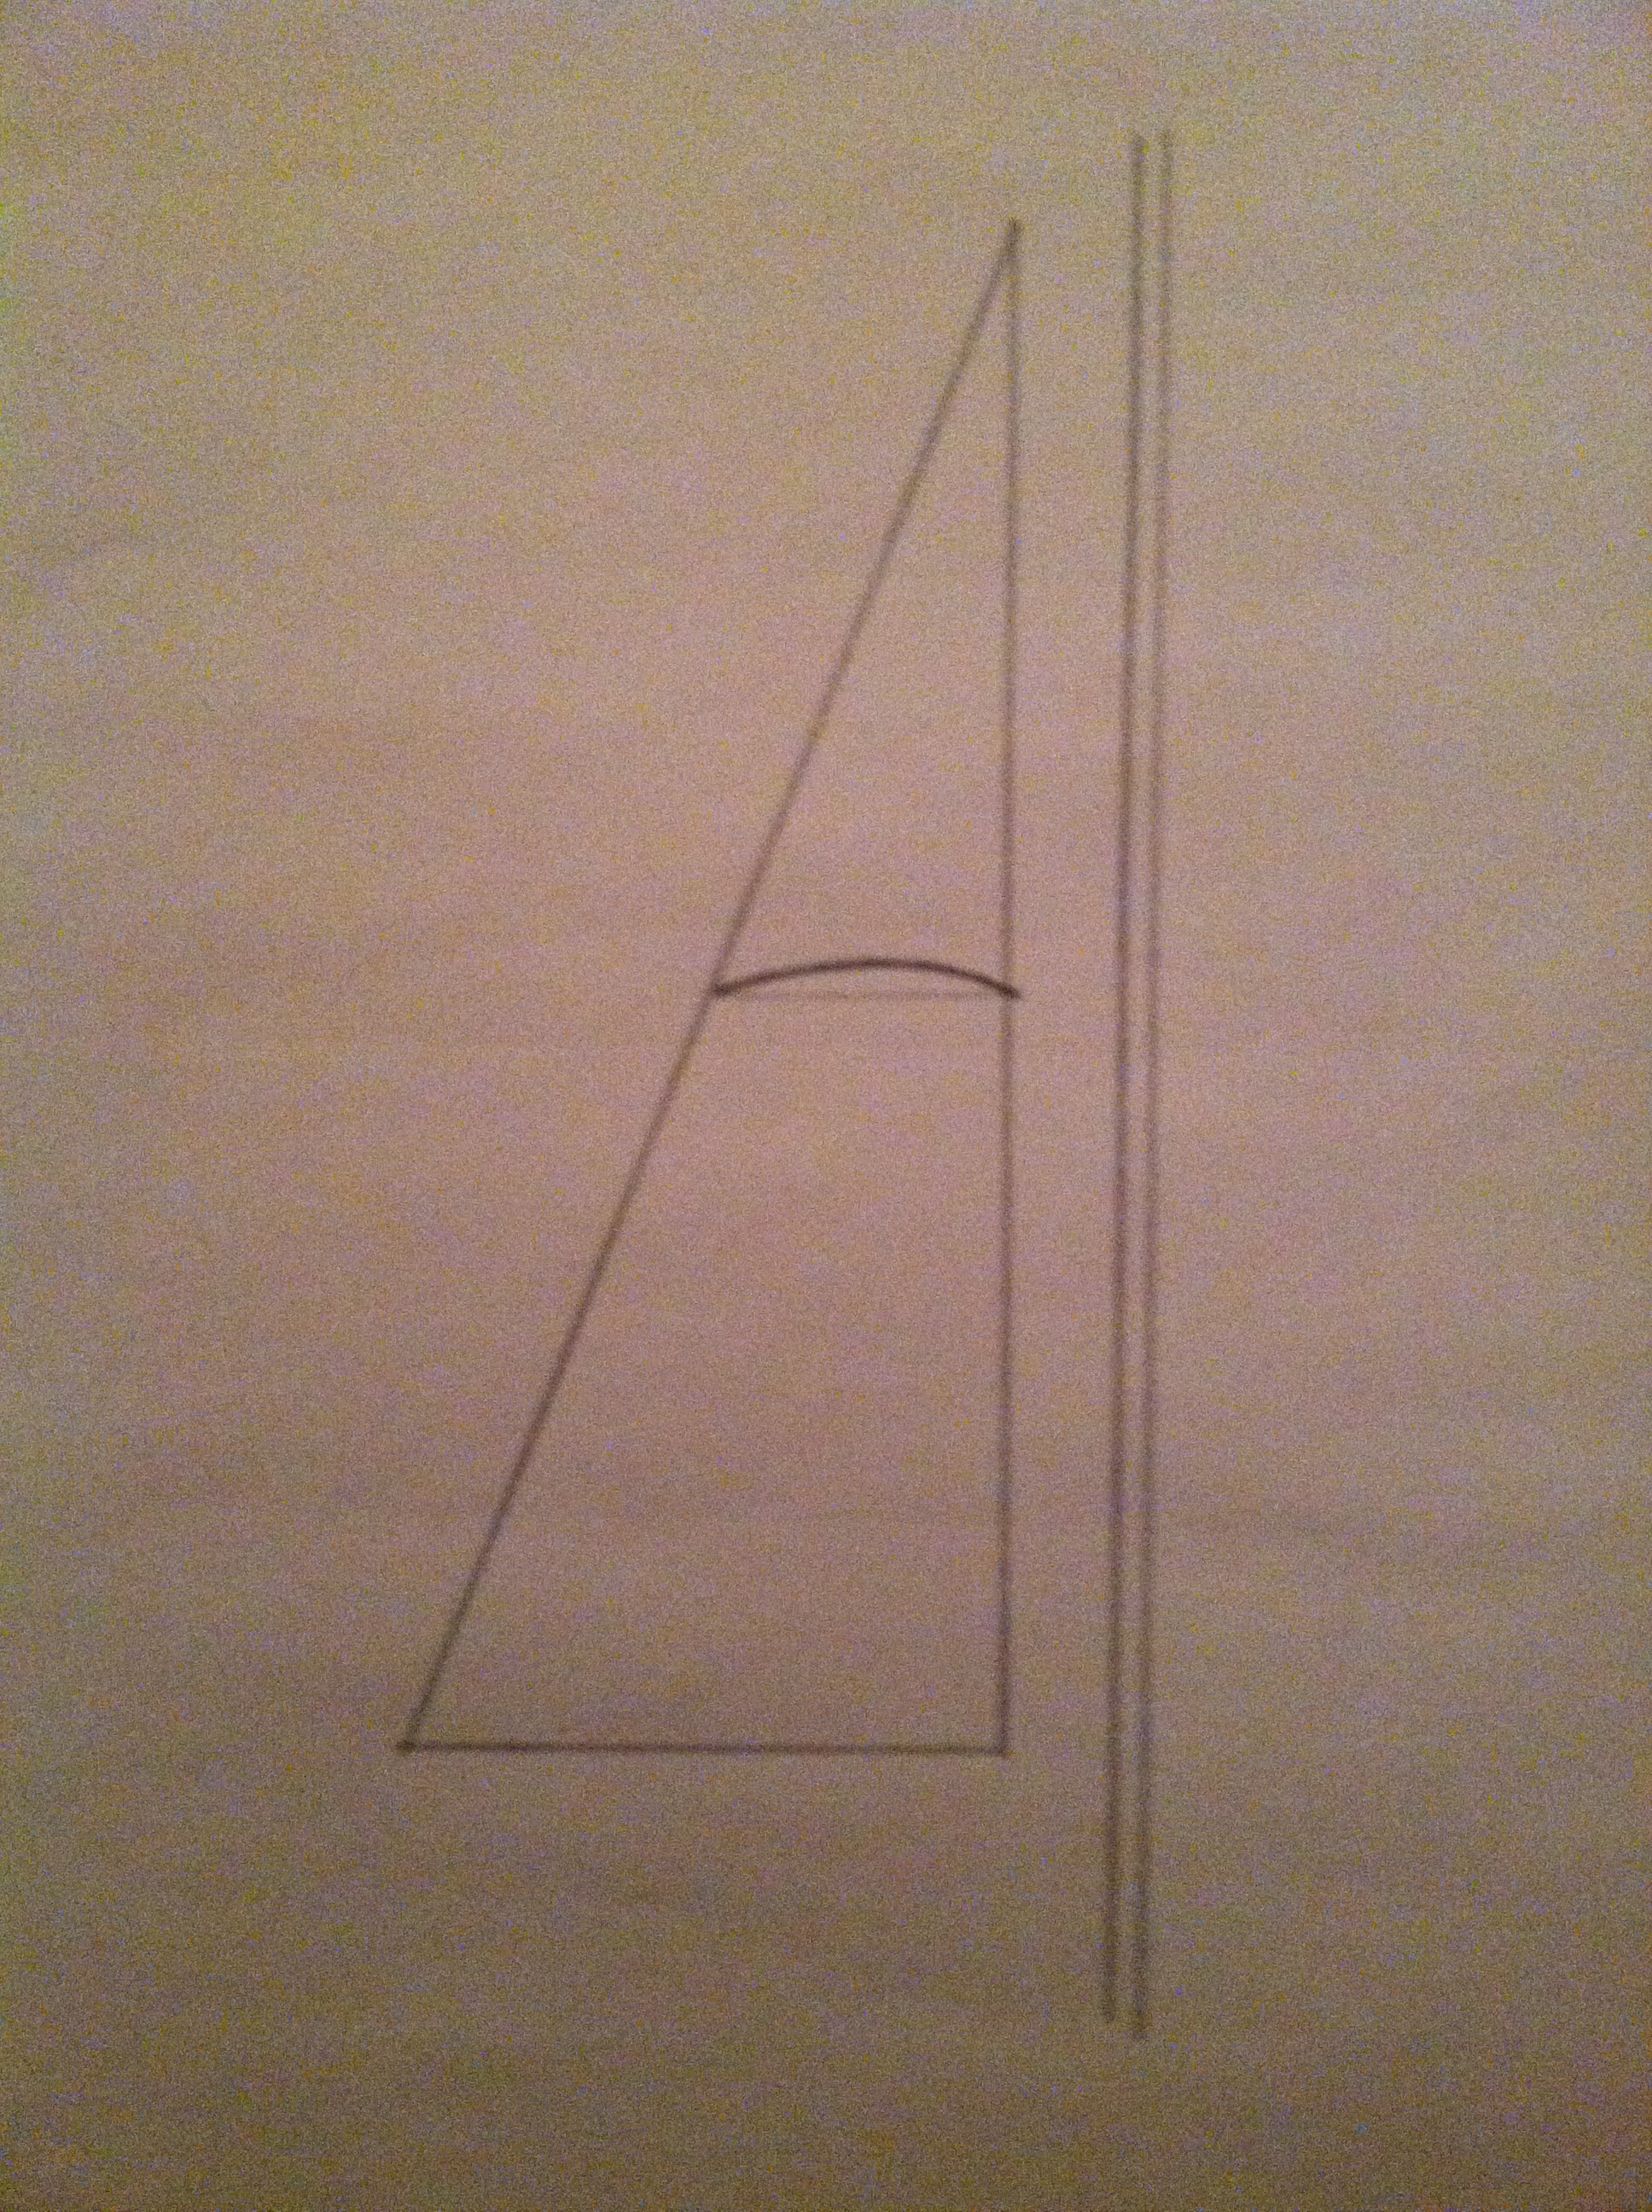
Trysail sheeted to boom
 A trysail sheeted to the boom: The traditional sheeting method for trysails is to lead the sheets to the quarter blocks in the stern. This causes chafe, where the sheet passes over the life lines, results in a poor shape when the sail is eased, leaves a lot of sail flapping around in tacks or gybes or needs more people to perform these manouvers. A very viable alternative is to set the trysail off the boom as seen above. In this case a reef lines is used. HOw ever the sail is set one must be on constant guard for chafe.
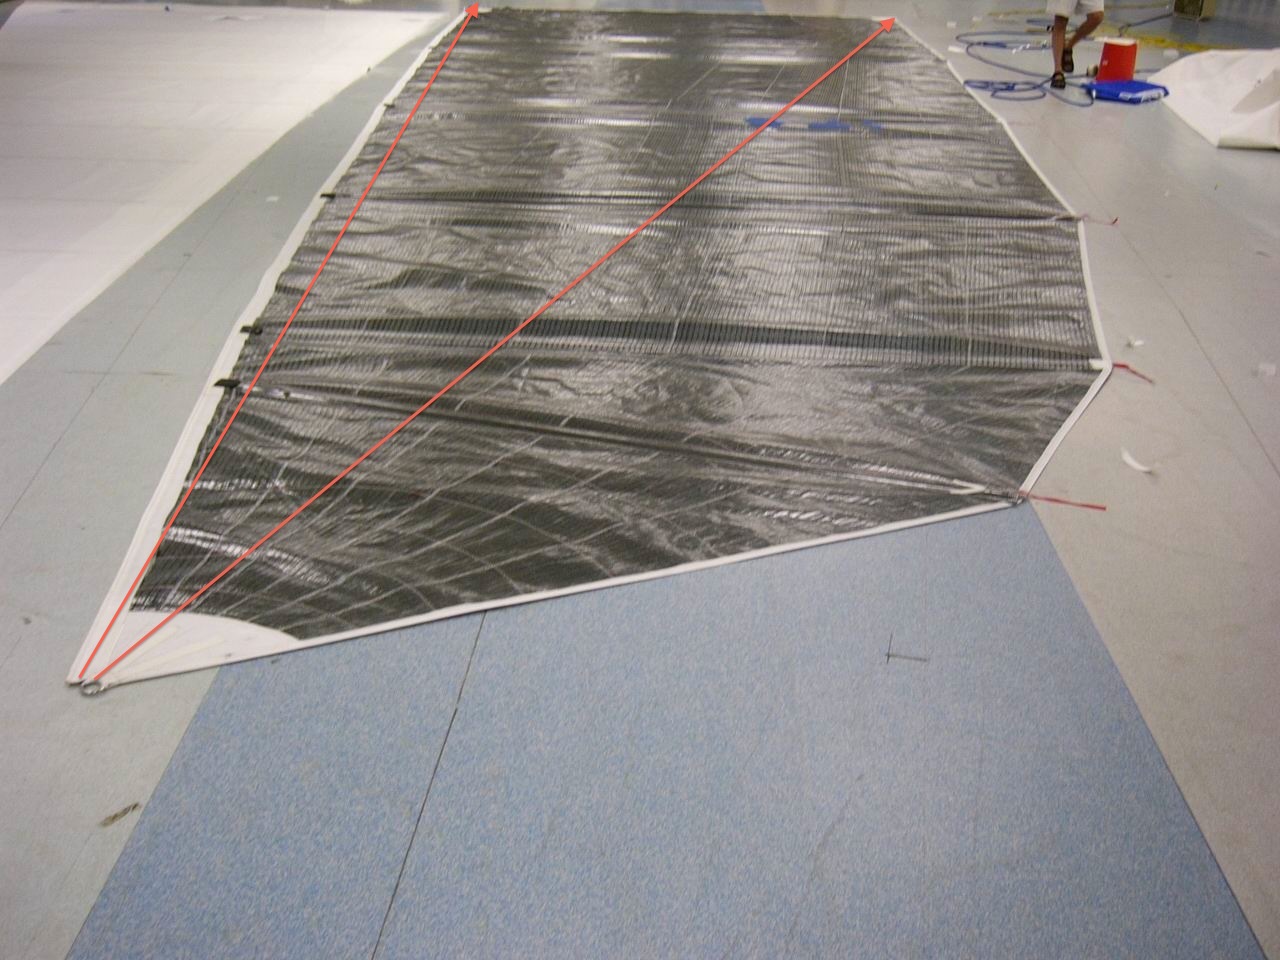
3.33.4 Storm Jib:
A yacht shall carry a storm jib not exceeding 5% of the yacht’s “I” dimension squared, and equipped with an alternative means of attachment to the headstay in the event of a failure of the head foil. Storm sails manufactured after 1/1/2014 must be constructed from a highly visible material.
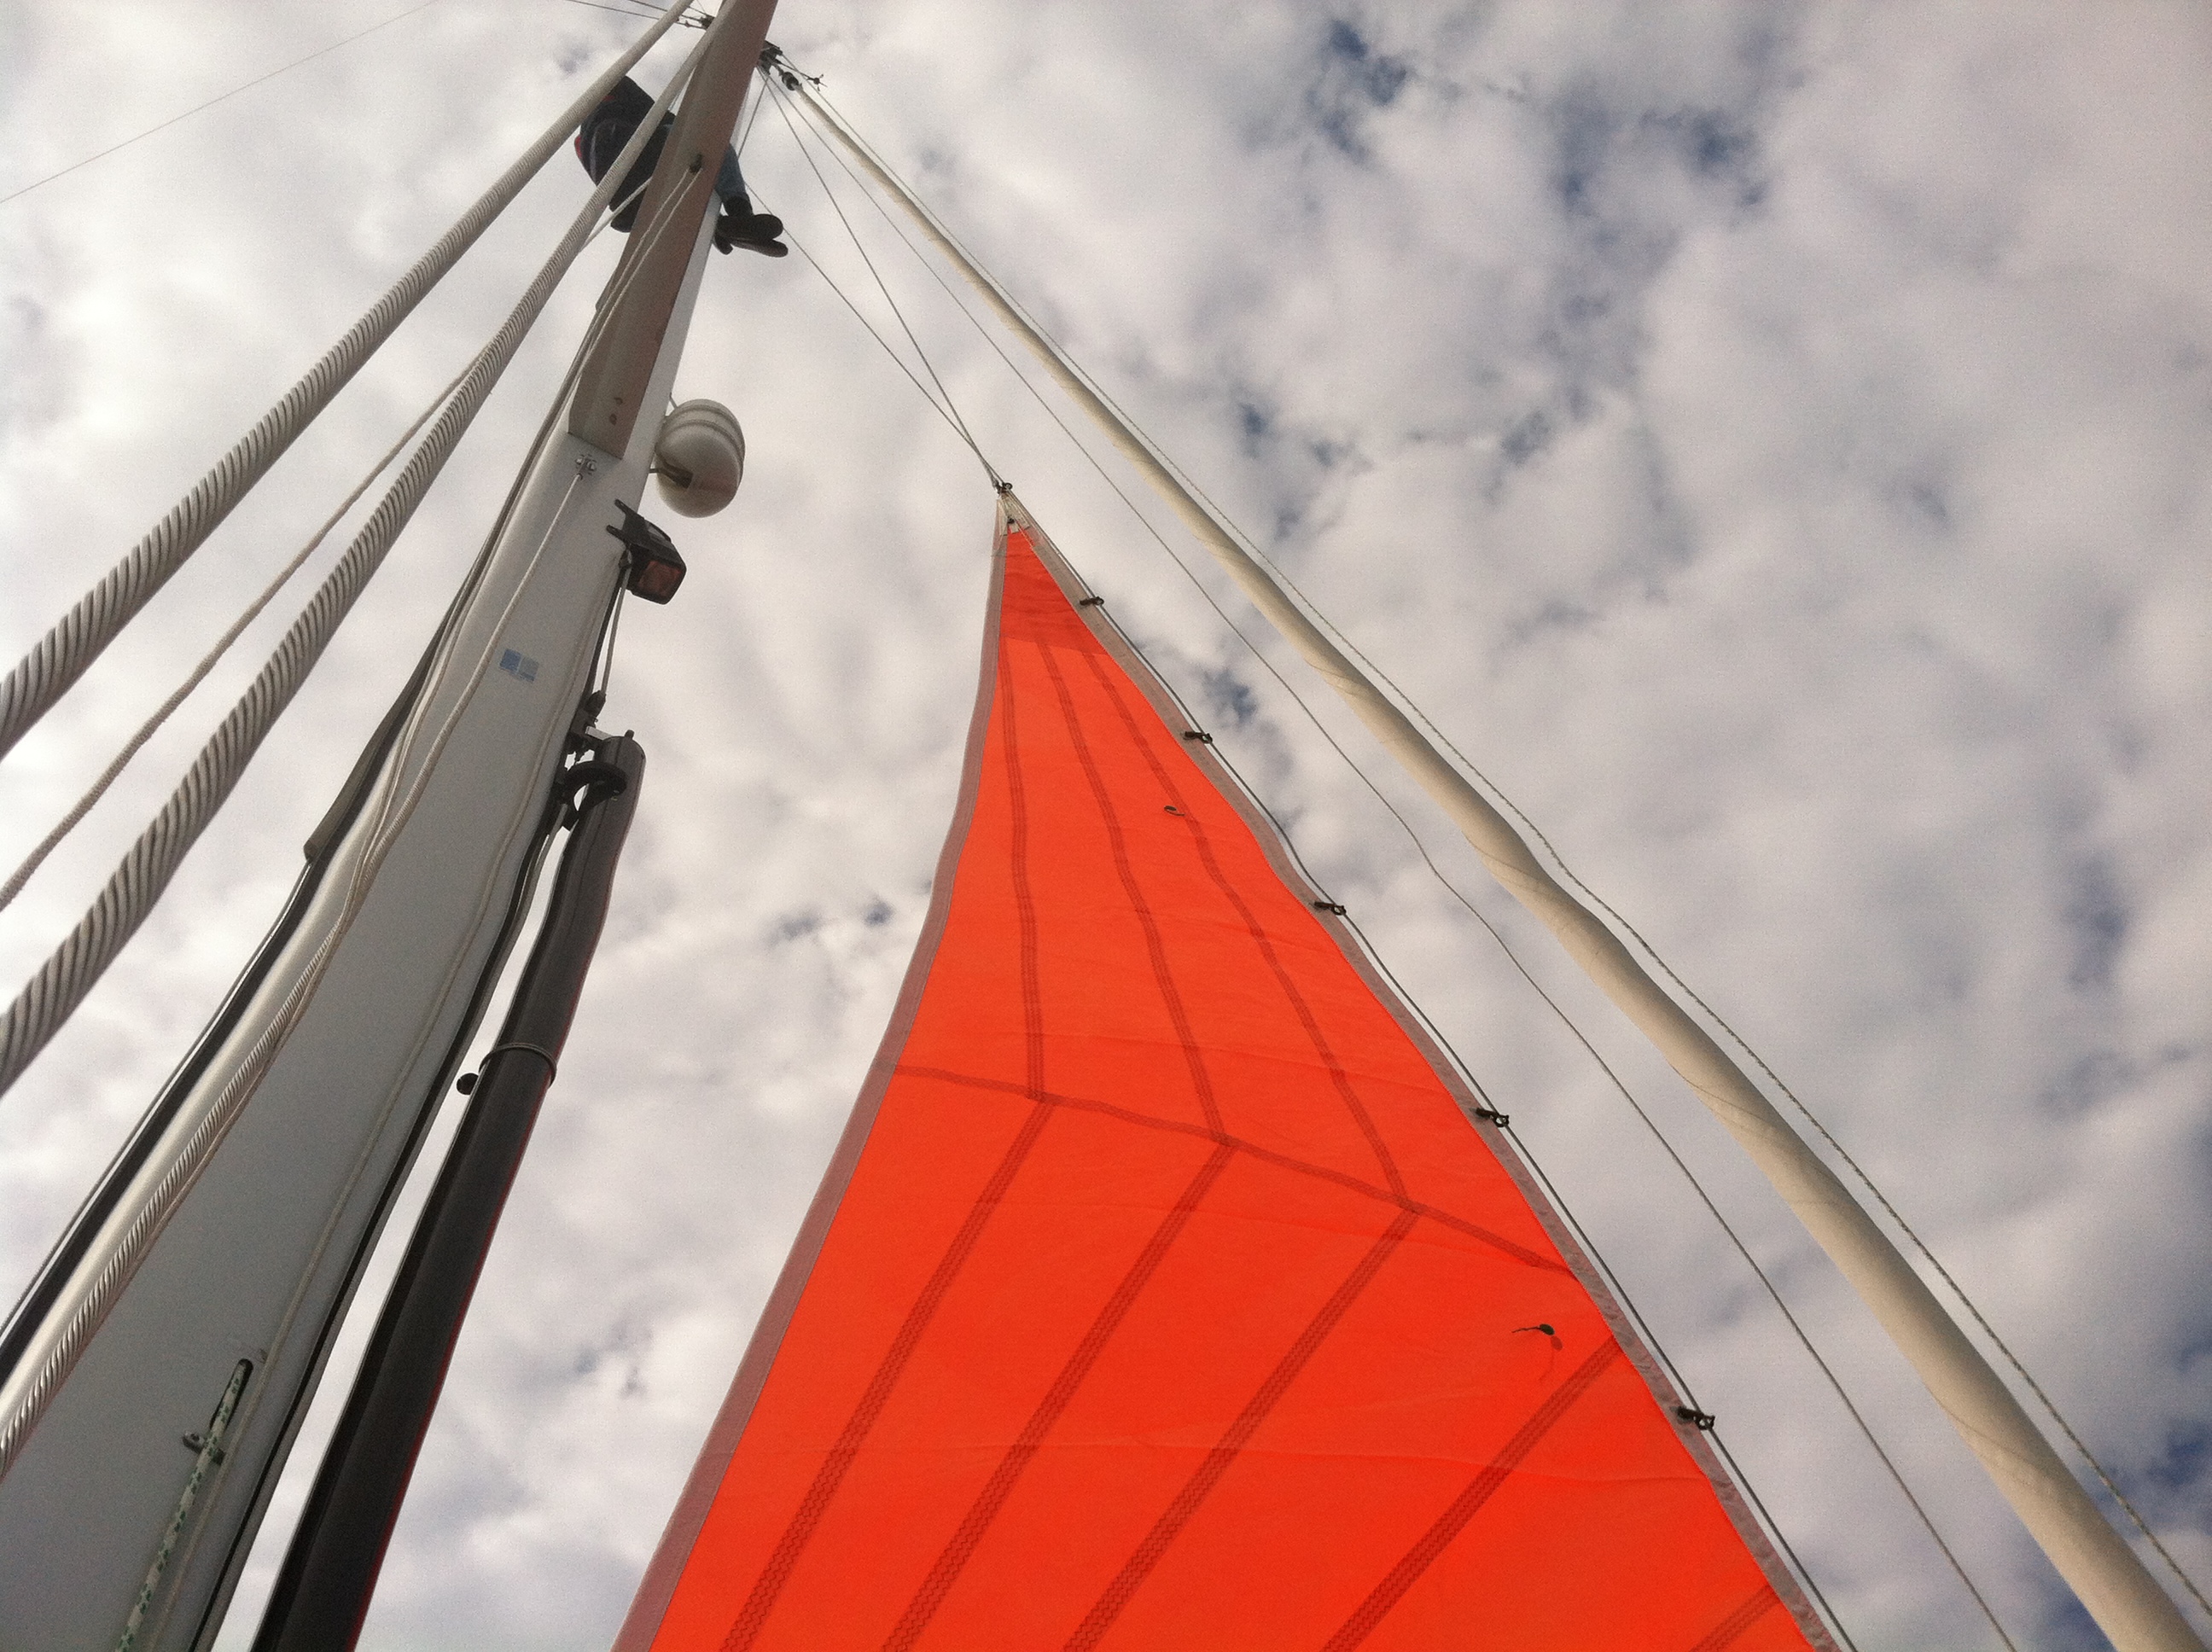
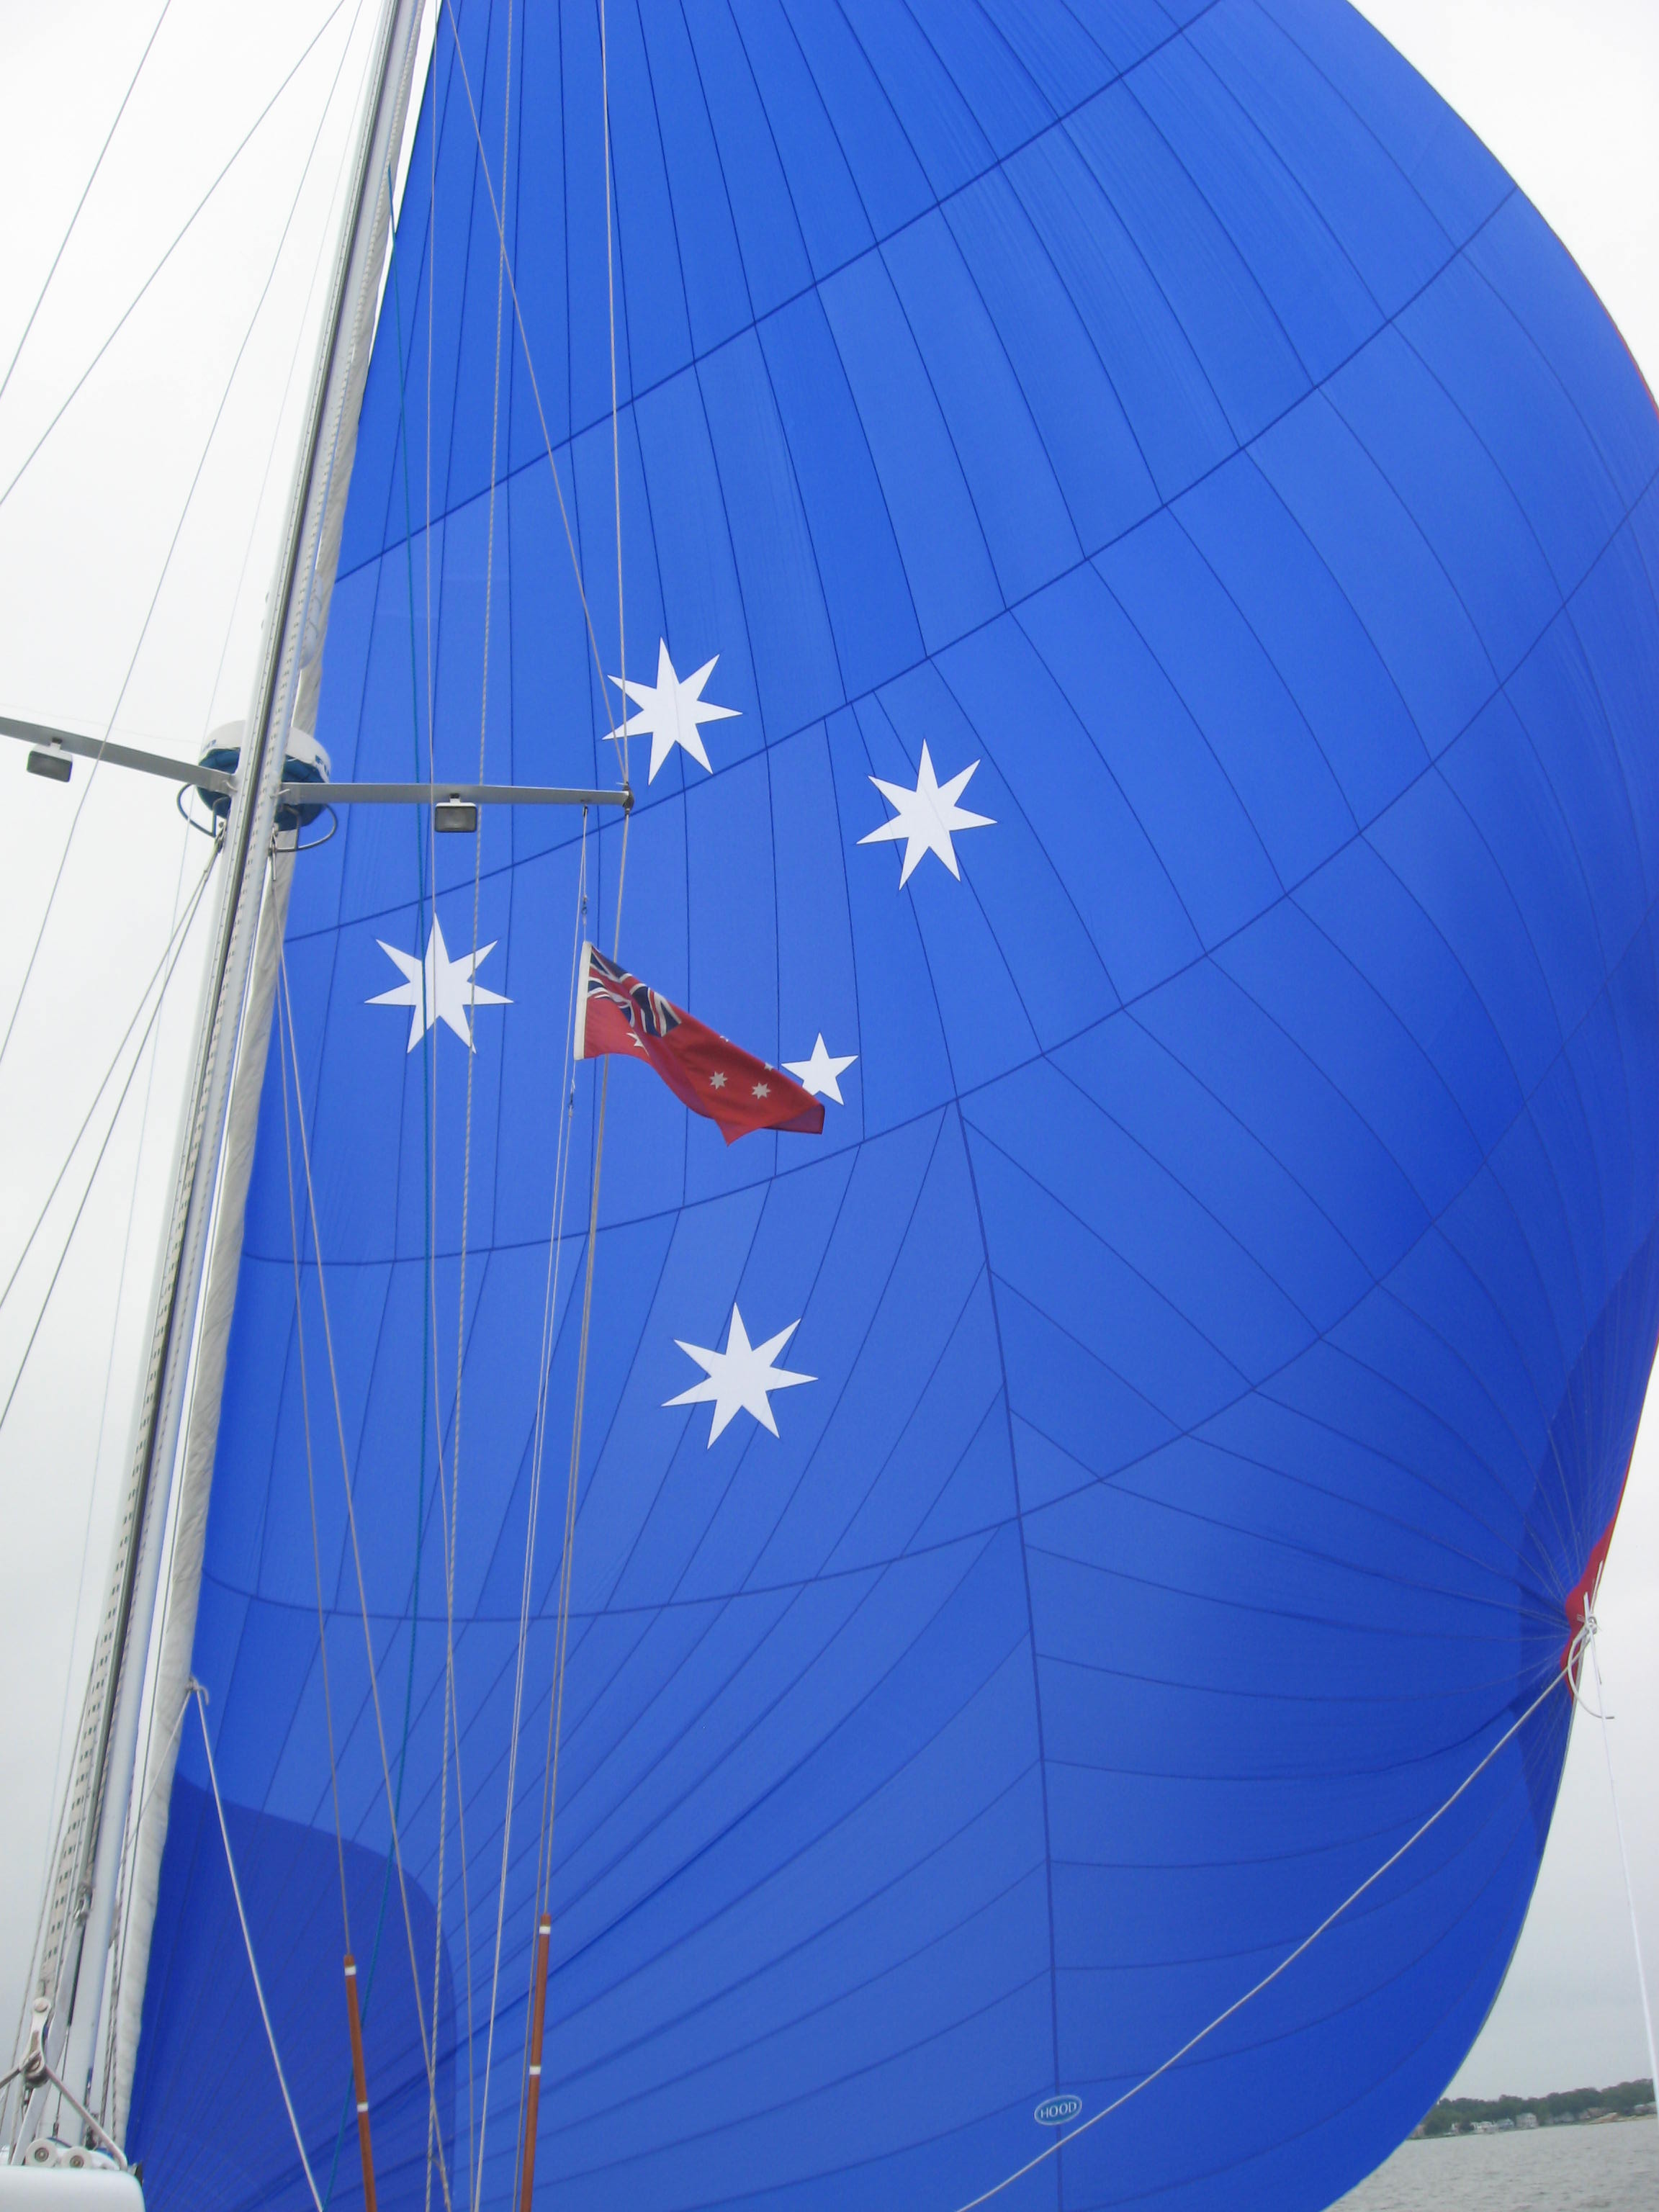
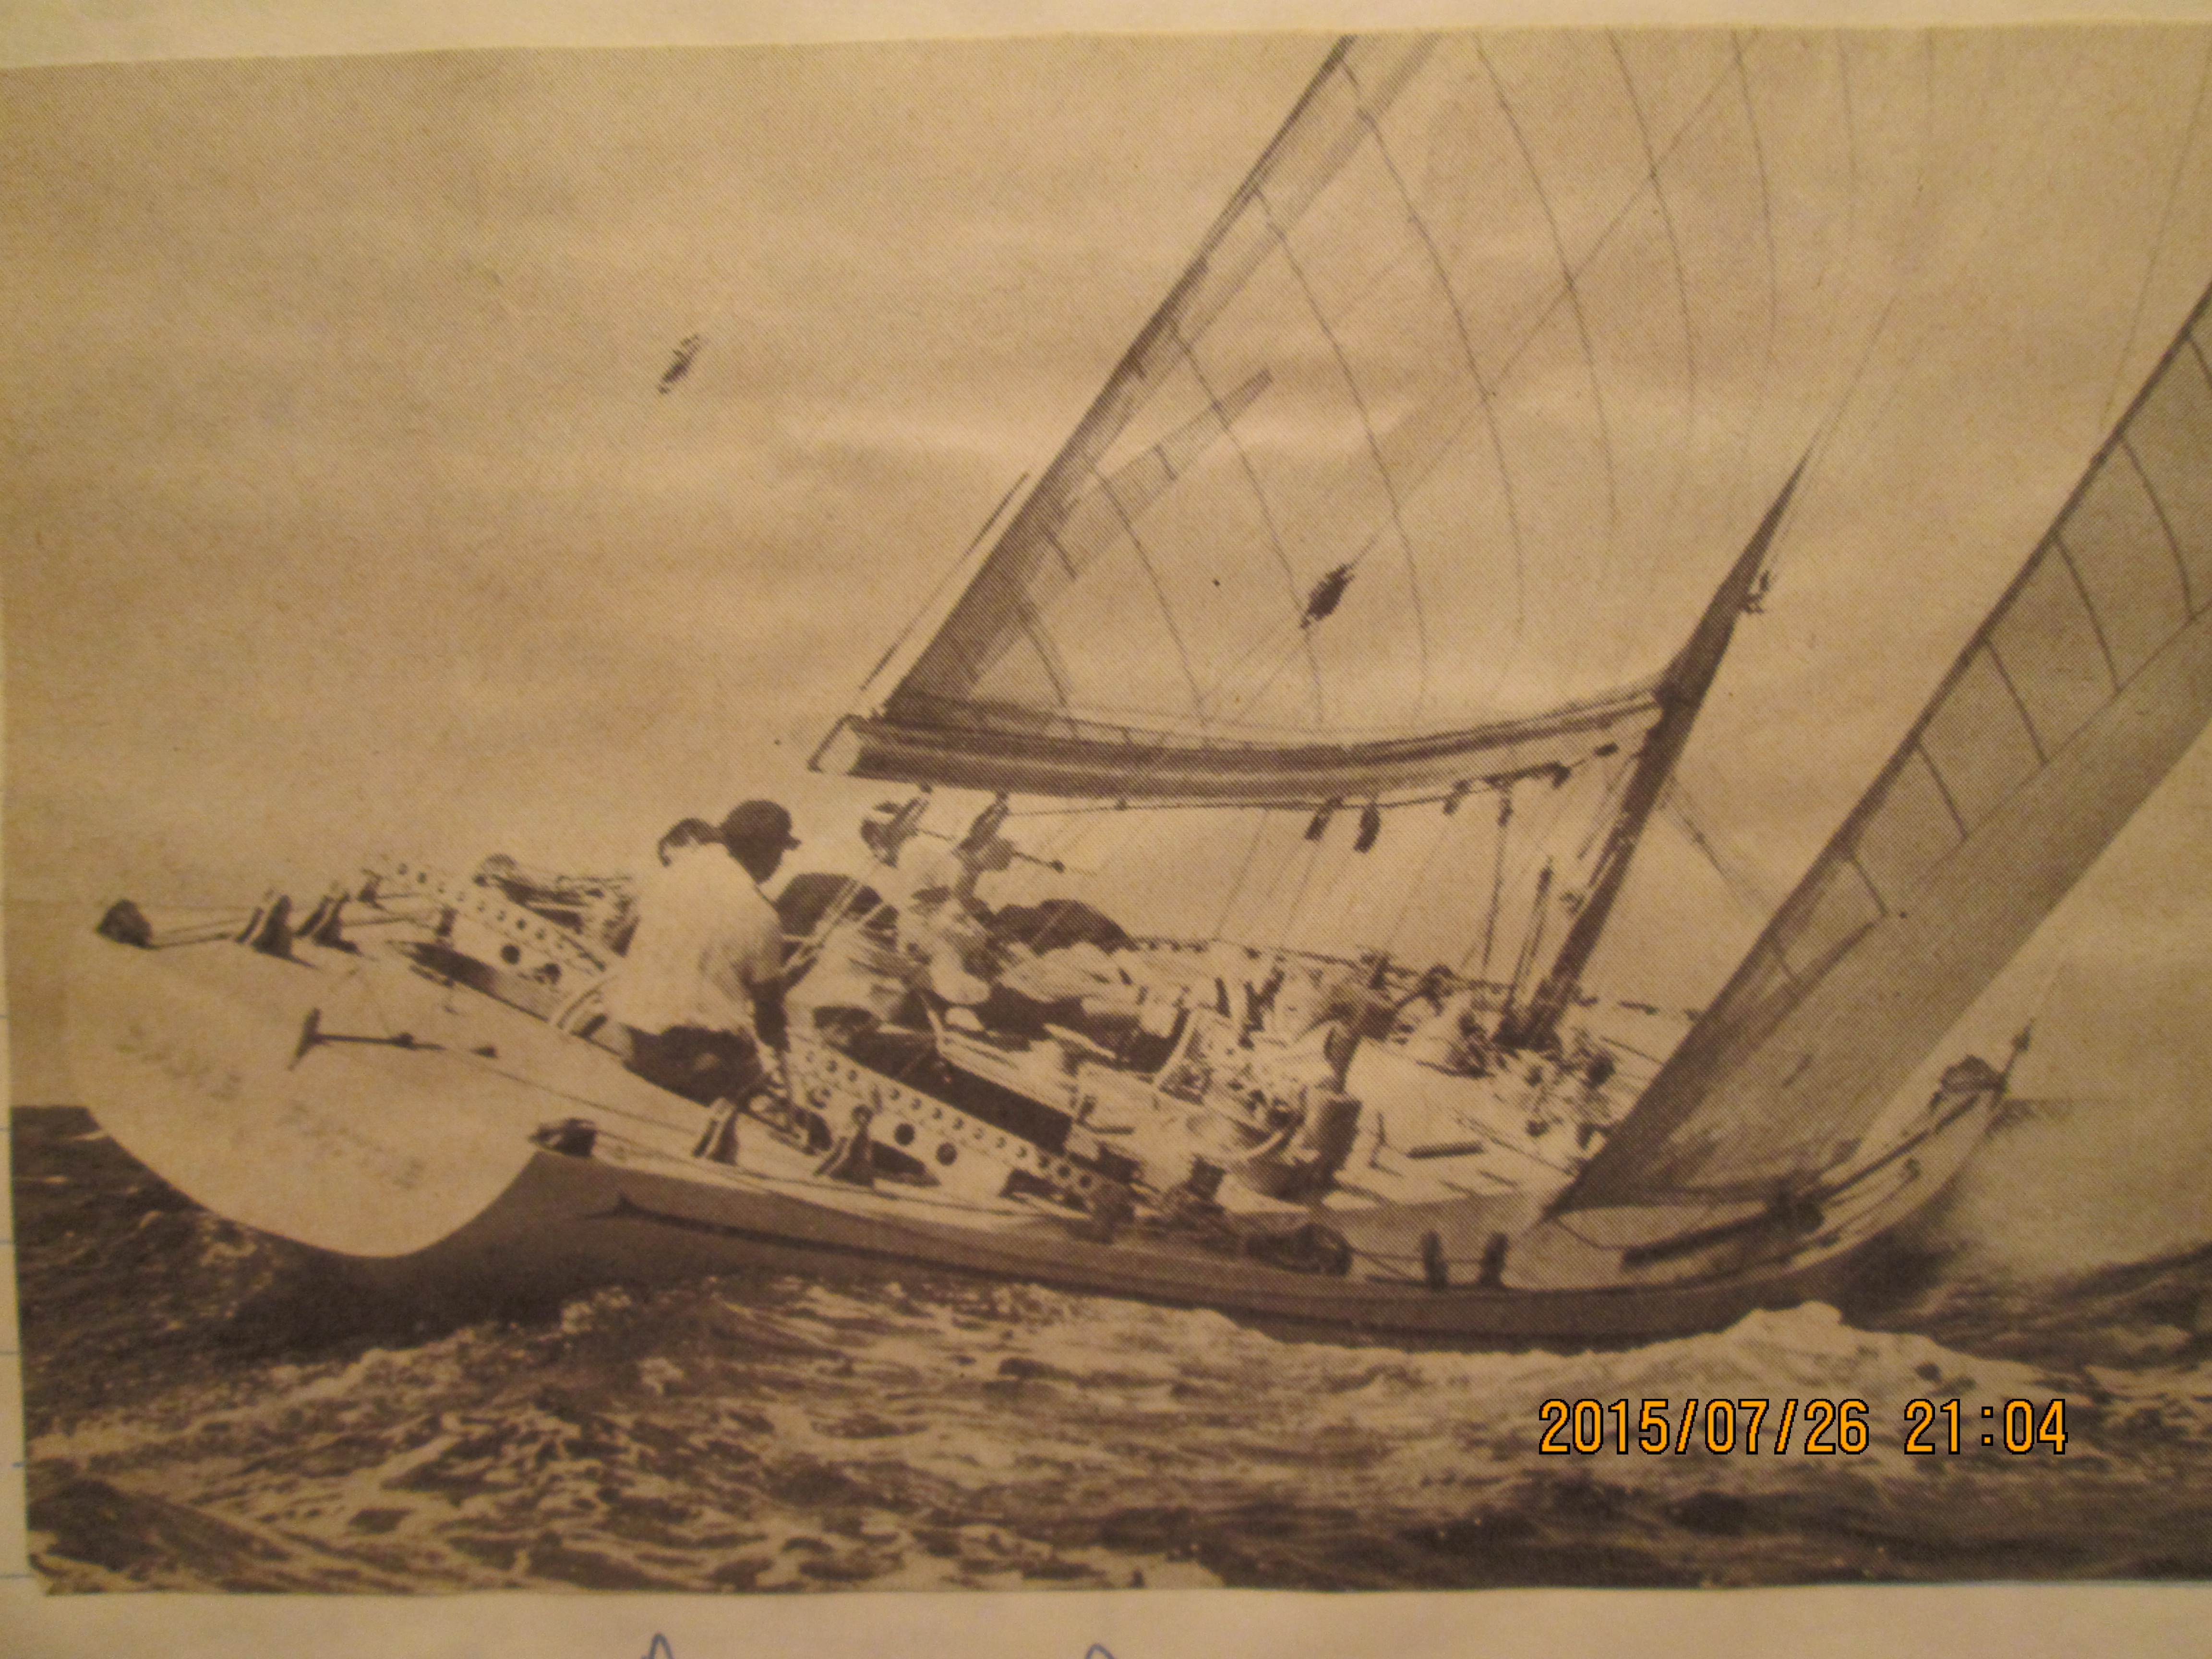
Storm sails built after 2014 are required to be a high visibility color.
The decision to set a trysail or not (and how to lower and stow it, don’t forget) is largely driven by the size and type of boat and by extension the skills of the owners and crew. The age, physical dexterity, strength, skill, sailing ability, seamanship and experience are all factors in sail handling in these conditions. And the last two are not always the same as sailing skill. One magazine article cannot address the many variables in methods for using and lowering a trysail let alone the variables on the course.
I would strongly recommend practicing as often as you can with all the crew and especially in crappy, windy weather doing all the evolutions and especially reefing and headsail changes.
Frankly the forgoing requirements for racing boats present very sound information for anyone bound offshore. AND yes, I get that people don’t want to carry Storm Sails around but they have uses outside of conditions over 50 knots.
Next up, what sails do I NEED for the Bermuda races