Sails-Mainsail: The “P” dimension, defination and measurement of.

One of the things that gives most sailmakers gray hair is confirming the dimensions and details of fit for the sails they make. This selection of articles discusses the things sailmakers need to know and what the definitions are so the consumer can provide the correct information. There is nothing worse than getting down to the boat on that lovely Spring Saturday morning with the new sail only to find out the luff slides just don’t quite fit the track. Read on to find out how to help eliminate such frustrations.

Virtually all boats have their “rig plan” defined by four dimensions. These are called the I, the J, the P, and the E. The I & J define the headsail and the P & E the mainsails. There are some other subcategories but let’s start with these four first and we will start with the mainsail and what the P & E dimensions are NOT.

  • The P is NOT the luff length of the actual sail.
  • And it is NOT the maximum available hoist on the mast.
  • The P dimension is NOT anything but this:

The distance up the mast (from the top of the boom) that the designer has calculated as the maximum luff length that a sailmaker might build a sail to (which, in conjunction with the other dimensions, I, J, E) will give the boat the sail area the designer wants it to have.

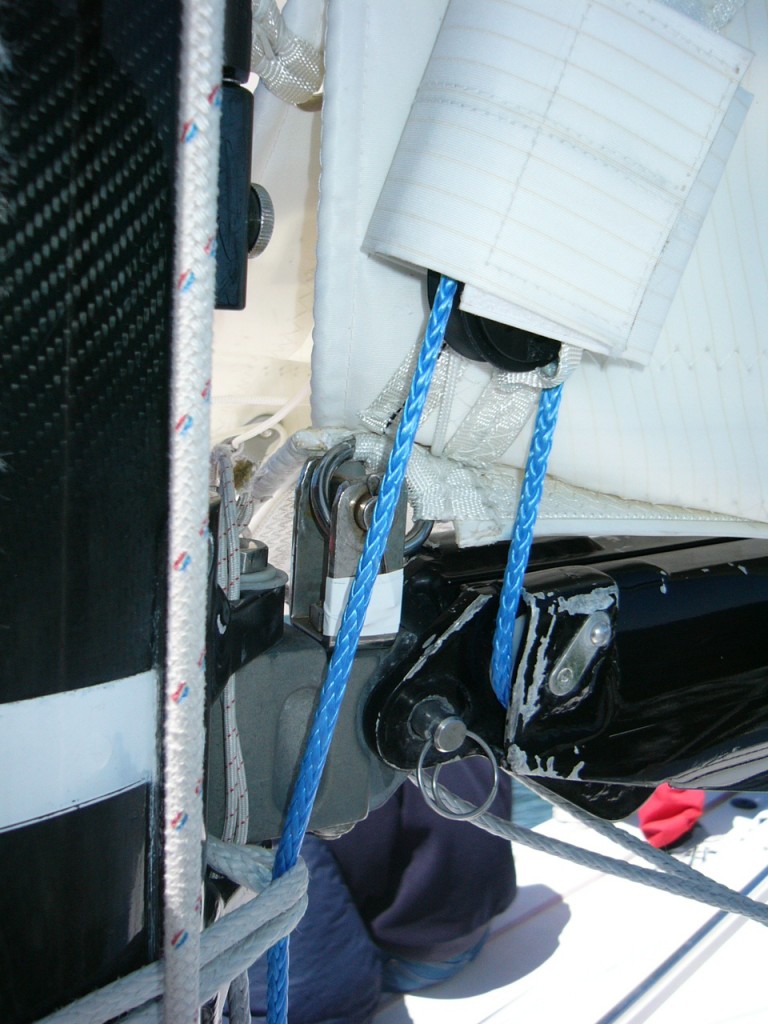
In plain English, “P” is in the first place a mathematical construct. In practice on most boats, especially those sold with “racer” in the name, the P is measured “from the UPPER edge of a contrasting color band at the gooseneck UP to the LOWER edge of a contrasting color band at the mast head.” This (is an approximate, but close) quote taken from most sail boat rating handicapping rules, like for instance PHRF, IRC and ORR. Any class or make of boat that desires to limit or control the mainsail area will make some definition similar to this. An example of what this (commonly called the black band for obvious reasons) looks like is this on a Hallberg Rassey 31 footer.
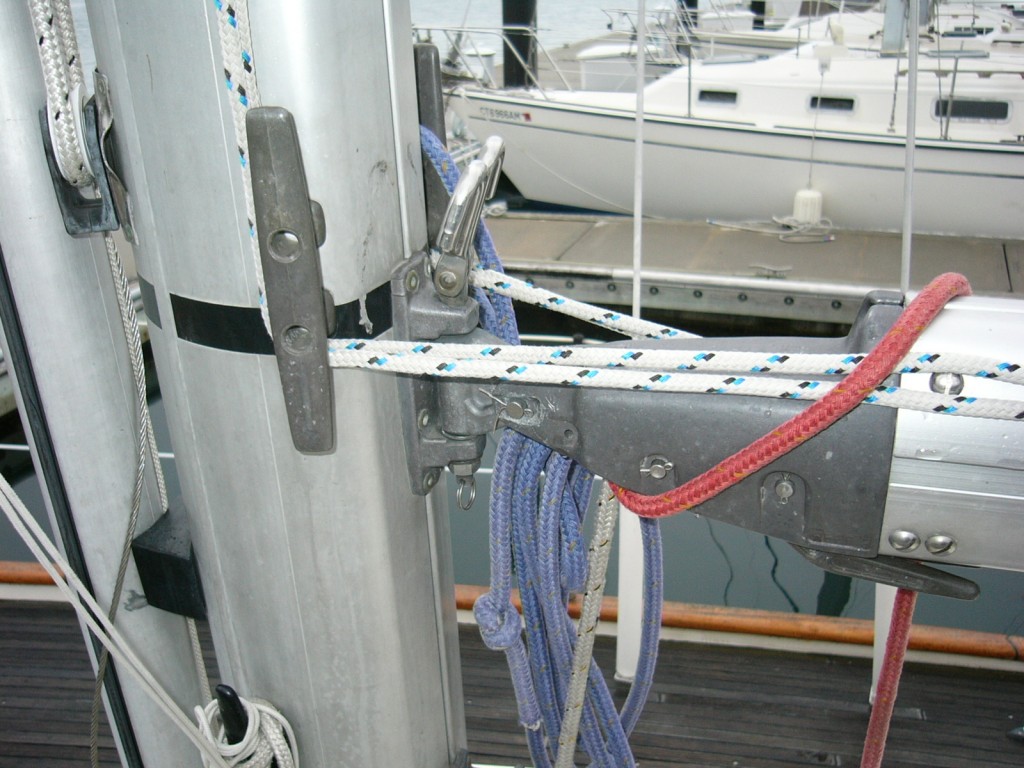
Selden Spars black band

The Black Band is located at the tack and P dimensions are taken from the top of the band to the underside of a similar band near the masthead.

Now the observant amongst you will say, “But the tack of the sail is a couple of inches above the upper edge of the black band!” Go to the top of the class- this is the nub of this article. That detail is called the tack set up and we will get to that detail. Another version of the black band is here.

Black band at tak Cal 36

Another view of the Black Band

And if the mast is black-Carbon or anodized-the band is white.

"Black Band" in White, on a Carbon spar

"Black Band" in White, on a Carbon spar

This “contrasting colored band” is at the gooseneck (so the lower) end of the P dimension.

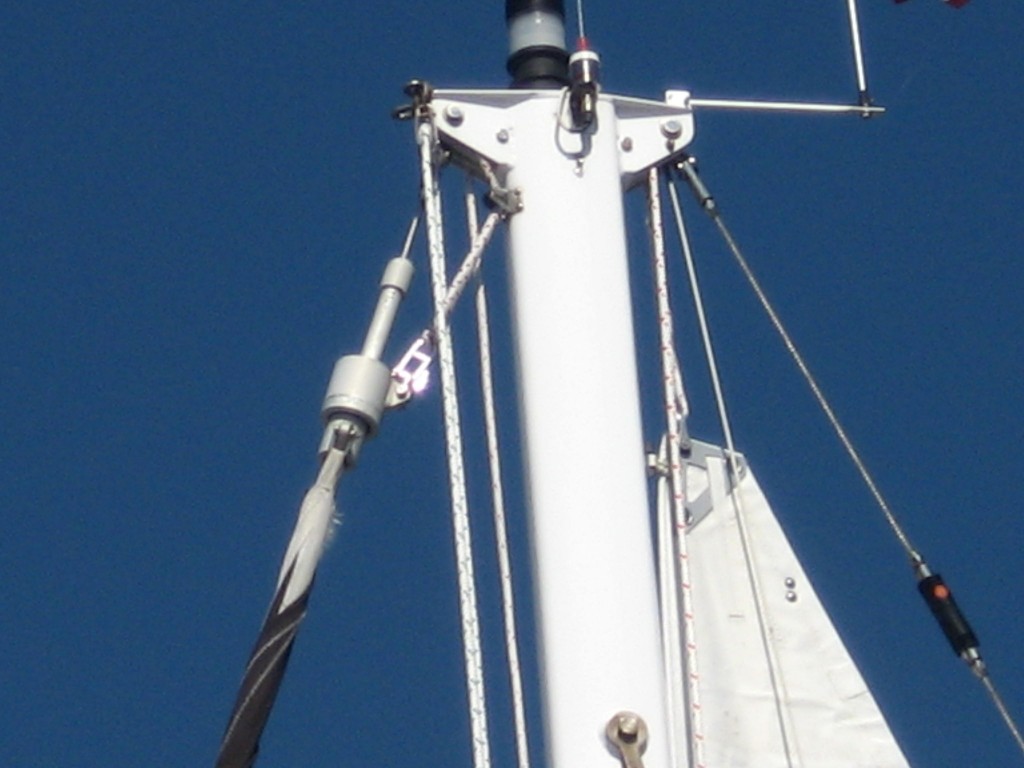
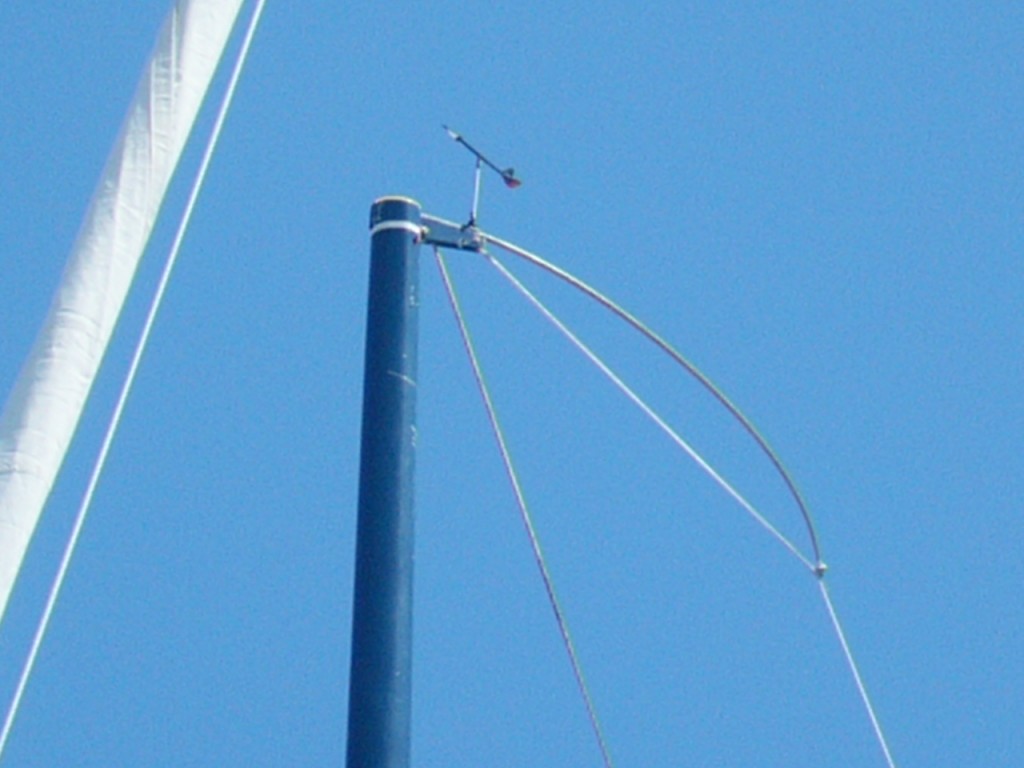
The top end is of course at the masthead, more or less. There are a few variables related to the positioning of the Upper Band of P. One fairly important one is the length of the backstay crane. This is the structure at the top of the mast to which the backstay is attached. The design and installation of the backstay crane varies over  time and boat design and intended use. In the case of older boats, and in particular boats with wooden masts, there is for practical purposes no backstay crane. So backstay crane’s come in all manner of configurations. The one of most interest to the sail makers is the length, I.E. the extent to which the crane and in particular, the attachment of the backstay to the crane is aft of the aft face of the mast.

The detail I am thinking about when measuring  this boat is making sure the sail does not foul the backstay when set to full hoist.

1. The height (length) of the luff of the mainsail is determined first by knowing the boat’s “P” dimension.

Mainsail crane clearance on 33 foot cuising boat.

The mainsail headboard needs to be able to clear the backstay at full hoist.

On many boats, especially “cruising” boats, like this Alajuela 33 pictured above there is no black band. Quite often the P is determined by consultation with any of the various compendiums of sail boat data sailmakers have at their disposal.The sailmakers must ensure that the mainsail headboard will not foul the backstay when the sail is at full hoist. The sail in the picture is actually at the “correct” height for the boat’s stated “P” dimensions (even though it looks “short”). This was confirmed, (reconciled really with data I had researched on the class of boat)  in advance of the new sail being made by measurement (by me) of the spar. If on the other hand the sail was built to full hoist, right up underneath the crane, it is most likely that the headboard would foul the backstay.

TIP: measure the spar fore and aft at your eyeball level standing on deck. Then eyeball the crane and visualize how long the crane is compared to the spar thickness. So if you reckon the mast is 8 inches long, fore and aft, and the crane is about 50% of the size of the spar, then a good estimate is the crane is 4″.

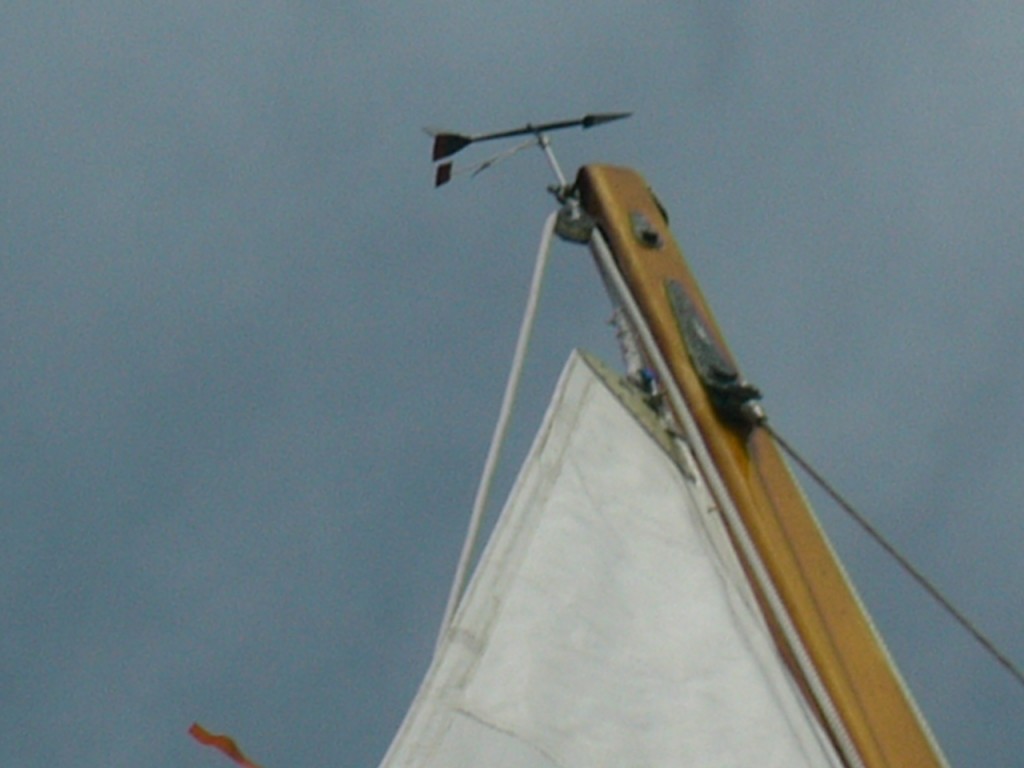
In this image, below, of an older wooden spar, there is no crane and no black band. Fortunately there is no backstay either. The line passing through the block is the topping lift.

Wooden mast with no backstay crane or backstay

Wooden mast with no backstay crane or backstay


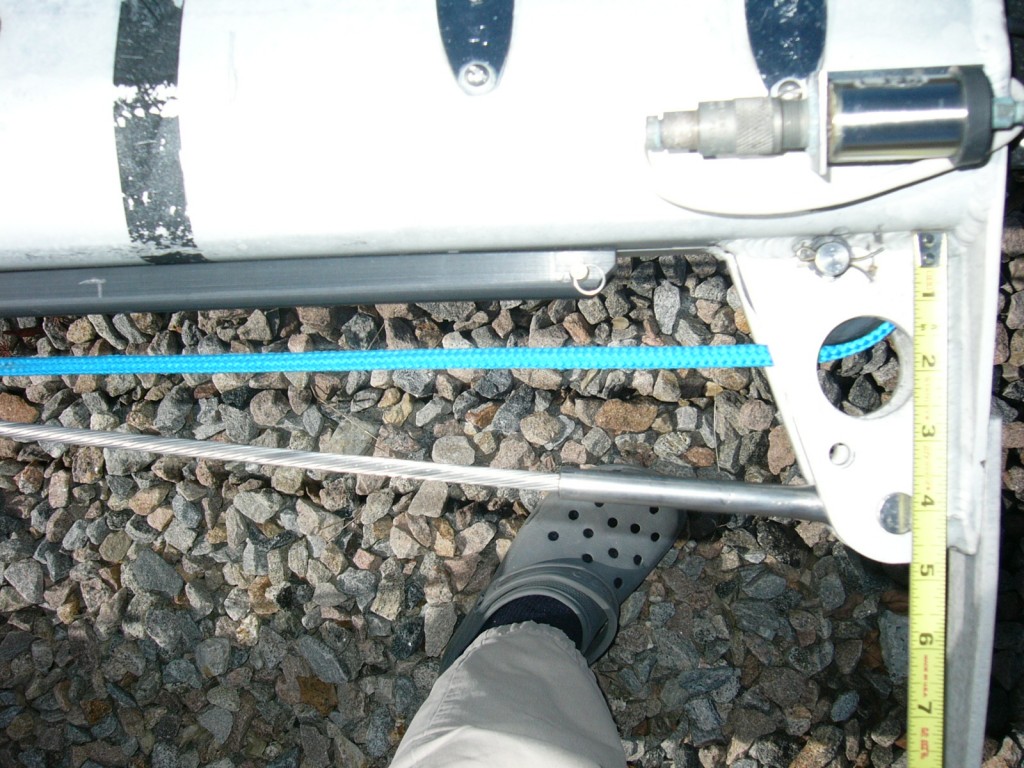
2. The size (how long fore and aft) of the headboard and so how far aft the corner of the headboard may extend (including with all the luff hardware attached) aft of the aft face of the spar. The sail pictured below has a special headboard included with this luff hardware. On this boat the entire sail is about 1.5 inches further aft from the mast than it would be if the sail merely had “normal” slug slides.

Luff hardware has an impact on how far aft the headboard will extend

Luff hardware has an impact on how far aft the headboard will extend

3. The position of the backstay attachment to the crane.

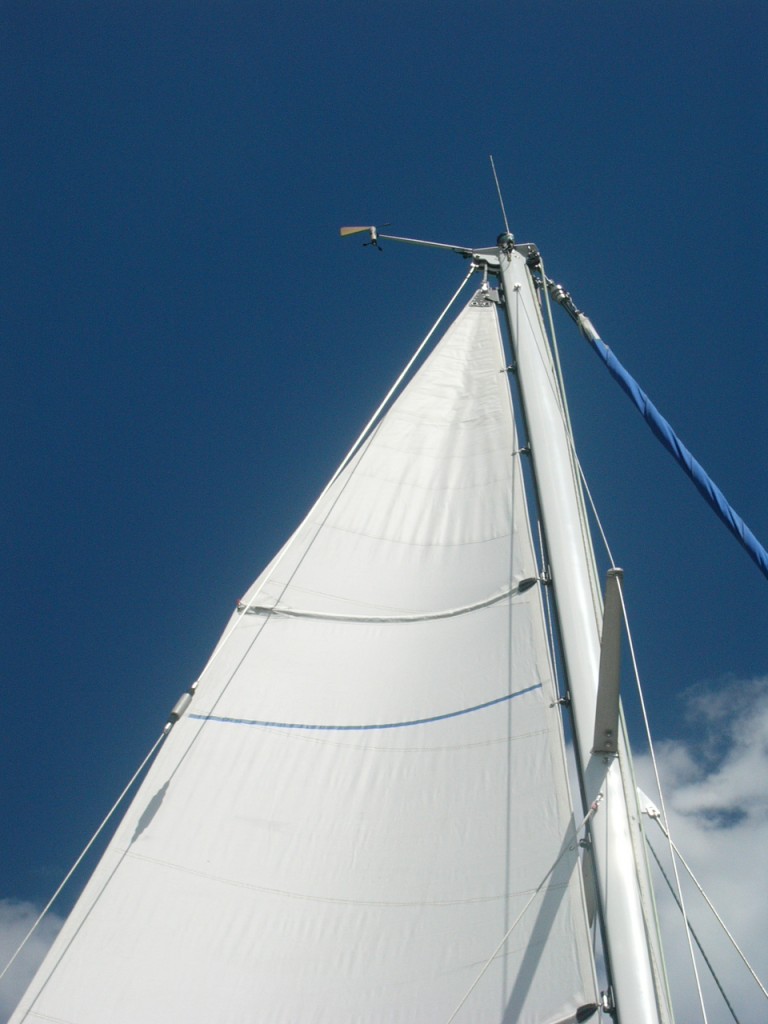
On some racing oriented boats, like this Pearson Flyer, pictured below, the “P” is literally at the bottom of the main halyard sheave. Indicated in this instance with a white band on the blue spar. The crane is fairly long, for a 30 foot boat. The backstay is led through a, so called, “backstay flicker”, so that in light air the backstay can be eased to let the roach of the sail pass thru. Refer to more information on this in the Full Batten posts.

Race boats have the band very close to the top of the spar

Race boats have the band very close to the top of the spar

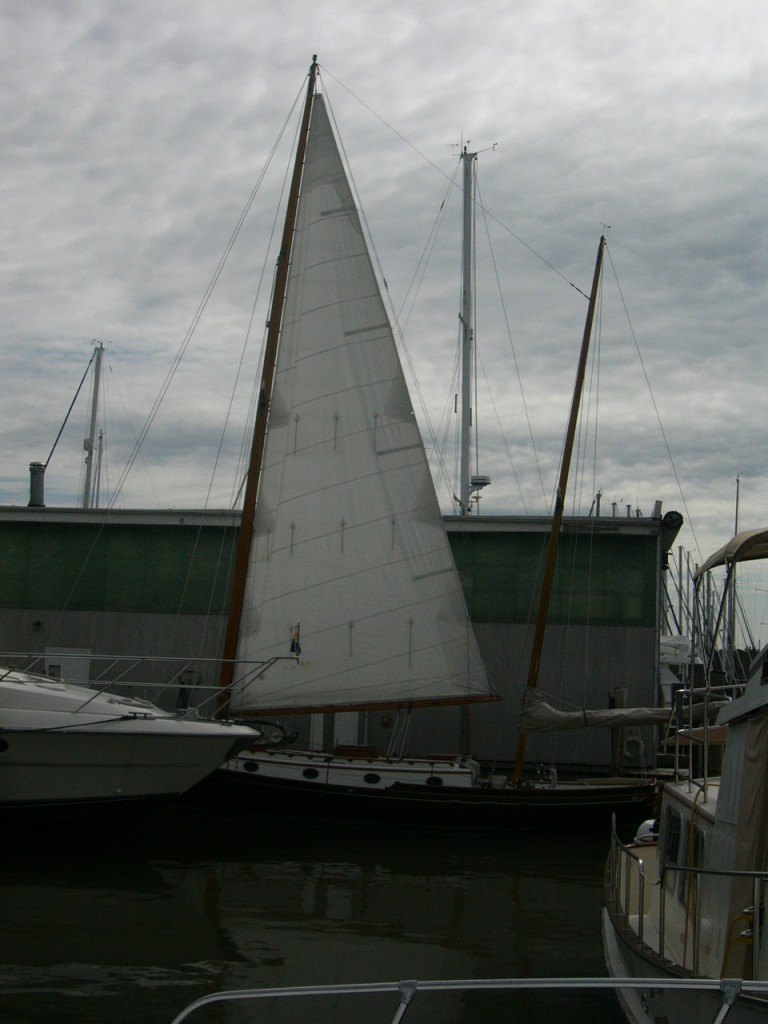
This absence of backstay crane is the main reason why there is often upwards of 18″ difference between the upper P measurement point and the “top of the mast” as is seen, below, on this wooden mast.

Headboard clears the backstay

The shorter the backstay crane is (or if absent completely) the lower down the sail must be

When you lower your old mainsail examine the anodized aluminum headboard for scarring on the after corner and if it is so marked almost for sure the sail has stretched to the point where it is fouling the backstay.
On some boats there is a backstay crane yet the band is still a ways down from the “max hoist” distance, as here.

 Black band position on Olsen 34

Close up of black band on Olsen 34 masthead. The black track is a Tides Marine Strong Track

You will observe that in this picture I am measuring the backstay crane so as to make sure what even headboard we select it will clear the backstay. How we figure that angle will be discussed in greater detail further on in this series, but basically we take a dimension from the gooseneck aft to where the backstay passes the end of the boom.

A common default measurement sailmakers use for determining the size of the headboard, stems from racing rules and that is 4% of the boats E dimension. So for a boat with a 12 foot E, then the default headboard would be 5.76, or basically a 6 inch headboard. Unless the boat is racing, and this is a detail of the transaction though the headboard would be shorter, for all the reasons discussed above.

So, to recap, the “P” is “the distance between the top of the lower band and the bottom of the upper band.”
It is not the luff length, the max hoist or anything else.
The “P” dimension and the “E” dimension, discussed in the next article, are the two pieces of information the sail maker will need to have to even begin to think about figuring out all the things he needs to consult with you on a new sail. Subsequent articles will discuss the detailing at the corners, tack set back, tack set up, reef set back and clew set up battens roach and a few other details pertinent to buying a new mainsail.

 

Short–handed sailing: The Solent Stay

In an earlier post I proposed a second stay, called a Solent Stay as a way to be able to deploy the correct sail for the conditions, without struggling with lowering the regular roller furling headsail. In this post I elaborate on the details of the stay and its component parts. It is worthwhile noting that some of the French boats, Beneteau and Jeanneau in particular offer much of the required hardware for a Solent set up on the spar and deck with the basic spar package.

The components of a Solent stay are:

  • The stay
  • Attachment of stay to the mast
  • Attachment of the stay to the deck
  • A mechanism for tensioning the stay
  • A halyard sheave
  • Halyard exit in the mast, leading to a winch
  • A halyard
  • Possibly a turning block and related pad eye
  • Possibly another rope clutch. This depends on how your boat has the rest of the lines laid out.
  • Sheeting positions for the sails.

I will look at each item in detail below.

The Stay
Until recently standing rigging on boats was either wire or rod. The development of synthetic standing rigging (coming largely from the Open solo classes) has become normalized to the point where I have consulted on half a dozen installations of synthetic stays for boats.
The preferred material for a Solent stay is Spectra fiber, ideally the latest version, (and there are several and it is always being upgraded). The latest is a product called Dynex Dux which is a heat set Dyneema, (European name for Spectra) for this Solent stay application Dynex Dux is excellent because of its mechanical properties, being:
•    High strength
•    Light weight
•    High resistance to UV
•    High resistance to Chafe
•    Ability to coil up and so stow in a small space
•    Ease of splicing
•    Relatively low cost &high value for a complete stay

It is a bit stiff and one rigger I know refers to it as Fiber Wire, but that is about the only down side I have seen.

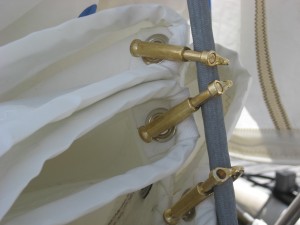
Also the high resistance to chafe means, to me, that one can use conventional bronze hanks rather than the more expensive soft hanks. I do not think there is a need for “soft hanks” in this arrangement for most sailors. The value: Cost versus utility, is low in my opinion.

Bronze hanks over a Dynux Dux composite stay on a Baltic 38

Spectra stay with Bronze hanks

Spectra cordage stays permits use of regular bronze hanks


Attachment of stay to the mast and halyard options.
Generally speaking the upper end of the Solent stay will attach to the spar within 12 inches of the bottom of the Genoa halyard sheave box. Much of this detail depends on the particulars of the mast in question. Issues to contemplate are:
Age of the mast: This is not so much for mechanical issues but more due to obsolete hardware and design details on the spar.
The simplest and easiest way to attach a stay to a spar is with a Gibb T fitting.
Depending on the spar details you may need to install a sheave box under the stay attachment
OR
I have done a couple of boats where the halyard runs above the stay connection to the spar, via a dead dye and into the sheave box for the Genoa, using the spare Genoa halyard sheave. This works when there are two sheaves in the box. Charleston Spars has some boxes where the second sheave is below the Genoa sheave and this works too.
If your spar does not have this kind of arrangement, you will have to cut into the spar and install a sheave box.
Because the stay attaches to the top of the spar, running backstays are not required. This detail highlights a particular advantage of this stay layout over a traditional “cutter” stay.

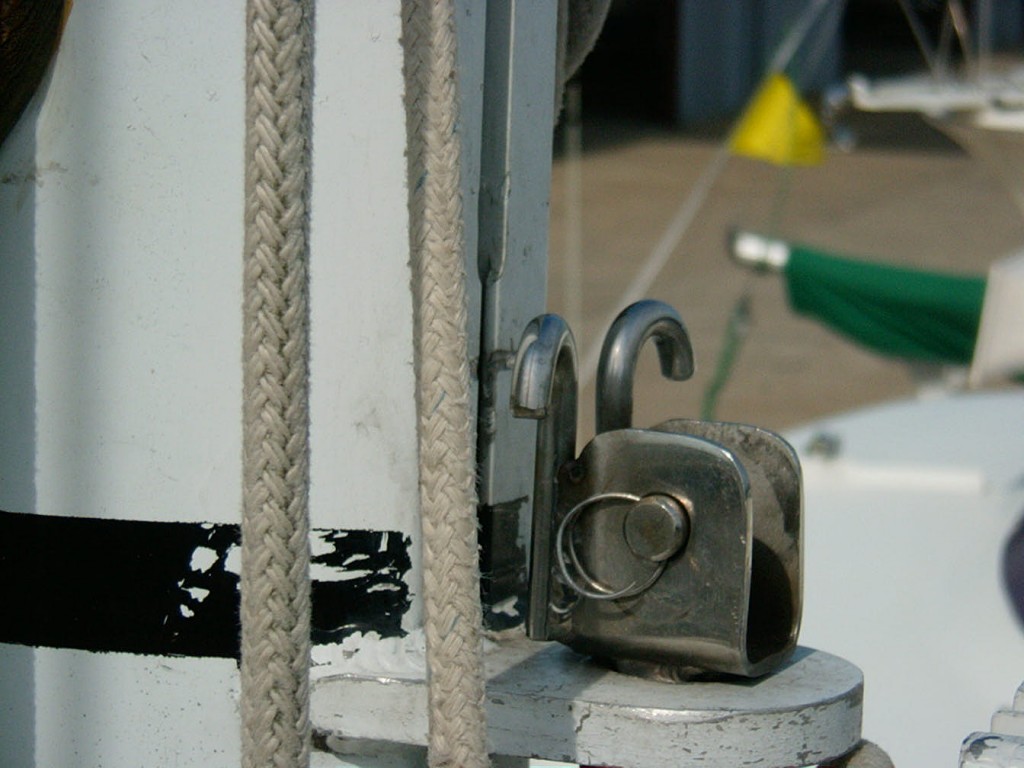
The above image, taken from the deck, shows the head of the solent Jib and stay. Just under where the stay attaches to the spar,can be seen a Harken halyard deflector, leading the halyard around the stay and into a second Genoa sheave box.

Attachment of the stay to the deck and tensioning of the stay.

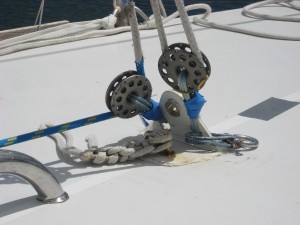
Historically second stays inside the fore-triangle have been tensioned with either a Highfield lever or more recently some kind of screw adjustment device. While this is an OK solution, this hardware is heavy and expensive, compared to a tackle as a way to tension the Solent (or any other inside stay for that matter).

A superior technique for tensioning a Solent stay is to install a multi part, I usually use 4:1, tackle with the tail leading aft where it can be readily led to a winch. This method has several advantages over a mechanical adjuster.

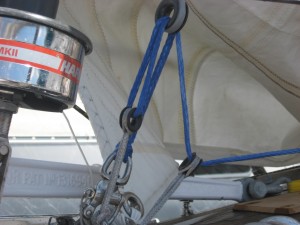
Detail of the 4:1 adjustment tackle n a Baltic 38

Solent stay adjustment tackle

The above image shows the detail on the Baltic 38 used for tensioning the Solent.

Metal thimble used as part of the purchase in J-105 solent installation

Solent stay details on J-105

This image shows part of the same idea on a J-105 that I sail on in many double-handed races.

Solent stay tensioning set up on a competitor in the 2011 OSTAR

Solent stay tensioning system

The above picture is a version of tensioning. This taken from a 40 foot competitor in the O.S.T.A.R 2011

Solent stay tension tackle

Solent stay tensioning arrangement on a 40 foot Pogo Class 40

This image is of a Solent stay tensioning arrangement on a single handed Class 40.
The sail can be hanked onto the stay while the stay is restrained aft against the mast, thus the Solent sail can be close to all rigged and ready to go, before it is needed. The tackle helps pull the sail forward, so if there are two people on watch, the aft crew member can tail the fall of the tackle and the crew on the bow can help it stay clear of obstacles like mooring cleats, hatches, vents etc on the deck. The biggest advantage to my mind though is that the stay can be re-tensioned after a few hours of sailing. Typically when sailing in hard air, the inside stays (well all stays do actually) tends to stretch out a bit and so the sail lays off to leeward, affecting the boats performance. With the tackle led to a winch, the stay can be re-tensioned any time. Further, say the Solent is lowered yet still deployed forward, in anticipation of re- use shortly, but one finds a great need to tack in a hurry, (remember the stay sets right up against the back of the furler so there is no room to tack the Genoa thru that space, unless you roll up the Genoa), it is a simple and fast drill to open the clutch and pull the solent aft Versus trying to cast off a Screw thread turn buckle type adjuster or carry a sail and Highfield lever back aft, out of  the way.
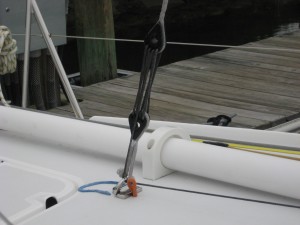
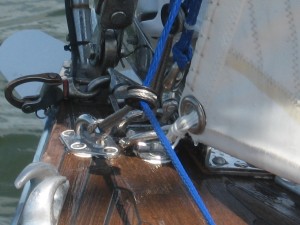
I prefer to have the load if the deck part of the tension mechanism spread across the deck as seen here:

Tackle for tensioning Solent stay

Tensioning tackle for Solent Stay on Baltic 38

This installation uses a double pad eye on center line, the aft part of which is used for the tack on the sail and a single, to port. The dead end is on the forward part of the double pad eye. The dead end has a snap shackle so as to minimize the amount of line one needs to pull around.

Depending on the construction detail of your boat, it may or may not be necessary to reinforce the deck in the way of the pad eyes. Again each boat will be unique in this detail.

Halyard, sheets and related & operating rigging issues
One of course needs a halyard on which to hoist this sail. This typically means either:
If you have had to cut a sheave box, then you will almost certainly have to cut an exit slit in the mast also.  Make sure you look around the spar before you start making holes. You do not what to place the holes to close to each other.
OR
If you have a second Genoa halyard sheave there is a good chance you will have a matching slot for the halyard, it may even be moused.
Depending on how the boat’s winches are laid out, you will need to install a turning block at the base of the mast and possibly another clutch.
Other thoughts on this arrangement
Depending on what you are planning for the boat, it is perfectly acceptable for me to have the halyard winch for this sail on the mast. The idea that all lines need to be in the cockpit does not make sense to me in reality. For instance it is preferable I think to have the halyard for the Spinnaker to be at the mast. That way as you pull the sock down over the sail, you are able to keep control of it as you lower the halyard. It is worth noting that many of the latest crop of single handed offshore race boats has reverted to having some of the halyards, like the kite and the halyard for the roller reaching sails operable at the mast. Also having halyards at the mast minimizes the need for more hardware in the deck to lead the halyards aft.

You should also be aware of how a sails sheeting position is determined and make sure you have the requisite hardware n place and that the sails are built in accordance with where the hardware is. It is possible for a competent sailmaker to make perfectly viable remarks about sheeting positions with a view to better performance of the sail in questions, so be open to adding proper hardware to allow the sail to set properly.

I will be writing on the entire topic of sail sheeting geometry shortly

Next: what types of sails you can deploy on your new stay.

And here is a link to the story on Solent Stays I wrote for SAIL magazine in the Jan 2013 edition

Short-Handed sailing: Techniques for using different headsails, easily

Short-handed sailing: techniques for using different headsails, easily.

One of the great conundrums for short-handed sailors is what to do when the wind speed and your apparent wind angle are not right for the roller furling headsail you have on the furler.  The average boat’s general-use 130% size roller furling reefing headsail typically has a wind range, where it is properly effective, of about 10 knots true to about 18 knots true sailing close hauled. Some roller headsails are capable of being used partially rolled around the furler, but this has a limited application, especially if one is planning on being in the ocean for a while.

So the question for anyone who wants to get the most out of their boat in a wide range of conditions is, just like it has always been, a range of headsails for different wind speeds and directions.

With the expanding interest in Short-Handed racing, generally races where there are only two crew members aboard, the ability to have the “right “sail for the conditions becomes a bit more important. This kind of racing is growing particularly because it is how most boats on the water are set up today. It is a short trip from a cruising boat to a boat that can race short-handed since they share much of the same equipment. One of the most high value (cash coast to install versus the utility it provides) additions any cruising boat can make is the Solent Stay.

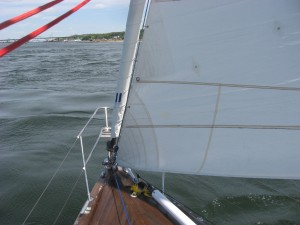
This a second head stay that runs roughly parallel with the forestay, attaches at the masthead sufficiently below the jib stay attachment point to avoid anything fouling the Genoa halyard swivel and it attached at the foredeck, as close as possible to the back of the roller furler drum. On a Solent stay one can deploy sails for use in lighter air and a smaller jib in conditions when the RF headsail is too big. It should be emphasized that the Solent IS NOT an inner forestay, such as is seen on cutter rigged boat. The Solent is its own stay running to the top of the spar.

Solent stay with sail on Baltic 38

I will address the particulars of the Solent stay in the following post.